Enroll users with a Token2 Programmable Token
Help users activate Multi-Factor Authentication (MFA) using a Token2 programmable hardware token as their second factor of authentication with UserLock.
UserLock supports Token2 programmable tokens for users who prefer a physical second factor instead of a mobile authenticator app.
These devices can be programmed using the Token2 NFC Burner 2 app on an Android device with NFC.
This guide explains how to help end users enroll a Token2 programmable token as their second factor of authentication with UserLock. It describes the entire process from scanning the UserLock QR code to verifying the final MFA code.
Note
🚩 Before following this guide:
We recommend reading How to implement MFA for general recommendations, communication tips, and preparation steps to ensure a smooth rollout.
Before starting, make sure you have:
An Android device with NFC enabled.
The Token2 NFC Burner 2 app installed (version 2.1 or later).
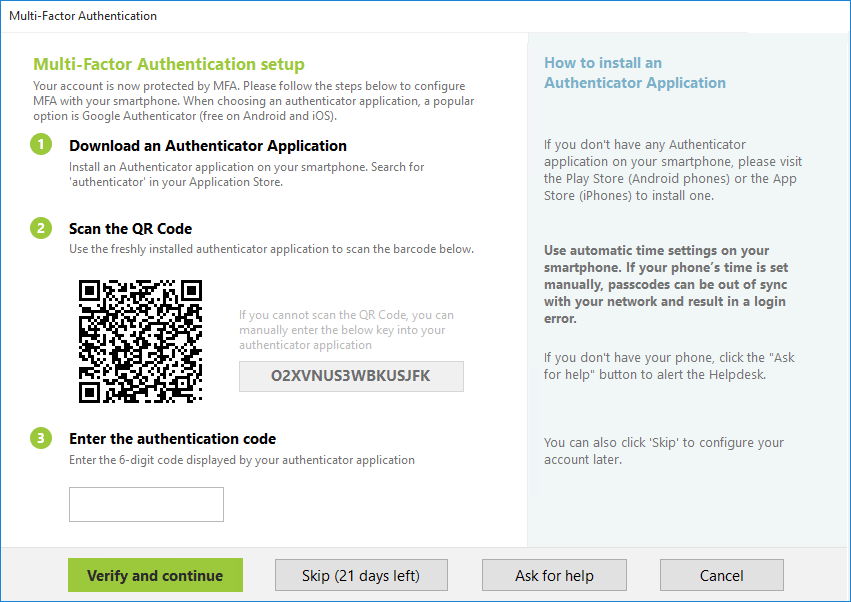
Access to the UserLock enrollment dialog displaying the QR code (shown at first login when MFA is enabled for your account).
Note
The same Android device can be used to program tokens for several users (for example, an administrator’s smartphone).
A Windows version of the NFC Burner is also available, but this guide uses Android as an example.
Before enrolling, make sure that MFA is enabled for the user account in UserLock.
Note
See Access policy management to learn how to apply an access policy in UserLock.
See MFA policy reference for details on MFA policy rules and options.
On your Android device, open the Token2 NFC Burner 2 app.
Tap Scan QR.
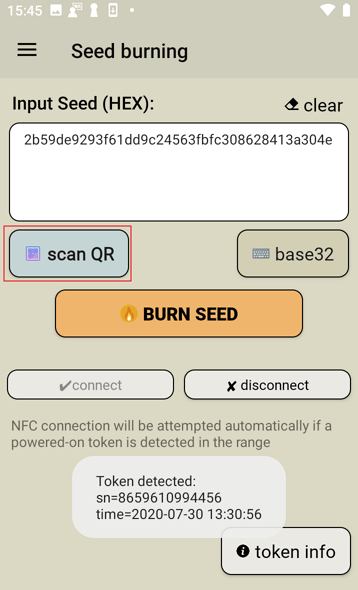
When prompted, point the camera toward the QR code displayed on the UserLock enrollment dialog.
When the scan is successful, the camera window closes automatically.
Alternative
You can also manually enter the key displayed in the same dialog. In the app, tap Base32 and enter the key.
Turn on your Token2 programmable token.
Place it over the NFC antenna of your Android device.
Tap Connect in the app.
If the connection fails:
Make sure NFC is enabled on your phone.
Slightly move or reposition the token to align it with the NFC antenna.
Confirm the token is powered on.
See also
Token 2 documentation - Troubleshooting NFC link stability
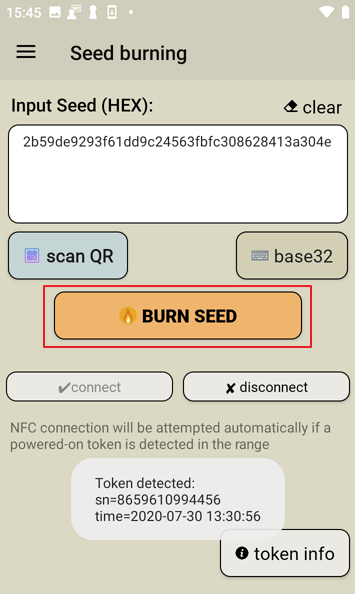
Once connected, tap BURN SEED.
The app should show “Burning…” and then “Burn seed successful” after a few seconds.
Turn the token off, then back on again.
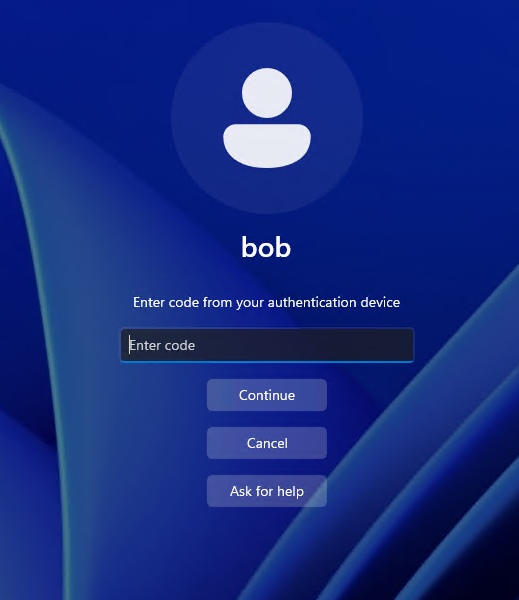
The token will display a 6-digit code.
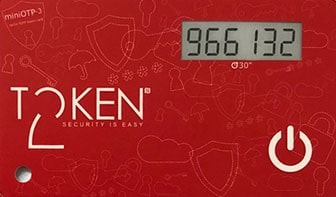
Enter this code in the UserLock enrollment dialog.
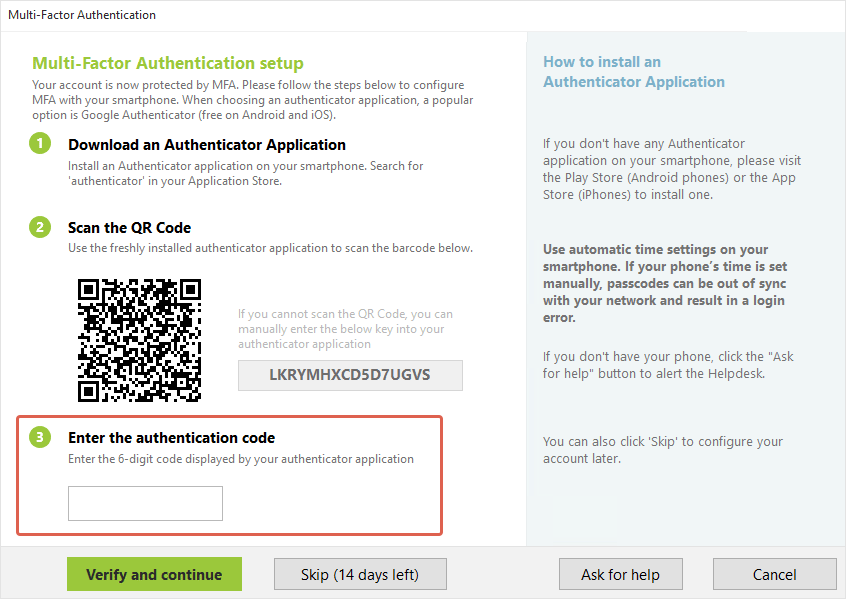
Click Verify and continue.
The token is now paired with your UserLock account.
At future logins, you will only need to enter the code displayed on your Token2 token.