Install and configure UserLock
This tutorial guides you through the initial installation and configuration of UserLock. By the end, you will have a Primary UserLock server installed, configured, and ready to monitor your network.
Useful resources
A Windows Server (2012 R2 or higher recommended).
Local or domain administrator rights on the host server.
Access to the system requirements page if you want to review advanced prerequisites.
👉️ No changes are made to your Active Directory schema.
UserLock can be installed on any Windows Server in your domain.
You don’t need to use a Domain Controller.
Physical or virtual servers are supported.
Download the setup package from the download page.
Run the installer on the chosen server.
Follow the setup wizard:
Select your language.
Accept the license agreement.
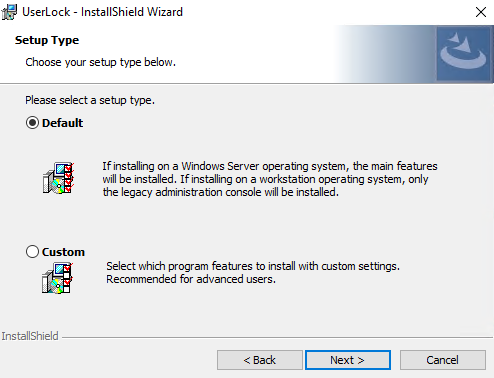
Keep the Default installation type.
Click Install and wait for completion.
Once UserLock has completed installing, click on Finish.
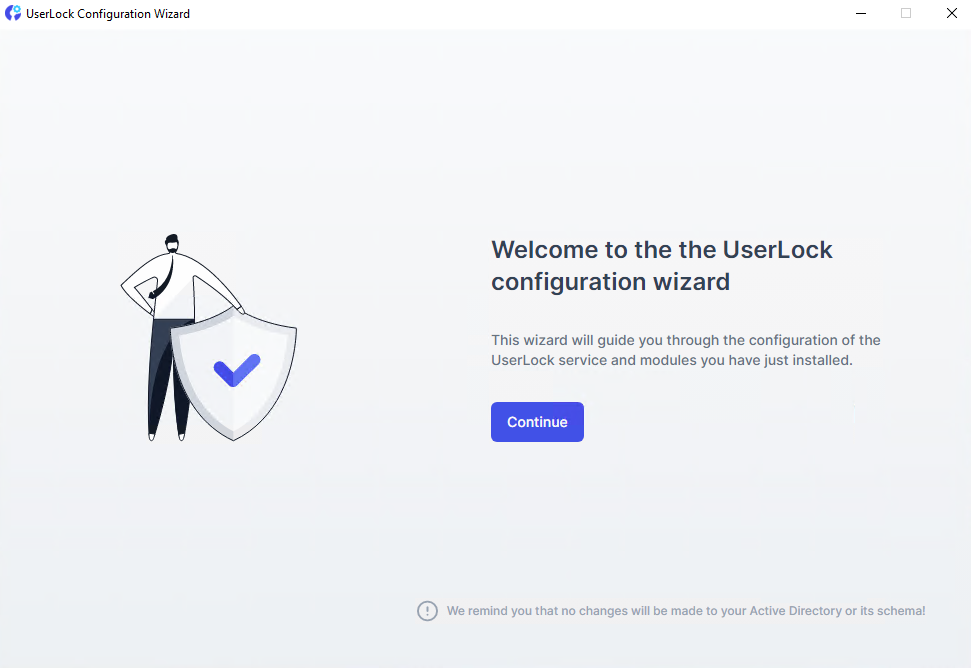
The configuration wizard starts automatically after installation. It guides you through the setup required to get UserLock running.
)
)
)
)
)
Select Primary server.
Other roles like Backup server or Standalone terminal server can be installed later.
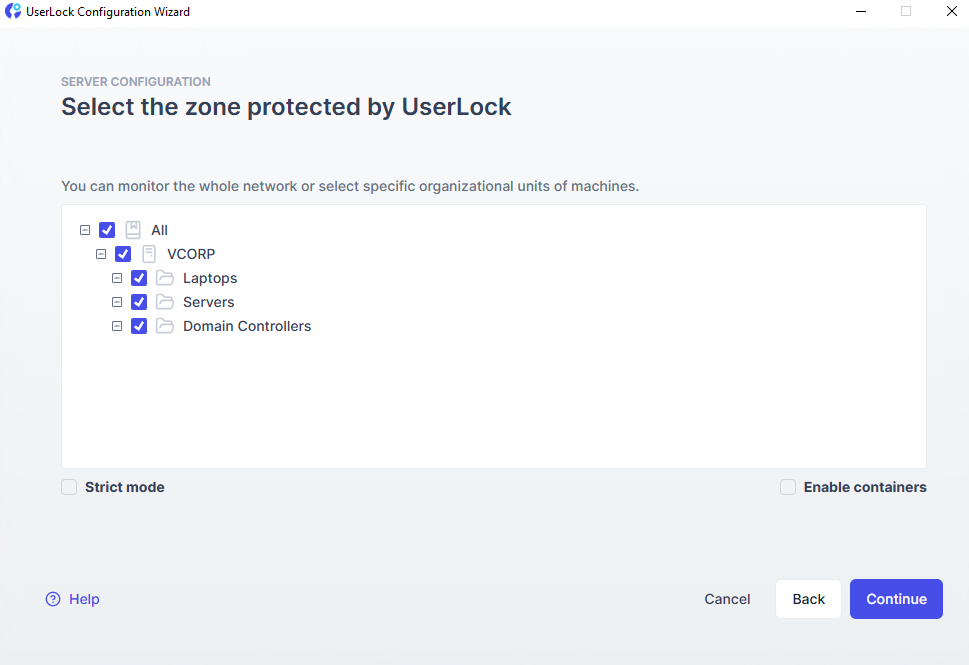
Choose the Active Directory domains or OUs you want UserLock to monitor.
Only Organizational Units containing computer accounts are displayed.
All machines in this zone will appear in the UserLock console.
The protected zone can be modified later by relaunching the Configuration wizard.
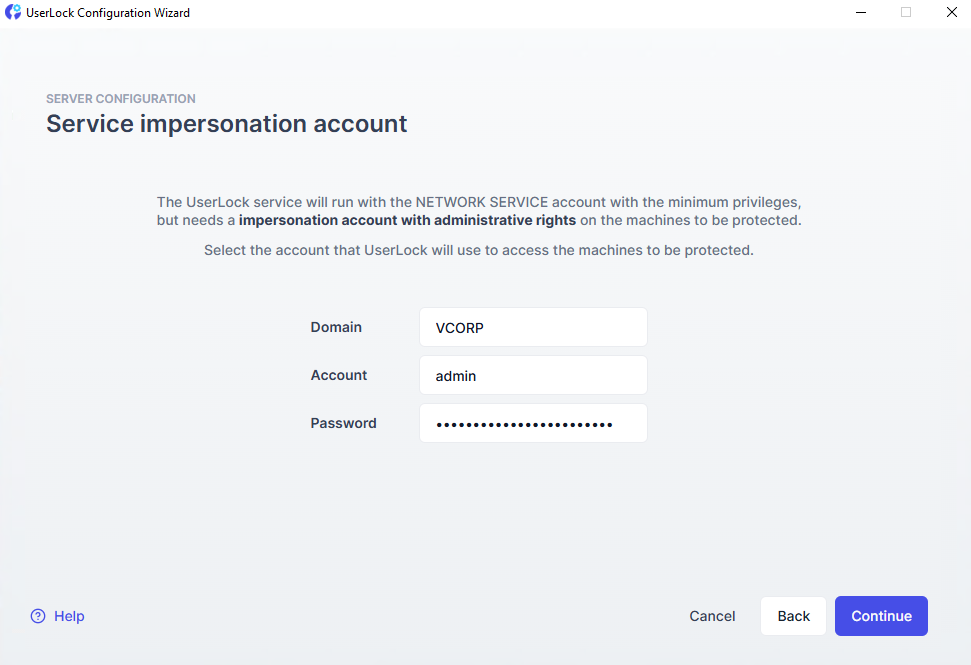
The UserLock service is designed to login as the NETWORK SERVICE account in order to limit its default privileges on the network to the least required.
This account provides administrative rights to UserLock to perform specific tasks, such as deploying agents and performing remote actions.
Click Continue to complete the configuration. The UserLock service will start automatically.
Note
When defining and configuring a UserLock Backup server role, the account specified here also requires administrative privileges on the UserLock Primary server for the synchronization process.
From version 13.0, the Desktop console is installed automatically on the same server as the UserLock service.
You can launch it from the configuration wizard or from the Windows Start menu.
This console provides full access to configuration, monitoring, and reporting.
At this point, UserLock is installed and operational. From here you can open the console and start deploying an agent.
The configuration wizard allows you to configure the modules installed. Here are a few guides to help you:
Install the Web Console to administer UserLock remotely.
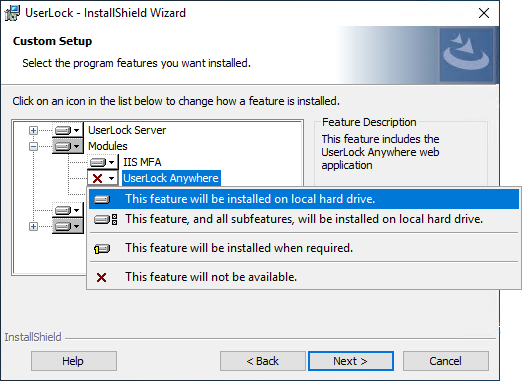
You can install a missing module by launching the UserLock install shield.
Select the feature you want to install.
Once you've installed the feature, you can relaunch the configuration wizard to configure the module.