Upgrade procedure
Follow this procedure to safely upgrade UserLock to a new version, while preserving your configuration and avoiding server downtime. Follow the procedure matching your version type: minor or major upgrade.
Before upgrading UserLock, check your version type and prepare your environment.
✅️ Identify your upgrade type
Minor upgrade: When the 3rd or 4th number increases (for example, 12.0.0.633 → 12.0.0.800).
Major upgrade: When the 1st or 2nd number increases (for example, 12.x → 13.0).
✅️ Always upgrade the Primary server first, then the Backup server.
✅️ Back up your configuration: see Backup Userlock settings for instructions.
✅️ Prevent a reboot: you can usually upgrade without restarting the server. See Avoiding a Server Reboot for more details.
A minor upgrade updates UserLock components without changing the database structure.
It is fast and typically requires no reboot.
Run the new installer
Launch the latest UserLock installation package directly (no need to uninstall the previous version). All components are automatically upgraded.Restart IIS application pools (if applicable)
After installation, restart the stopped application pools. (See Avoiding a server reboot).Update agents (if applicable)
Update Desktop Agents manually or via Automatic Mode.
Update IIS and NPS agents as needed
Re-enable IIS MFA protection for the web console if used.
Verify primary–backup synchronization and confirm normal activity.
Verify that all sessions and MFA features function normally.
Note
After upgrading UserLock, update all additional modules (IIS MFA, UserLock Anywhere, and Web Console) by running the new installer on each corresponding server.
A major upgrade introduces new features and may modify the database structure.
It requires a valid, active license.
Verify your license: in Server Properties → License, confirm that:
The license key matches the version supplied by IS Decisions Sales.
The subscription period is still active (the license has not expired).
If needed, contact IS Decisions Support to renew or obtain a valid license key.
Prepare database permissions: if UserLock connects to an external database (such as SQL Server or MySQL), make sure the account used for authentication can temporarily modify the database structure during the upgrade.
Windows authentication:
The UserLock service impersonation account must have modify rights to create or alter tables.SQL authentication:
The database account defined in the connection string must have the same permissions..Note
These rights are required only during the upgrade.
If you previously restricted table creation permissions, restore them before proceeding.
Run the new installer directly (do not uninstall the previous version).
After the installation completes, the Configuration Wizard opens automatically.
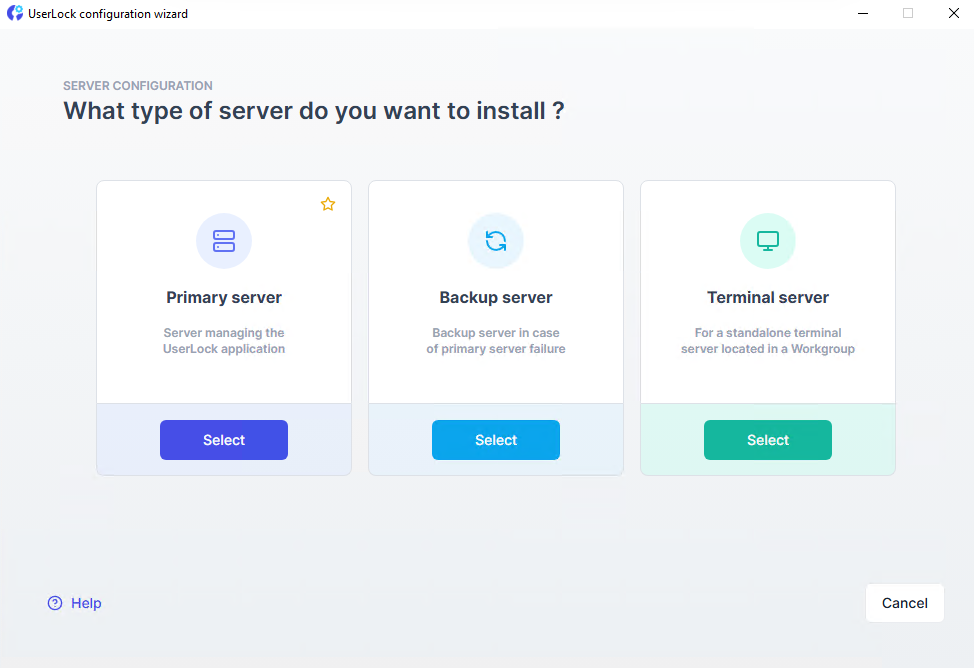
Click Continue and choose Primary Server.
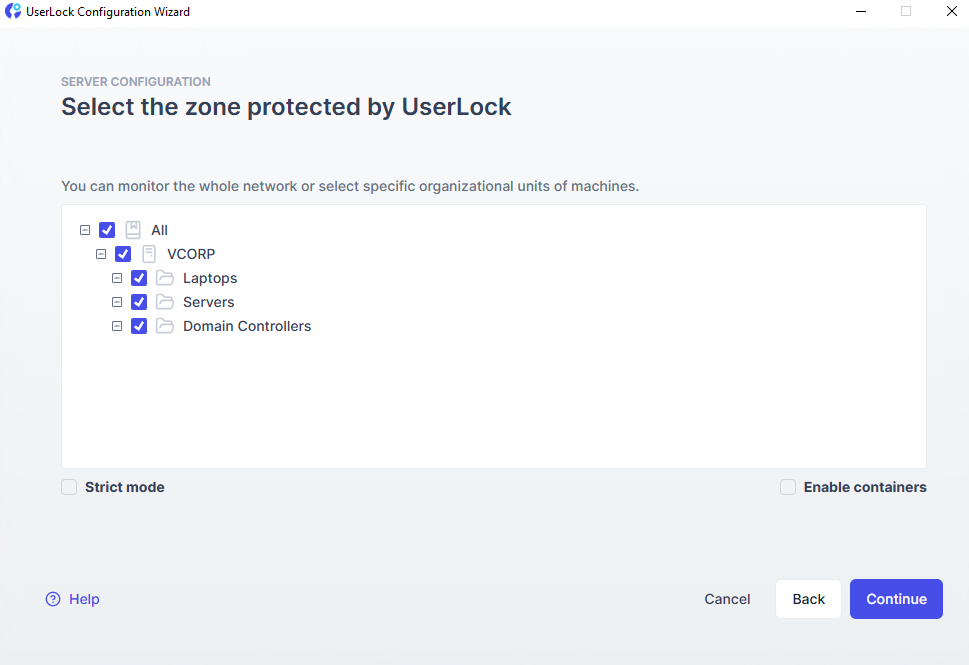
Select the computer OUs to include in the Protected Zone.
Enter the service impersonnation account credentials with admin rights on:
This server and the backup server
All computers protected by UserLock
Note
This account also upgrades the database if using Windows authentication.
The process makes no changes to Active Directory.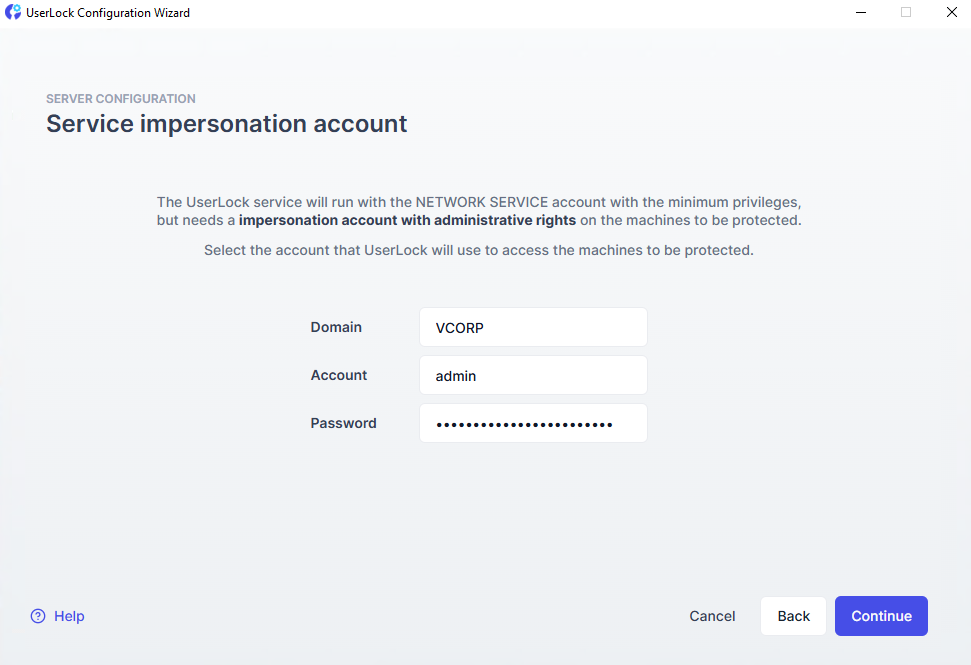
Continue through the Wizard to finalize the setup.
Configure optional modules such as MFA for IIS, UserLock Anywhere, or the web console.
Verify that all previous server settings and existing access policies are correctly migrated.
On the Backup server, repeat the process and select Backup Server as the role and referencing the upgraded primary server.

Restart all previously stopped application pools.
Re-enable IIS MFA protection for the web console if used.
Update all agents (Desktop, IIS, NPS) to the new version.
Verify primary–backup synchronization and confirm normal activity.
Your UserLock environment is now upgraded and ready to use the latest features.
Note
After upgrading UserLock, update all additional modules (IIS MFA, UserLock Anywhere, and Web Console) by running the new installer on each corresponding server.
To upgrade without restarting the server:
Close all MMC consoles.
Close the UserLock Administration Console.
Stop these IIS application pools (if installed):
UserLockAppPool– Web ConsoleUserLockMfaAppPool– IIS MFAUserLockProxyAppPool– UserLock Anywhere
Do not restart these applications until the upgrade is complete.
Note
These are default names; yours may differ.
In IIS Manager: go to Application Pools → select → Stop.