Configure an access policy
An access policy defines the conditions that control how and when a user can log on to your network and resources. With UserLock, you can apply restrictions by machine, time, location, session limit, or multi-factor authentication (MFA).
Useful resources
This tutorial walks you through creating your first access policy using the configuration wizard.
🧪️ For a quick test, we propose to deny access to a specific machine for a given user.
In the UserLock console, go to Access policies.
Click on the Add button.
The policy wizard opens, guiding you step by step.
You first need to select the target type on which the access policy will be applied. The target is an object of your Active Directory and can be a user, a group or an organizational unit.
🧪️ For our quick test, click on User.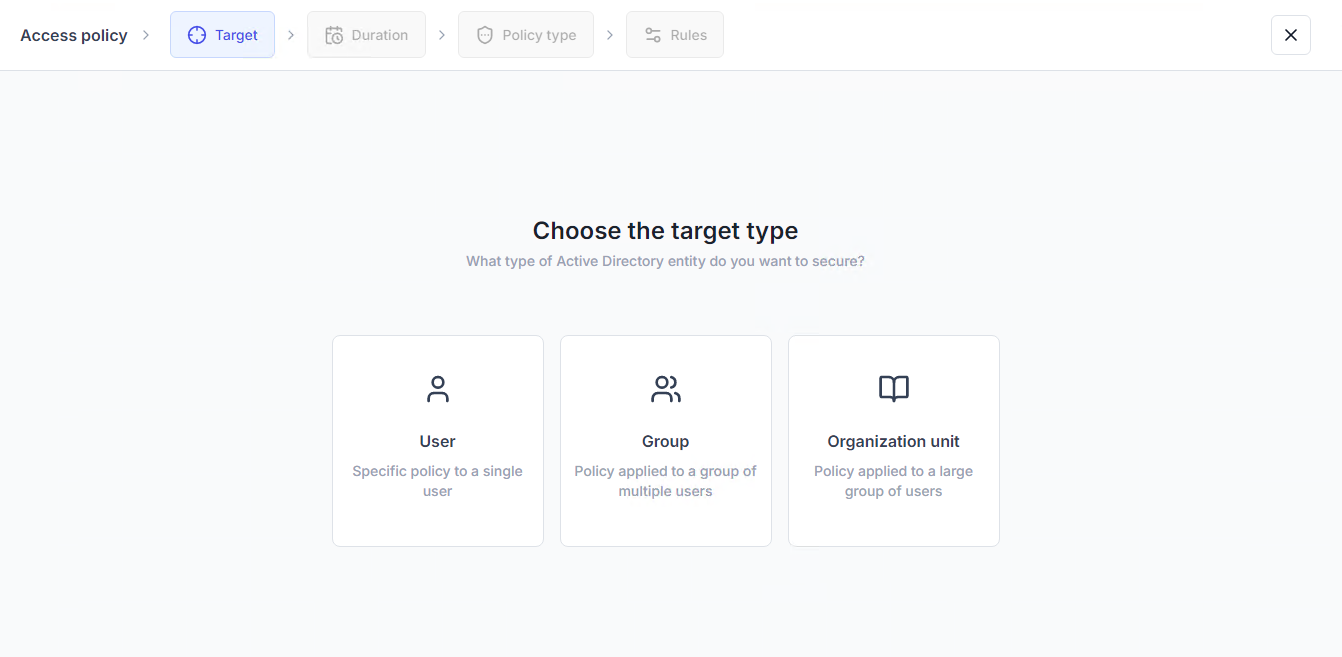
Search the target.
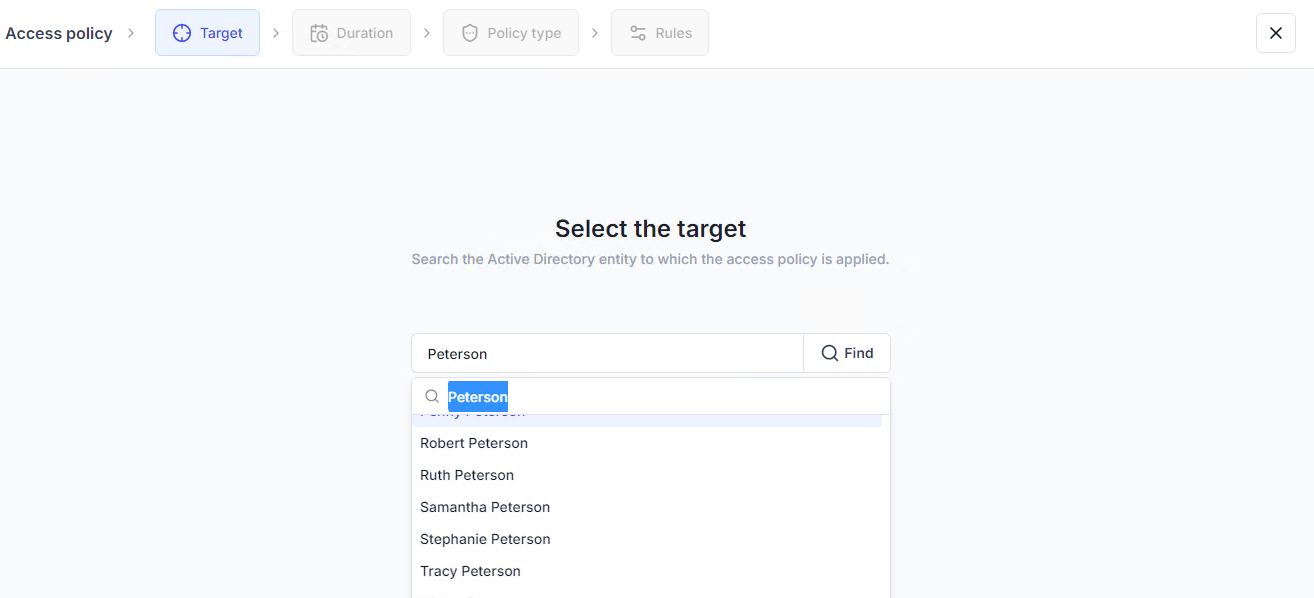
🧪️ For our quick test, make sure to select a target for which you know the login details.
If you know the exact account name, type it directly in the field and click Continue.
If you don’t know the exact name:
Enter at least two characters of the account name.
Click Find.
UserLock will run an LDAP search to list all matching accounts.
If the search takes too long or shows too many results, enter more characters to refine the search.
Once the correct account appears, select it and click Continue.
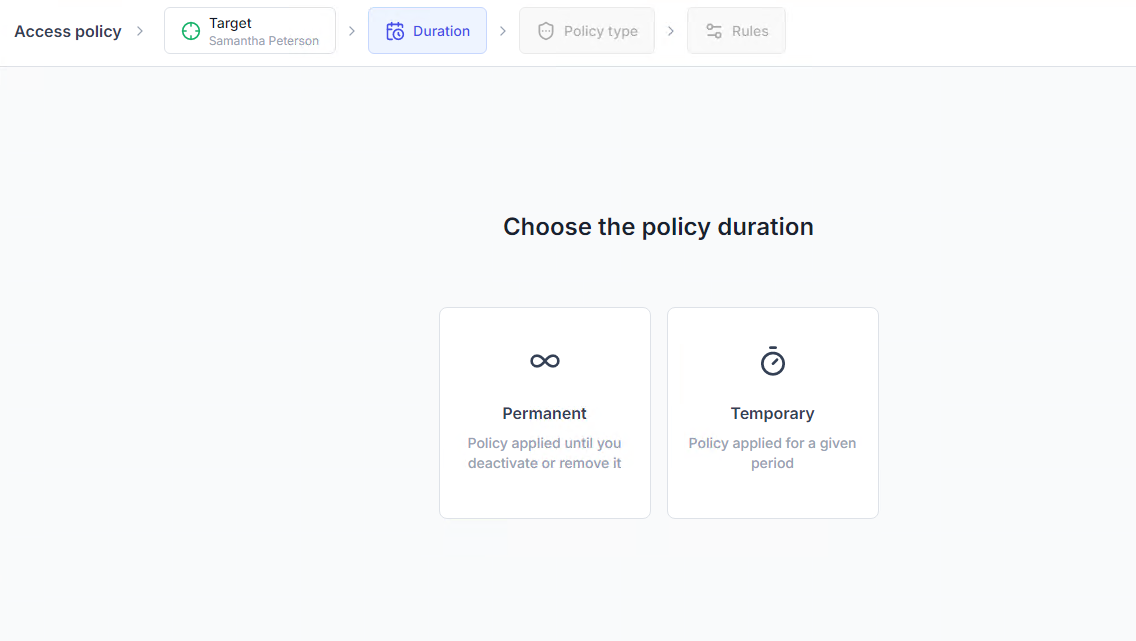
On the Duration step of the wizard, choose how long the policy should apply.
Permanent → The rules have no time limit.
Temporary → The rules apply for a specific time period. For more details about managing temporary policies and conflicts, see Temporary policies (Reference).
🧪️ For our quick test, select Permanent.
You must now select the policy type.
🧪️ For our quick test, select Machine restrictions.
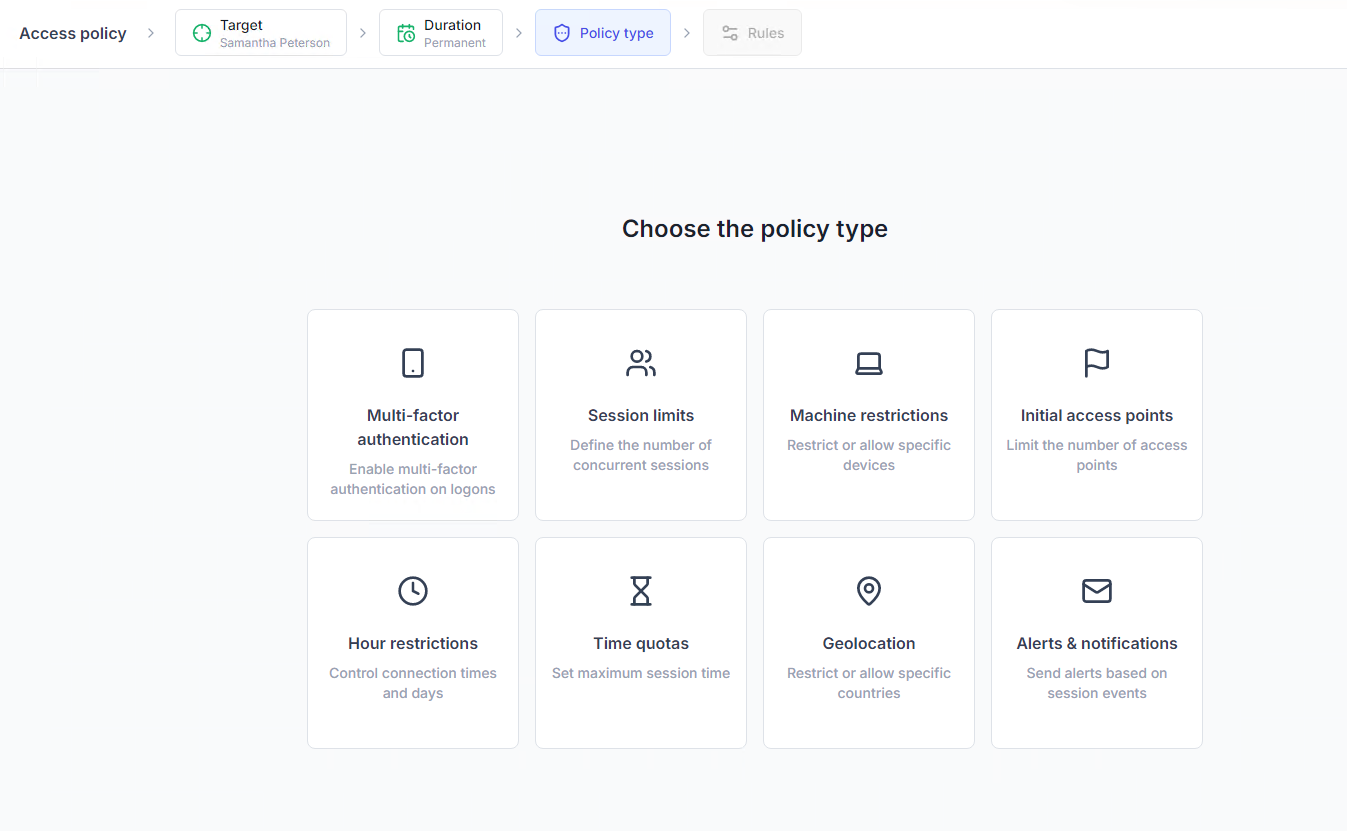
This step will be automatically bypassed if you started the policy wizard from a specific policy page.
Note
This step varies depending on the selected policy type. For more details, see the Access policies references.
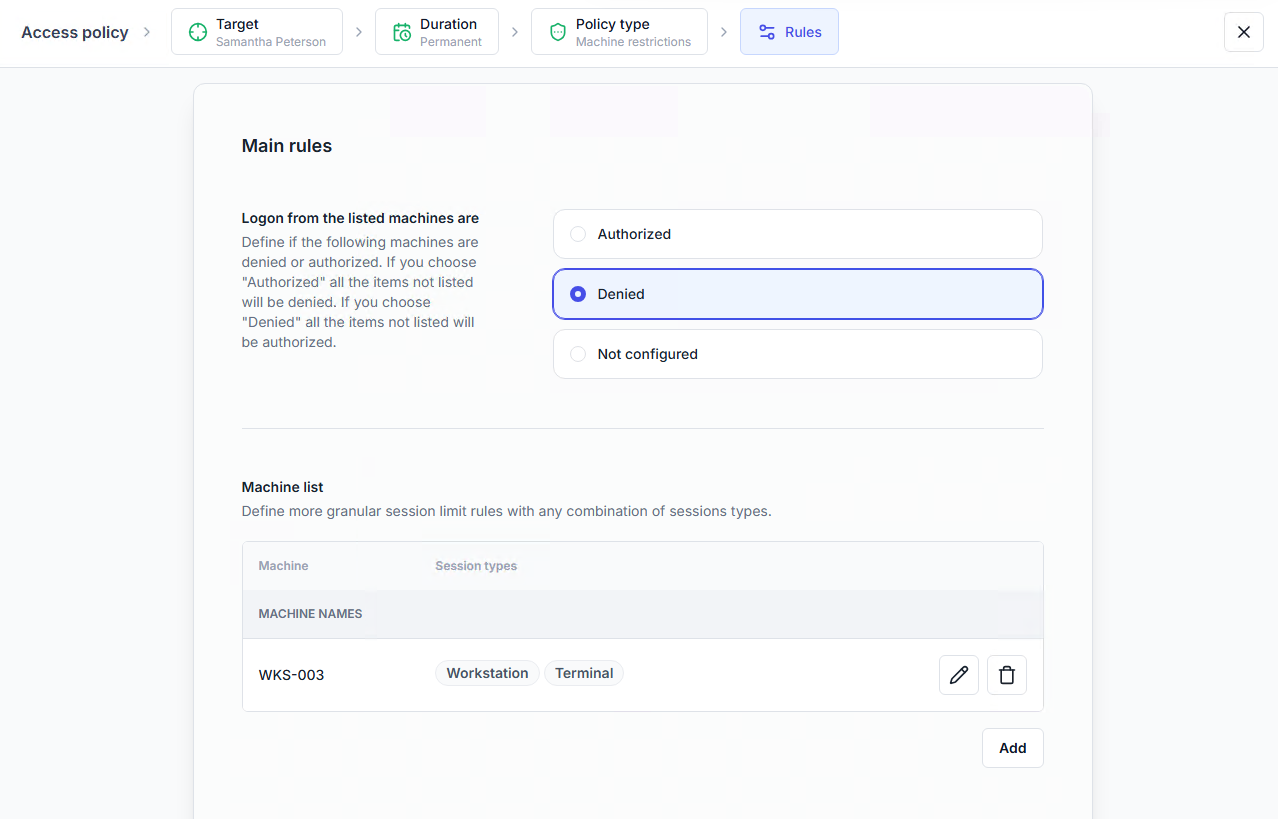
🧪️ For our quick test, we will configure a simple machine restriction.
Set the machine list to Denied.
Under the machine list, click the Add button.
Select by Name.
Enter the name of a machine you can access and where the Desktop agent is installed.
If you don't know the exact name, click on Find to search a machine from your Active Directory.
Select the Workstation and Terminal session types.
Click on Continue then Save the rules.
After saving the rules, the wizard automatically returns on the policy type step. The Machine restriction policy is checked to indicate a configuration has been set.
Exit the wizard by clicking the Close icon in the upper right corner.
Once your first policy is created, continue with the next step: Verify your setup.