Installing and Configuring UserLock Web Application on IIS
Learn how to install and configure the UserLock web administration console on IIS to manage UserLock remotely through a web browser. The web console provides the same interface and features as the local desktop console.
By default, the UserLock desktop administration console is installed on the main UserLock server.
To allow administrators to access UserLock from other computers, you can install the UserLock Web application on an IIS server.
The web console offers the same interface and management capabilities as the desktop console.
The IIS server hosting the UserLock web console must meet the following prerequisites:
Component | Requirements |
|---|---|
Operating system | Windows Server 2012 R2 or later |
Web server | IIS 6.0 or later, with Windows Authentication option |
Frameworks | Microsoft .NET Framework 4.7.2 and .NET 8.0 or higher |
.NET trust level | Must be set to Full in IIS |
Browsers | Recent versions of Microsoft Edge, Google Chrome, or Mozilla Firefox |
Browser configuration | JavaScript and cookies must be enabled |
Note
Changing the .NET Global Trust level can cause encryption problems between the web console and the UserLock service. Always keep the trust level set to Full.
Default setup: The web console is already installed.
Custom setup:
Open Control Panel → Programs → UserLock → Change.
Select Modify.
Check Web console.
Finish the wizard to install the feature.
Run the UserLock installer.
Choose Custom setup.
Add the Web console feature.
Unselect other features you do not need.
Complete the installation wizard.
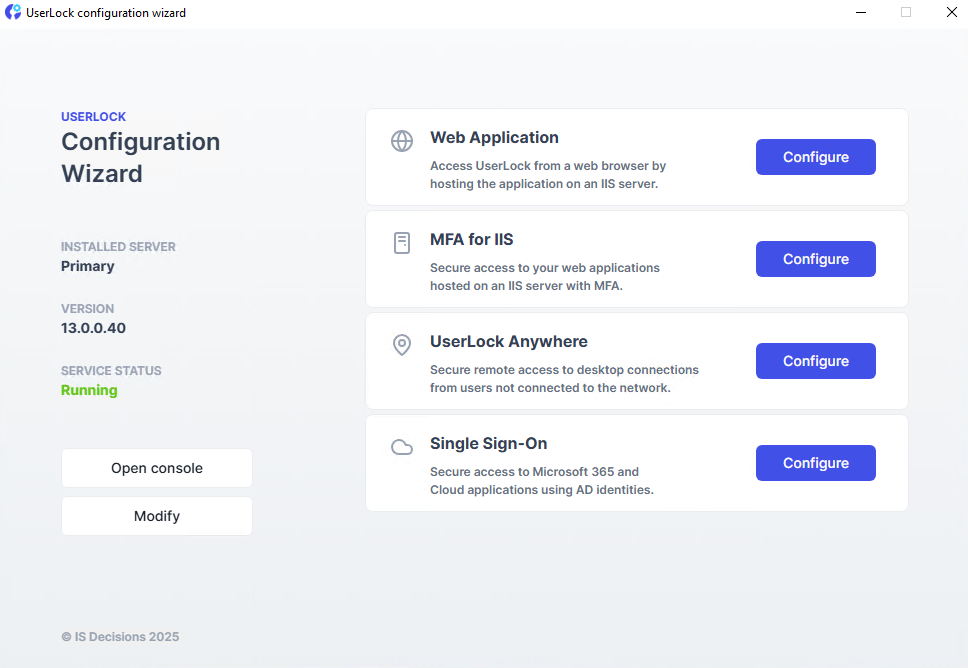
Launch the UserLock Configuration Wizard from the Start menu.
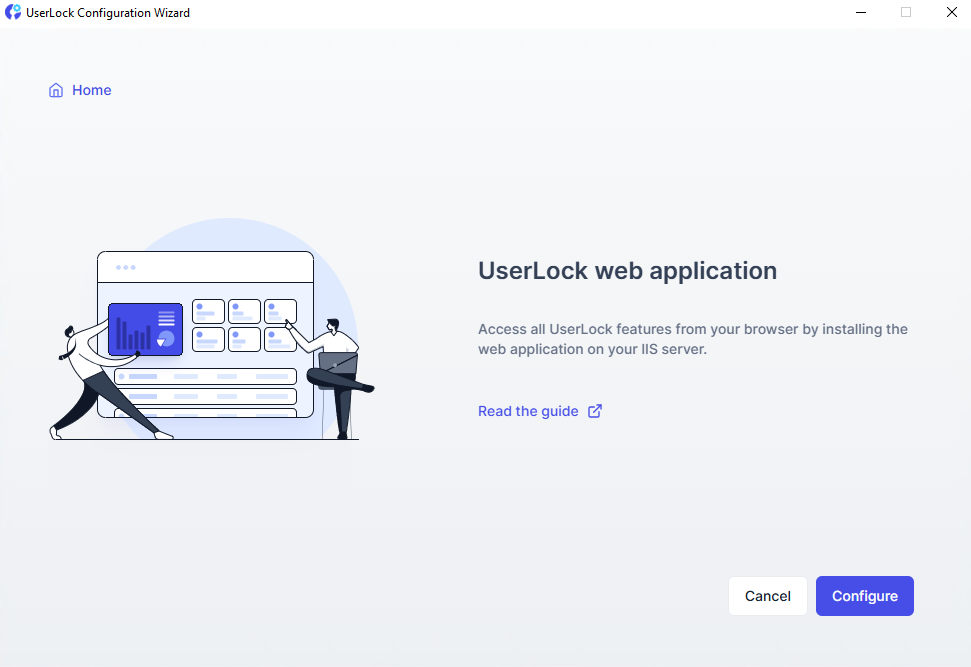
Click Configure next to Web Application.
Click Configure to start the configuration:
The wizard checks for missing Windows components and offers to install them automatically.
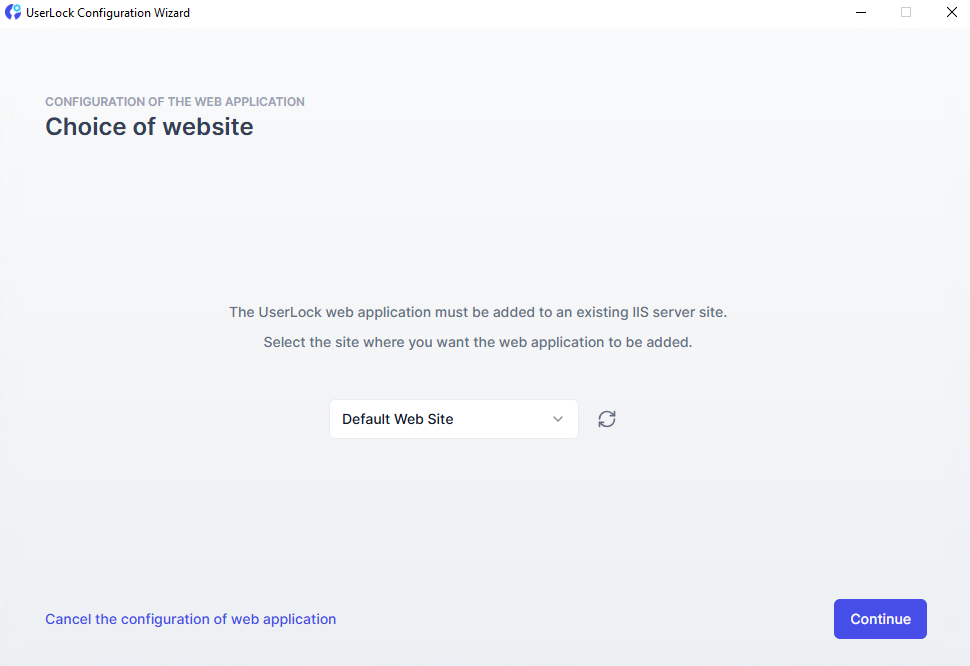
Select the IIS site where the web application will be deployed.
When setup is complete, you can access the UserLock web console through the IIS site.
If the web console is installed on a different server than the main UserLock server, you may receive an access denied error.
This is because, by default, IIS prevents authentication delegation between servers.
Change the authentication mode for the UserLock virtual directory to Basic Authentication.
Enable SSL to ensure credentials are encrypted during transmission.
Grant the IIS server permission to delegate authentication to the UserLock server:
On a domain controller, open Active Directory Users and Computers.
Find the IIS server hosting the web console.
Right-click → Properties → Delegation tab.
Select Trust this computer for delegation to specified services only.
Check Use any authentication protocol.
Click Add → Users or Computers.
Enter the name of the UserLock server, then click OK.
Select the cifs service → OK.
Click Apply, then OK.
Wait for domain replication to complete.
Open the web console and add the UserLock server.
)
)
)
)
If you encounter issues during installation or connection:
Or contact technical support