Install & configure the SSO Service
Enable UserLock Single Sign-On (SSO) to let users sign in once with their Windows credentials and securely access cloud and web applications without repeated logins.
UserLock Single Sign-On (SSO) acts as an Identity Provider (IdP) for SAML and OIDC-compatible platforms.
It allows users to authenticate once with their Windows credentials and access multiple web or SaaS applications without re-entering their password.
This guide explains how to install the SSO service, configure DNS, and activate SSO within UserLock.
The server hosting the UserLock SSO service must meet the following prerequisites:
Component | Requirements |
|---|---|
Operating system | Windows Server 2012 R2 or later |
Frameworks | Microsoft .NET Framework 4.7.2 and .NET 8.0 or higher |
Network | The SSO server must be member of the domain and have network access to domain controllers and the Internet. |
Registered domain | A registered FQDN (e.g. |
Authorized administrator | Sign in with a Domain Administrator account, or a user in the |
Browsers | Recent versions of Edge, Chrome, or Firefox with JavaScript and cookies enabled. |
You should install the SSO service on a separate server from the primary UserLock server.
This helps balance the load and keeps SSO web traffic separate from core UserLock operations.
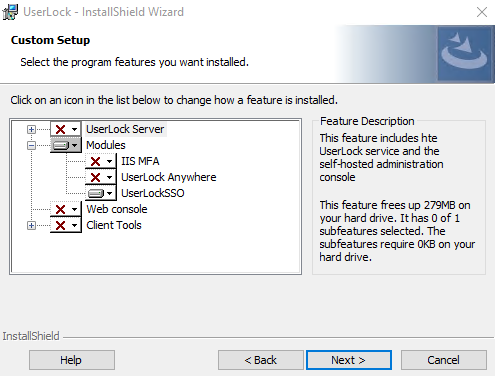
Run the UserLock installer.
Choose Custom setup.
Add the UserLockSSO feature.
Unselect other features you do not need.
Complete the installation wizard.
Correct DNS configuration is required for SSO to work correctly.
It ensures that both internal and external clients can resolve the SSO service hostname (for example, sso.yourdomain.com) and access it via HTTPS.
Create a public DNS record for your SSO hostname (e.g.,
sso.yourdomain.com) pointing to your organization’s public IP address.Verify that port 443 (HTTPS) is open and correctly routed to the SSO server.
Ensure that the SSL certificate used by the SSO service matches the chosen hostname.
On your internal DNS server, create an A record or CNAME for the same hostname (e.g.,
sso.yourdomain.com).Point it to the internal IP address of the SSO server.
Ensure this record is reachable from all internal network clients.
Verification
Use nslookup sso.yourdomain.com from both internal and external networks to confirm that the hostname resolves correctly.
Inside your corporate network, it should resolve to the internal IP.
From outside, it should resolve to the public IP.
Launch the UserLock Configuration Wizard.
Proceed to the Single Sign-On step.
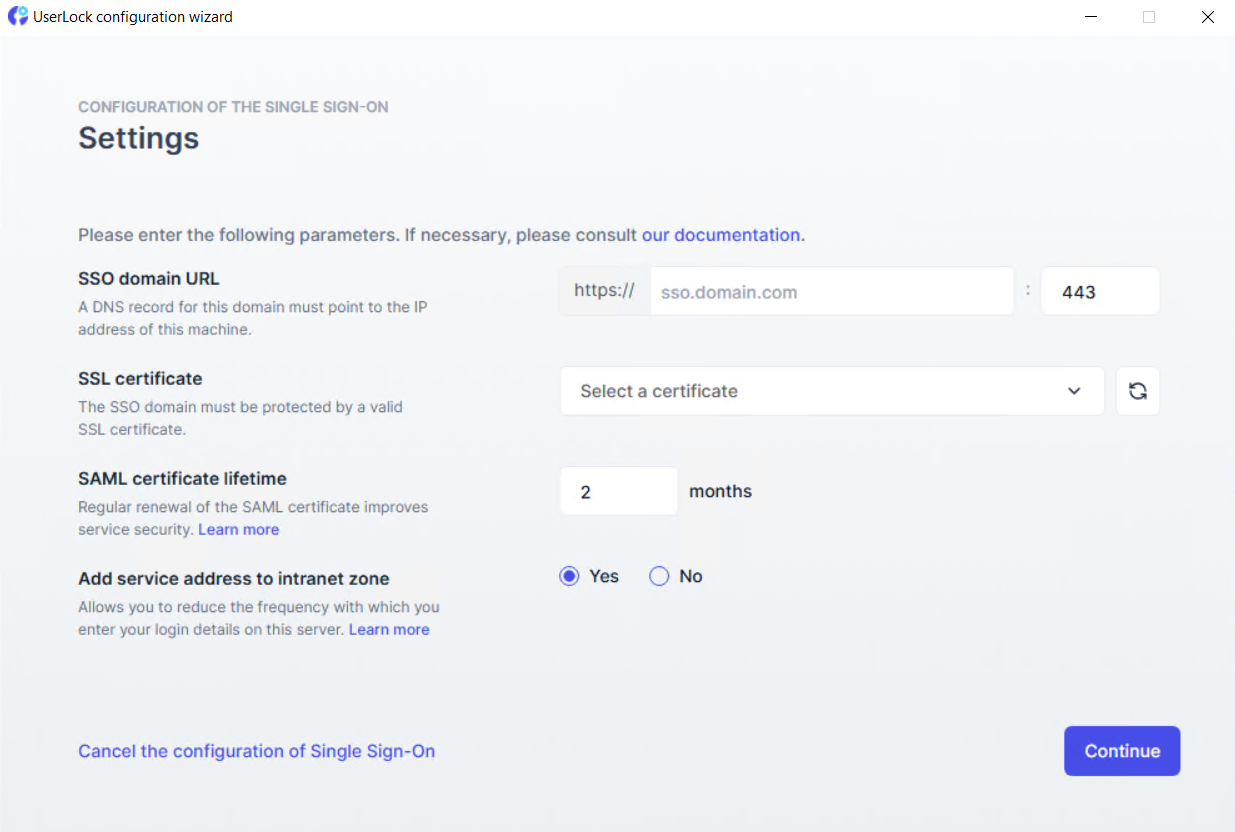
Configure the following settings:
SSO domain URL
Enter the registered domain (e.g.
https://sso.yourdomain.com)Port
443(this port is customizable)SSL certificate
Select a valid
.pfxcertificate matching your registered domain. It must include a private key.SAML certificate lifetime
Defines how often the internal SAML certificate is renewed (between 2 months and 10 years). For details, see the Certificate renewal section.
Add service address to intranet zone
Automatically adds the SSO address to the browser’s intranet zone to reduce login prompts.
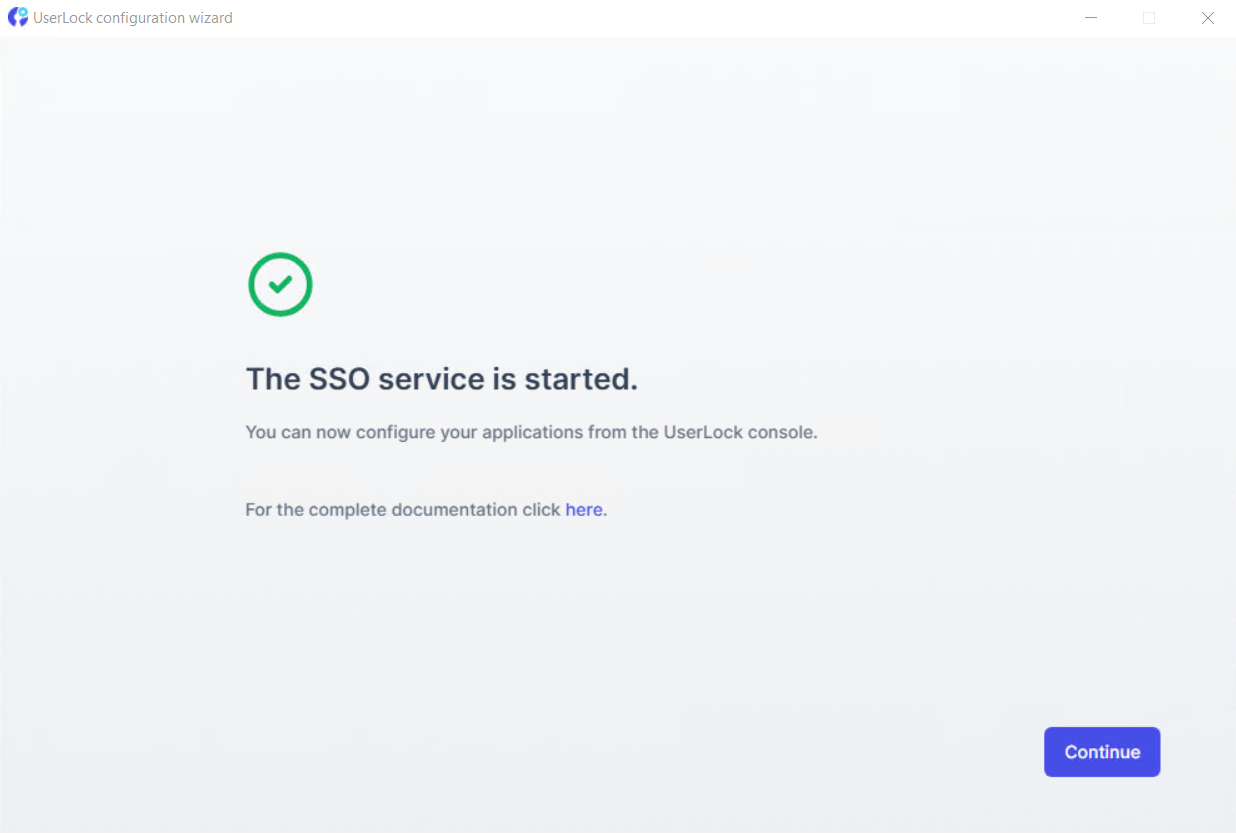
Once everything is configured, you can select Continue.
Configure an SSO Backup service to prevent access loss.
Configure SSO for a SaaS application to protect your cloud services.
Apply MFA on SaaS connections to require stronger authentication.
Hour restrictions: define when users are allowed to connect.
Geolocation rules: enforce access policies based on user location.
Session limits: allow or deny SaaS logins entirely for specific users.