Check services and network protocols requirements
This guide helps you verify that all required communications between UserLock components are working correctly. It provides practical tests to confirm connectivity, permissions, and network access.
📘 Useful resources
For the full list of protocols, ports, and communication flows used by UserLock, see Communication and required protocols.
To learn how to configure the required firewall rules, see Enforce firewall requirements.
UserLock relies on standard Windows services and network protocols to communicate between the server, protected machines, and other components (SQL, IIS, Active Directory).
Before running the detailed tests below, verify the following conditions to ensure all communications can operate properly.
What to check before you start:
✅️ The UserLock service impersonation account must have administrative rights on all protected computers.
✅️ Review the Requirements help page for the full list of ports and Windows services used by UserLock.
✅️ The following communications must be allowed both ways between the server and workstations:
ICMP (Ping) — for basic network connectivity.
SMB / File and Printer Sharing (TCP 445, 139) — for admin$ access and agent deployment.
RPC — for remote registry access.
DNS / FQDN resolution — UserLock uses FQDN by default for reliability.
✅️ Run all checks from the UserLock server using the impersonation account, to reproduce the same conditions as the UserLock service.
Note
For the complete list of required ports and protocols, see Components communication and protocols.
Open the UserLock Console.
Launch UserLockPowerShell.
Run the following command (replace
COMPUTERNAMEwith the NetBIOS name of the target):powershell(Get-UserLockAgentDistribution -Name COMPUTERNAME).FqdnNote the returned FQDN, for example:
WKS1.corp.local.

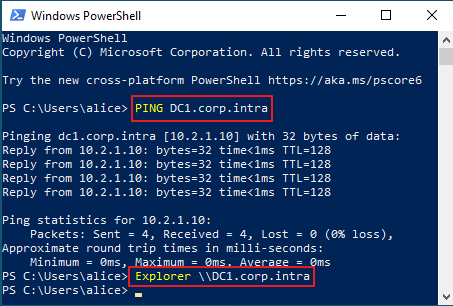
Log on to the UserLock server using the impersonation account.
Open CMD and run (replace
COMPUTERFQDN):ping COMPUTERFQDN explorer \\COMPUTERFQDNYou should observe:
The workstation replies to ping.
File Explorer opens the remote computer view.
FQDN note
UserLock connects via FQDN by default.
To use NetBIOS (not recommended), set Use FQDN to No in undefined️ Server settings → Advanced settings → Agents.
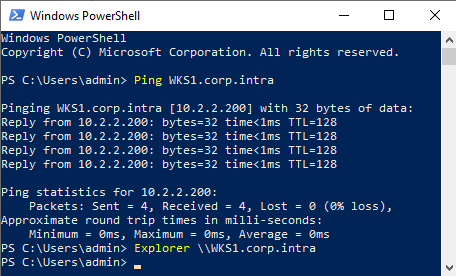
On a workstation, log on as a standard user.
Open CMD and run:
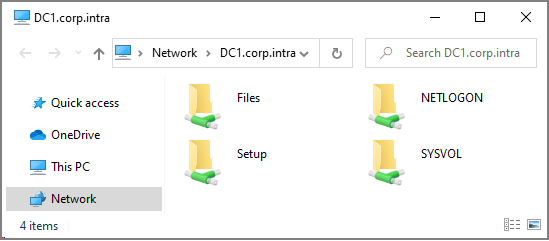
ping USERLOCKSERVERFQDN
explorer \\USERLOCKSERVERFQDN
You should observe:
The UserLock server replies to ping.
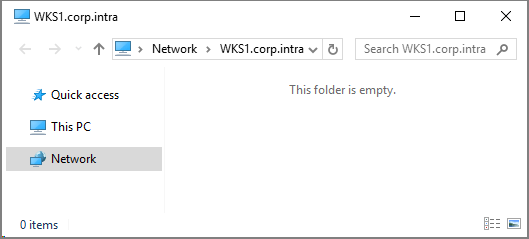
File Explorer opens the server shares.
NetBIOS Note
Protected computers use the FQDN by default.
To use NetBIOS (not recommended), set Deploy FQDN to No in undefined️ Server settings → Advanced settings → Agents.
Check that the UserLock service impersonation account has administrative rights on the target computer.
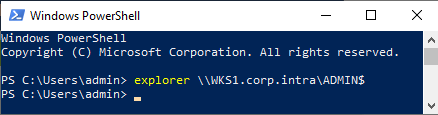
On the UserLock server, log on as the service impersonation account.
Open CMD or PowerShell and run:
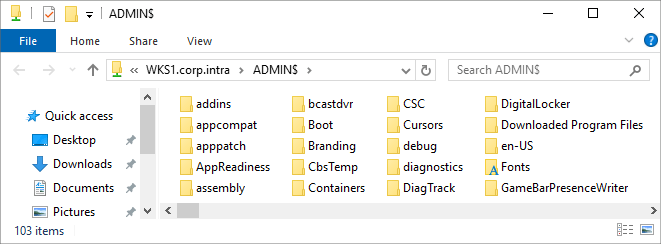
powershellexplorer \\COMPUTERFQDN\ADMIN$You should see the Admin$ share contents of the workstation.
If you get Access Denied, the account lacks administrative rights or SMB traffic is blocked.
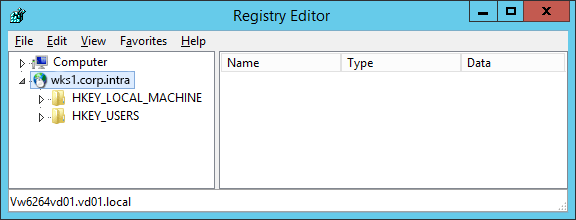
Check that the UserLock service impersonation account has remote access to the registry of the target computer.
On the UserLock server, run regedit.
In the File menu, select Connect Network Registry….
Type the FQDN of the target computer and click OK.
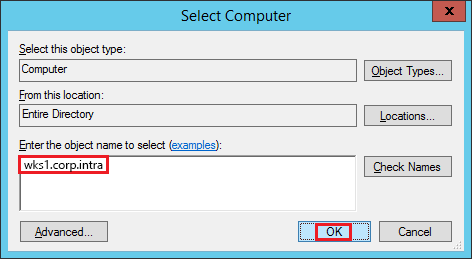
You should see the remote registry hive
If the connection fails, check RPC permissions or firewall rules.
To confirm end-to-end communication:
Prepare a test user
USR1and two workstations:WRK1,WRK2.Install the Desktop Agent on both (reinstall if necessary).
Create a Session limit policy for
USR1:Limit Interactive sessions to 1.
Enable Close previous session.
Create a Notifications policy for
USR1:Enable Display welcome message
Test the result:
Log on to
WRK1asUSR1→ welcome message should appear.Log on to
WRK2asUSR1→ prompt to log offWRK1appears; confirm and continue.If the session proceeds normally and the message displays, communication between components is working correctly..
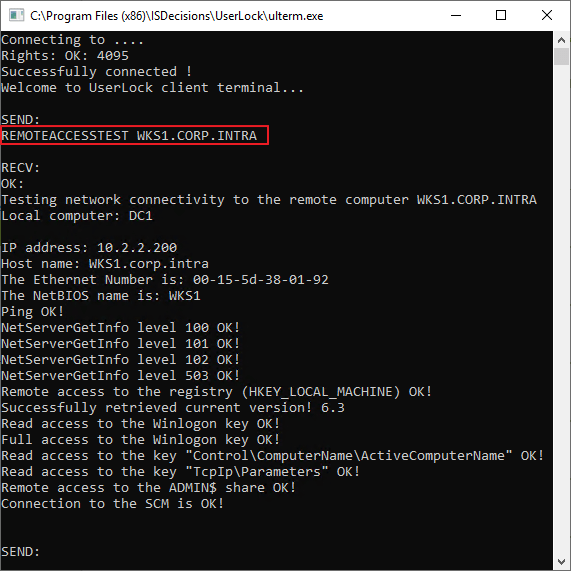
From the UserLock Console, press ALT + F6 to open UlTerm
Run:
bashREMOTEACCESSTEST <target-computer-FQDN>The command returns detailed diagnostics about remote access rights.
Save the output for support if needed.
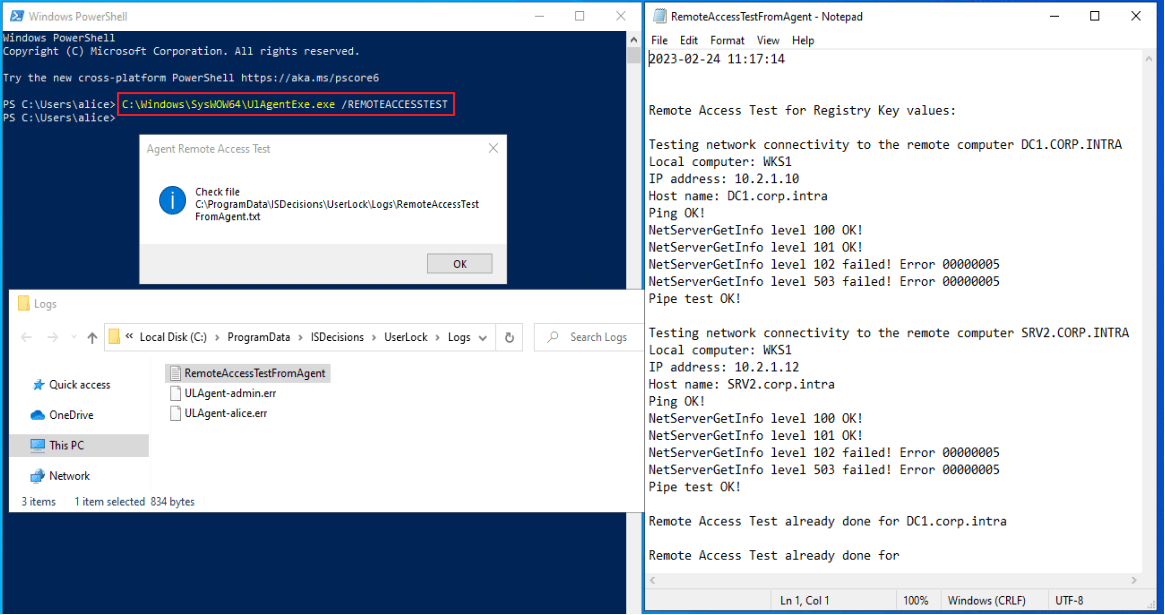
On a workstation with the Desktop Agent installed, run:
bashC:\Windows\SysWOW64\UlAgentExe.exe /REMOTEACCESSTESTThis test checks communication from the agent’s point of view and helps identify workstation-side issues.