8 Best Practices for Configuring FileAudit
Here are our recommendations on what to do when first configuring FileAudit.
-
Set up a mass alert for bulk reads (copies) moves and deletes
The mass alert feature in FileAudit allows administrators to be notified when an action is taken on a large amount of files within a certain amount of time. By setting up mass alerts for events such as reads, moves and deletes, an admin can immediately investigate the cause of the alert, and even execute a script to act quickly.
When a user selects a large number of files and copies them, FileAudit will show several simultaneous read events. When the administrator configures a mass alert, FileAudit will notify the administrator if there is a large number of reads within a short period of time.
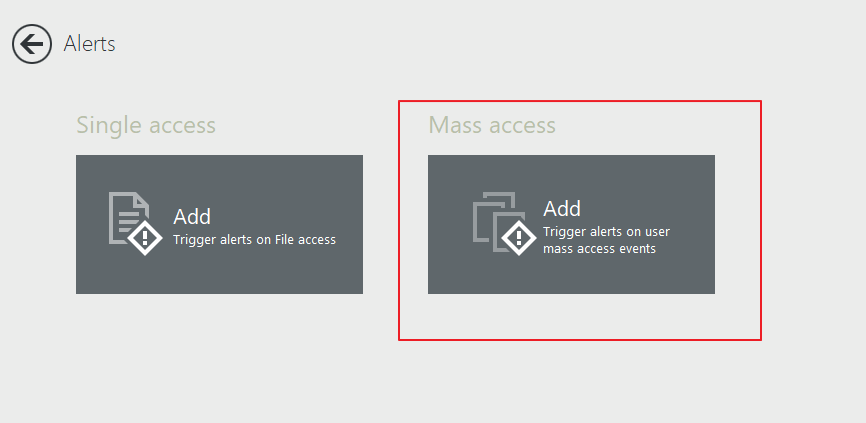
To set up the mass alert, follow the steps below.
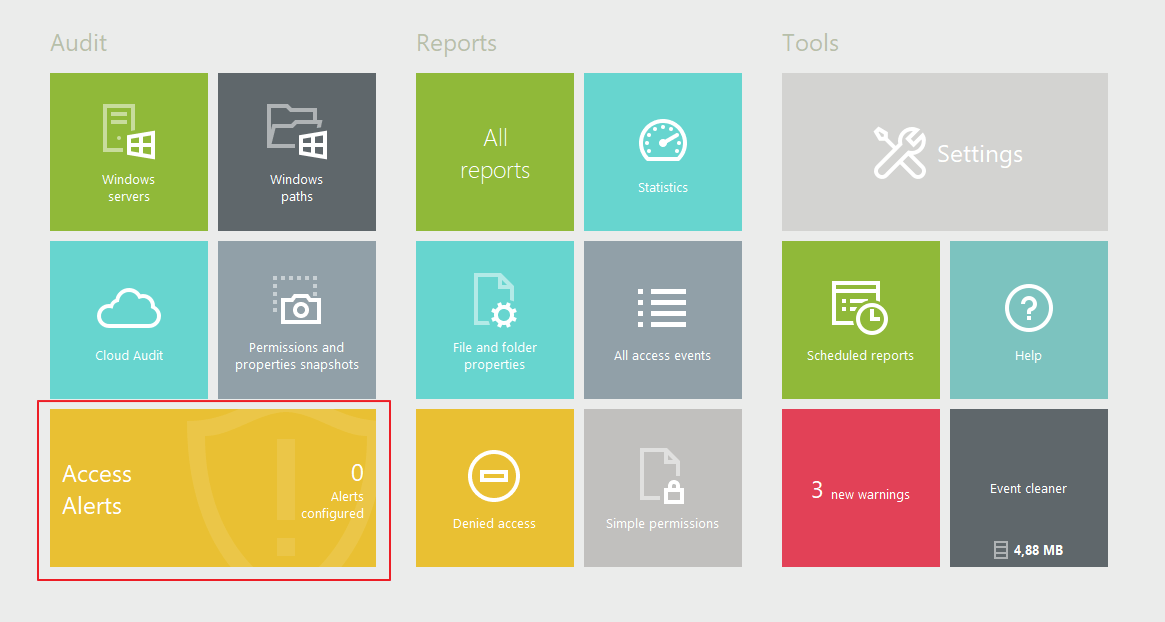
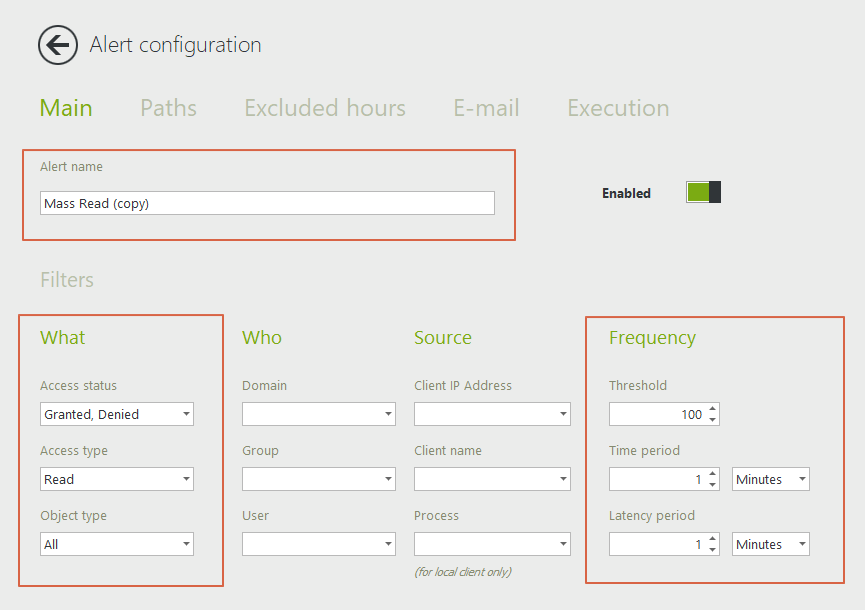
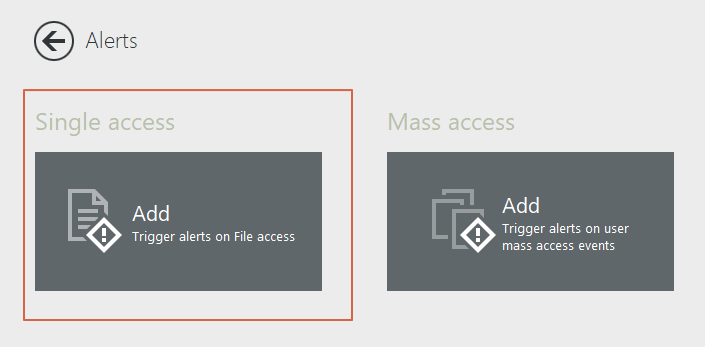
In the FileAudit console, under Audit, click on “Access Alerts.”
Select “Mass access”:
- In the Main tab, give your alert a name.
- Select “Granted” under Access Status to see all successful bulk actions. Select “Granted and Denied” to also be alerted on any access attempts.
- Select “Read” under Access Type and “Copy” if you have activated the cloud audit.
- Select the number of events within a time period that will trigger an alert.
If a user selects a large number of files to copy, several events will be logged simultaneously. It is therefore good practice to select a large number of files with a short time period, as in the example shown below. The latency period is the time period during which the alert will be temporarily disabled once triggered. This is to avoid receiving an alert for each additional access beyond the threshold amount. We recommend leaving it at one (1) minute (default setting).
To set up a mass alert for moves and deletes, simply check these boxes under “access types,” or create new alerts following the same procedure if there are other parameters in the alert to customize, such as a script execution.
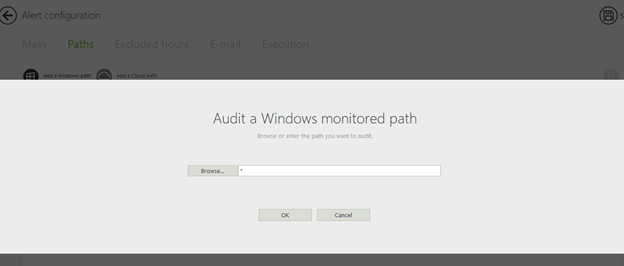
Select a path:
In the next tab, “paths” enter the audited files and folders that you wish to be included in this alert. Use the browse button to select specific files, or enter " * " to include all monitored paths.
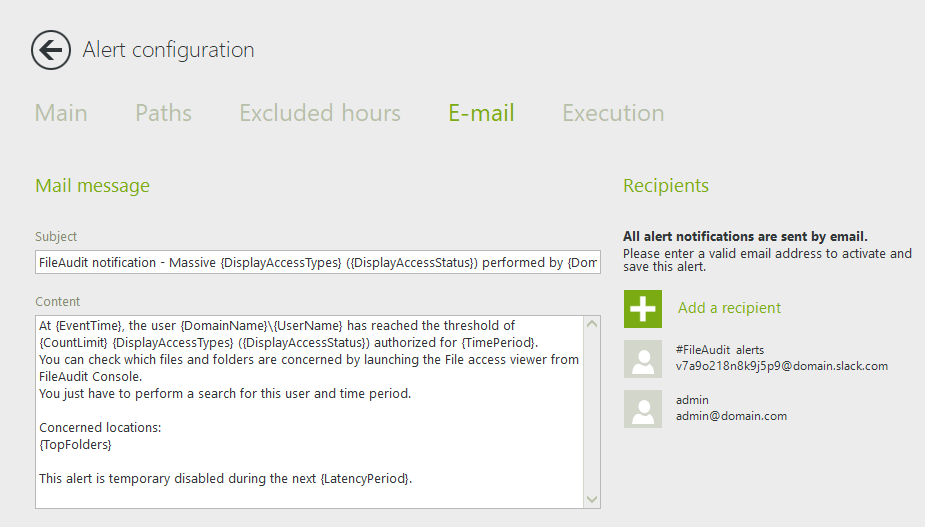
Email recipients:
In this tab, you can configure the subject and body of the email, as well as who will receive the alert. You can enter several email addresses if needed. There is also an option to send alert notifications to Slack or Teams. Click on “Add a recipient” to add an email address or pick up a previously used one.
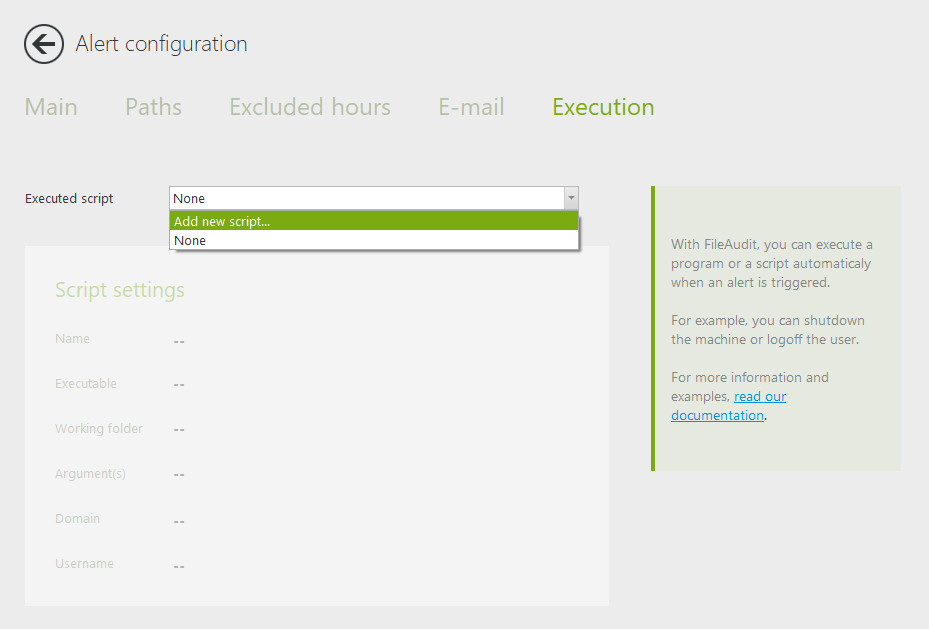
Execution:
The “Execution” tab allows you to trigger a specific action when an alert is triggered. Create a script and allow it to run whenever the alert is triggered.
This method allows you to automatically react to an abnormal or suspicious event. For example, you could execute a script to shut down the machine or log off the user.
Either add a script or choose the script to be applied from the dropdown list. Once a script is selected, its settings will appear below.

-
Enable scripts to take an action following an alert
With security breaches, time is of the essence. Reacting too late after the fact can pose serious risks to your IT infrastructure. Enabling a script to take immediate action when an alert is triggered can help administrators to minimize damage to systems or stop a malicious user in their tracks.
For both the single and mass access alerts, in the last tab “Execution,” you can configure a script to take an action such as logging off the user who triggered the alert, shutting down the machine which triggered the alert.
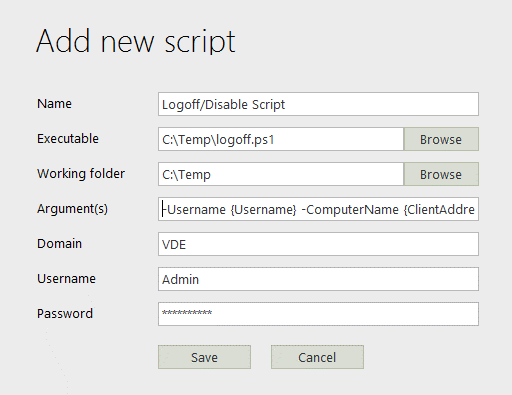
Add a new script:
Complete the form in the popup:
Download common scripts:
Here you can download our most common scripts, which include logging off the user from the machine which triggered the alert, shutting down the machine which triggered the alert, and disabling the user account in Active Directory (AD).
- Logoff User
- Logoff and Disable User
- Disable User
- Disable User and Shutdown Machine
- Logoff User and Shutdown Machine
- Shutdown Machine
For more information on executing scripts in alerts, click here.
-
Optimize your audit by avoiding configuring paths containing system files
During the audit configuration, avoid configuring paths containing system files, as the operative system triggers many of its own set of events on these files.
(A specific example of system files includes the files with .sys filename extension in MS-DOS. In the Windows NT family, the system files are mainly under the folder C:\Windows\System32.)
-
Configure during off-peak hours for a large amount of data
When auditing a large amount of data (>1 TB), configure during off-peak hours and, if possible, in batches.
The reason for this is FileAudit checks the inheritance configuration on first levels of sub folders to be sure that the NTFS settings will be correctly propagated and that the audit will be enabled on all subfolders and files. This can take some time depending on the amount of files and folders and the performance of the server.
-
Personalize your dashboard
You can personalize your FileAudit dashboard by selecting your favorite reports to display in the hub.
Click on “All Reports”:
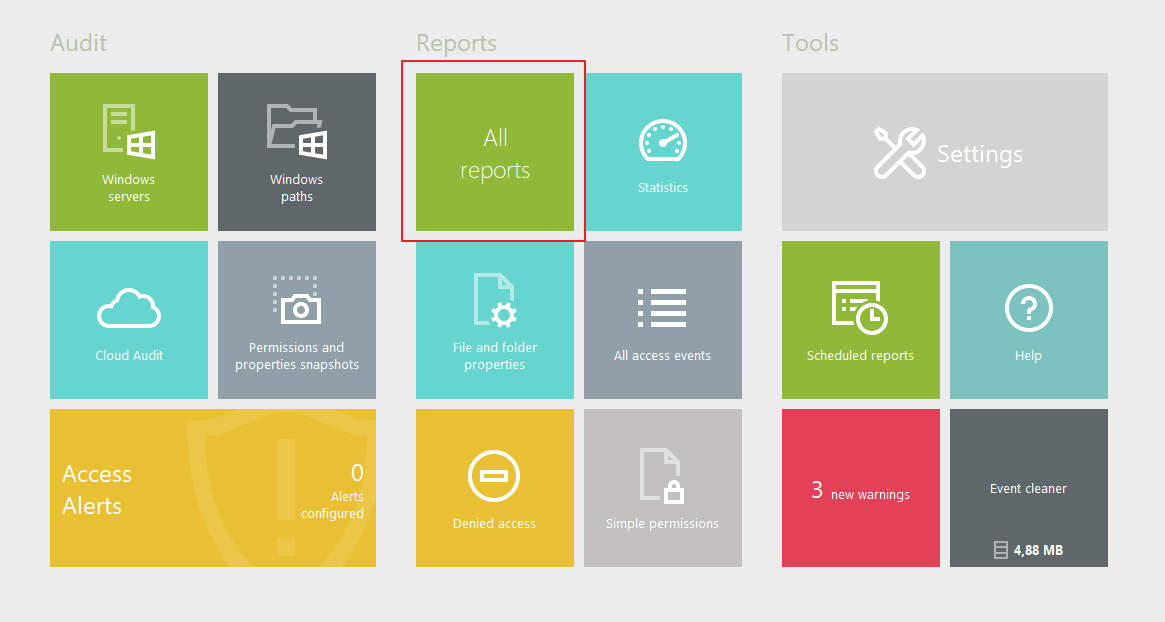
Use the star icons to select your most consulted reports and access them directly from the dashboard:

-
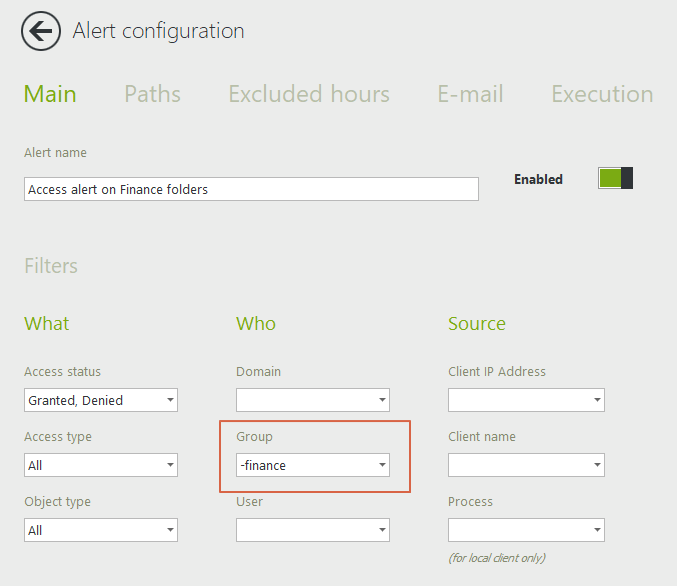
Use group filters to alert or report on unusual accesses
Your finance group are the only users who have access to the Finance folder. But what if a user outside of that group attempts to access those files? In FileAudit, you can set up alerts for your most sensitive files and filter by groups who do not have access.
Add a single alert:
Name the alert:
Use "-" to exclude the group you do not what to be alerted on. Any users outside of this group accessing these files will trigger the alert.
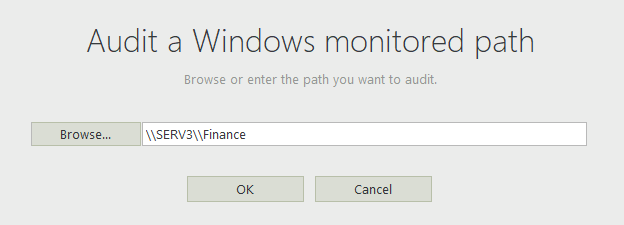
Under the path tab, select a folder that you wish to be alerted on:
Complete the configuration by entering the email recipients. You can also choose to execute a script if you'd like an action taken when then alert is triggered.
-
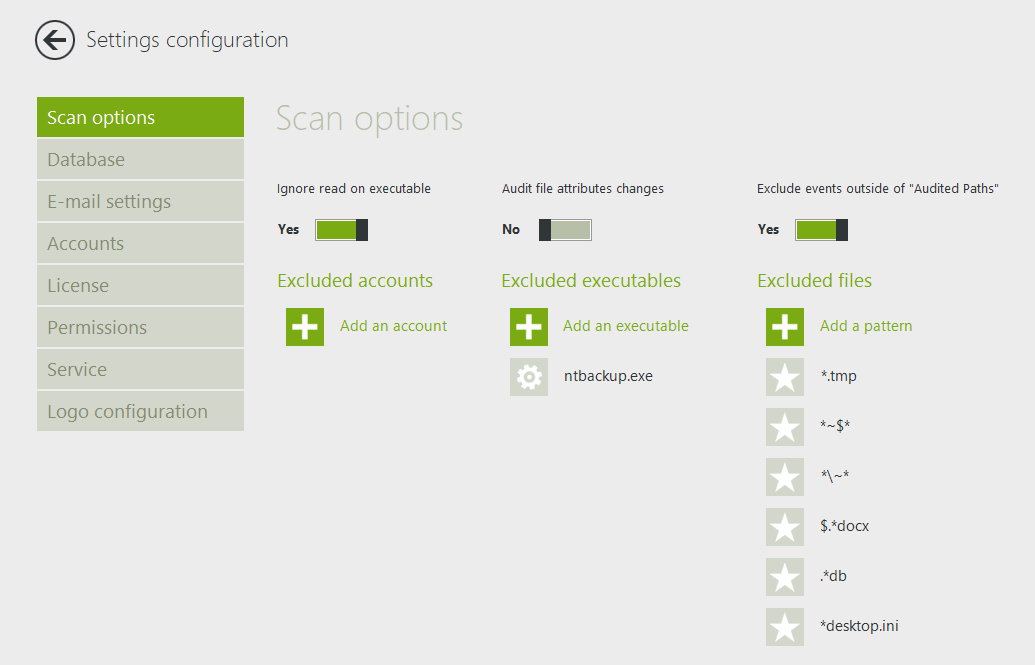
Exclude common unwanted file events
To optimize your audit, it is best to exclude certain file events such as temporary documents and events generated with executables such as antiviruses or backups. Service accounts that can generate unwanted events should also be excluded.
Go to Settings => Scan Options, and enter the file types and executables that you do not wish to audit. See the screenshot below for the more common exclusions:
-
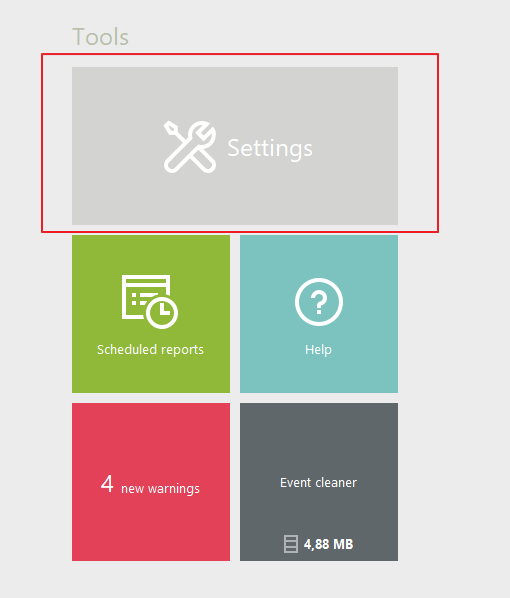
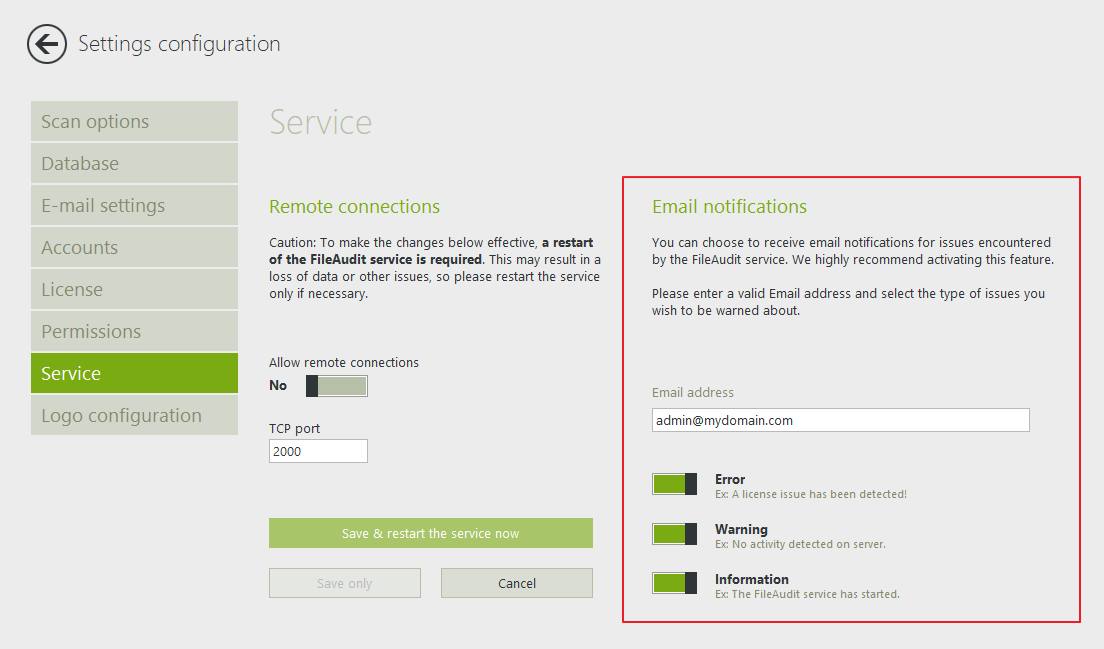
Activate email notifications for warning messages
Under Settings => Service, enable the email notifications feature to be alerted if there is an issue with the software. This allows you to troubleshoot as soon as the issue occurs, and to avoid losing any audited data.