Fill the form at your convenience and click "Save and continue".
Add some test users (opt.) and click on "Save and continue".
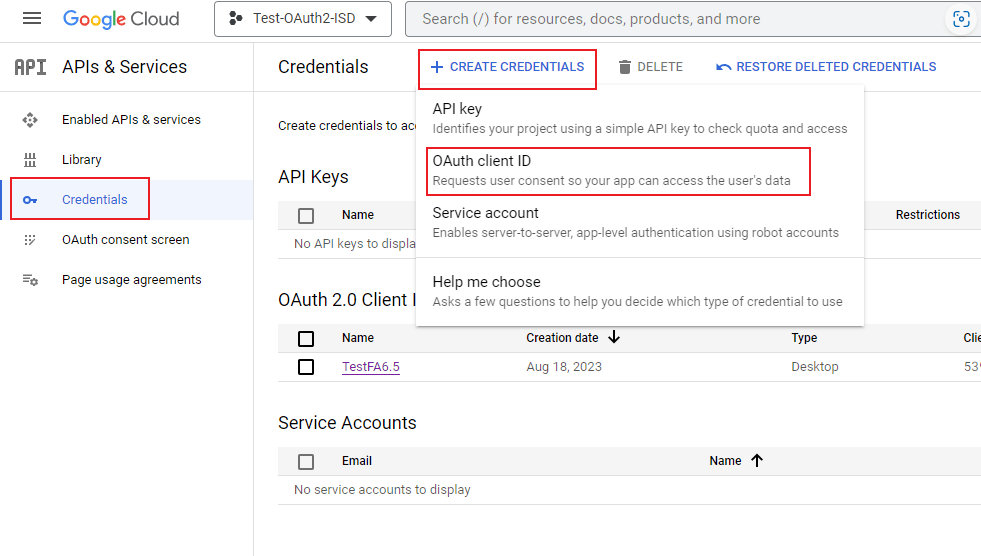
Now that your OAuth consent screen is set up, go to Credentials page and click "Create credentials".
Click Create credentials > OAuth client ID.
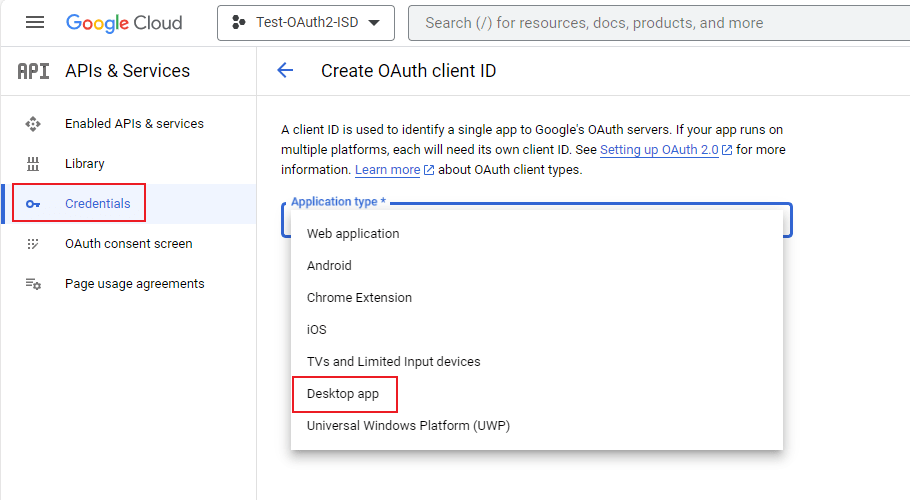
Select the Desktop app application type, name it and click "Create".
Note: You can now retrieve the Client ID and Client Secret of your app.
A flyout window appears. You can copy your Client ID and your Client Secret to use in FileAudit to authenticate with OAuth2 from this flyout.
Otherwise to copy your app's credentials, go back to the Credentials page and select your project. From this page you can copy your Client ID and your Client Secret.