Configure your first audit path
-
Launch FileAudit.
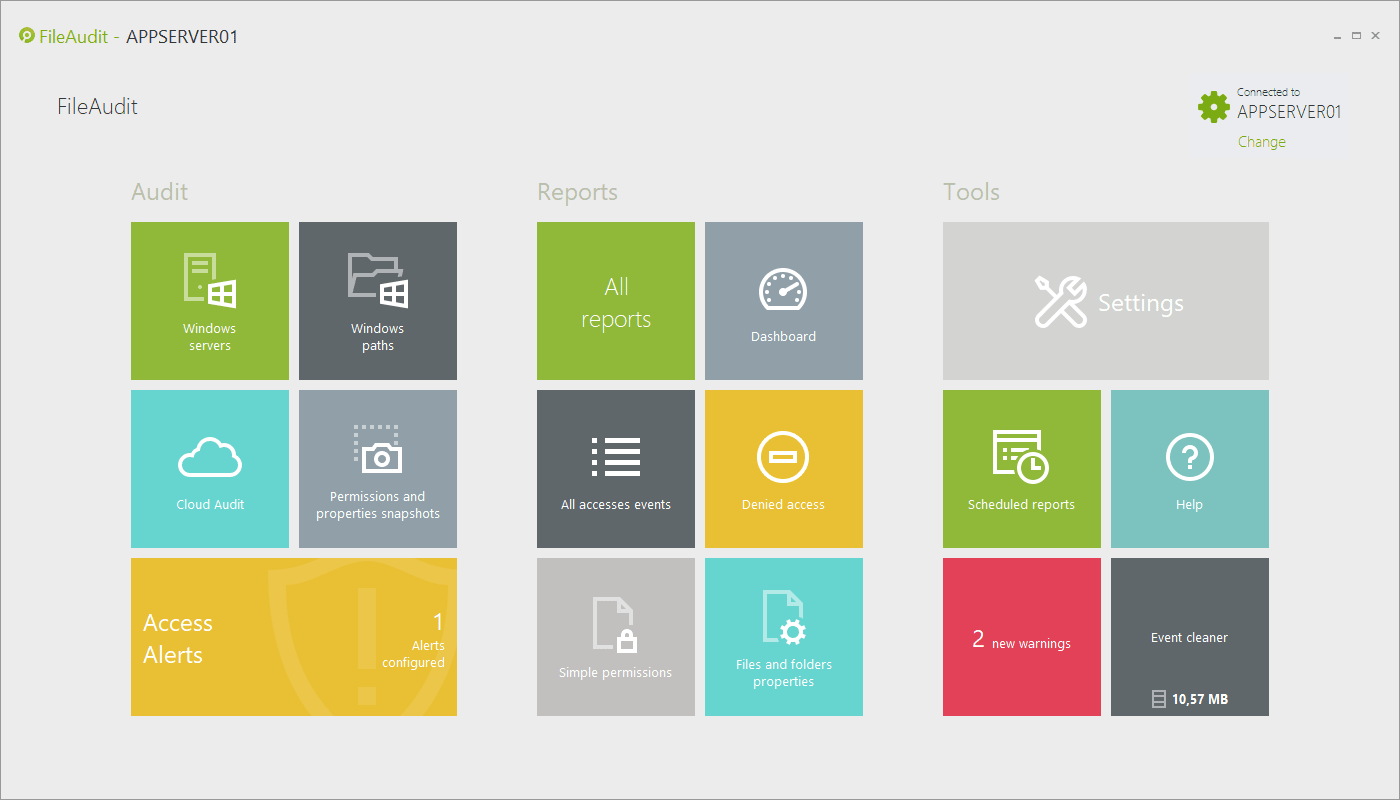
You will find 3 main tile groups:- Audit: Tiles allowing you to configure your audit and alerts.
- Access: Tiles displaying the ‘Access Reporting’ and the ‘Statistics’ view.
- Tools: Tiles customizing FileAudit settings, scheduling automatic reports, cleaning database and accessing the help file.
The additional ‘Connect’ button at the top right hand corner allows you to remotely connect to another system running the ‘FileAudit service’.
-
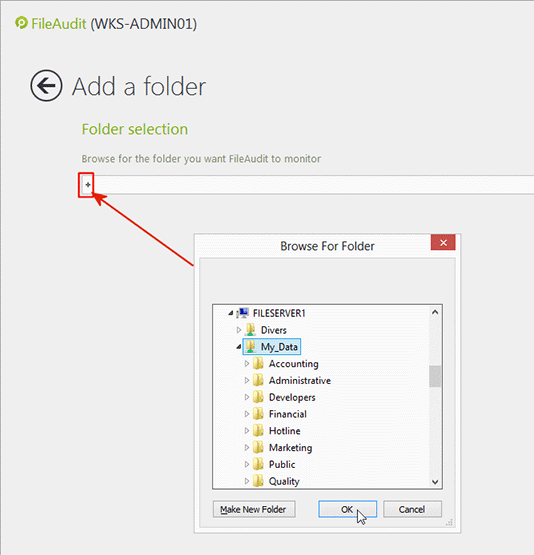
To set your first path to audit, click the ‘Add a folder’ tile in the FileAudit hub. Click the ‘+’ button and browse for your target folder:
-
Having validated your selection, the ‘FileAudit path wizard’ will pop up to guide you through the process of configuring the folder audit.
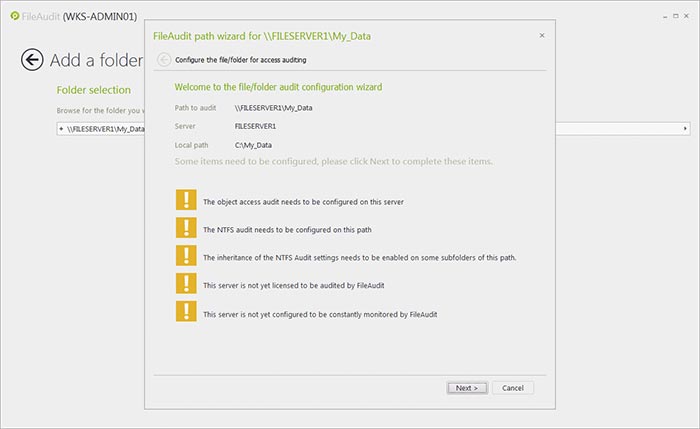
This wizard will display the status of the Audit configuration for the selected folder and highlight any missing requirements or settings. For each necessary action, you have the choice of completing it automatically (via the wizard) or manually. We strongly recommend that FileAudit automatic configuration be used for all audit settings. -
List of required actions.

-
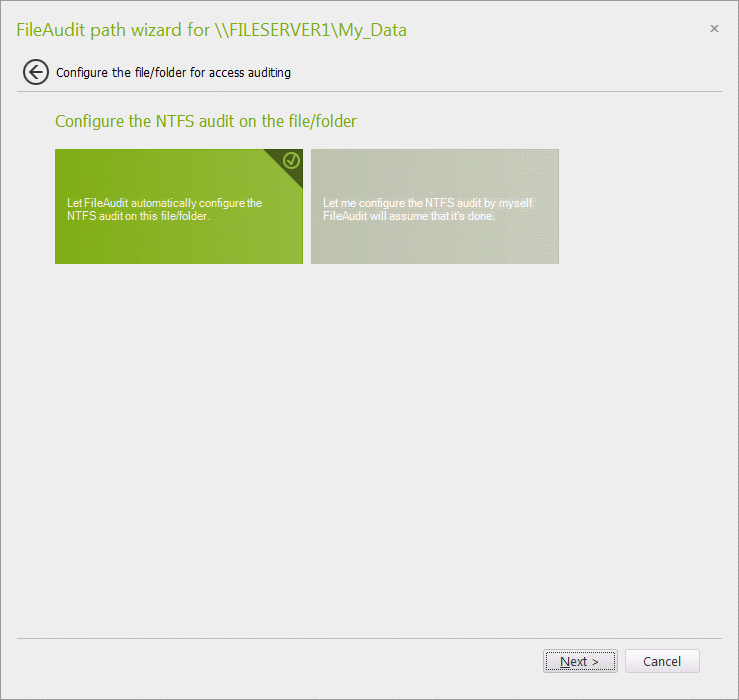
Select automatic or manual processing.

-
FileAudit will optimize the NTFS audit settings.
-
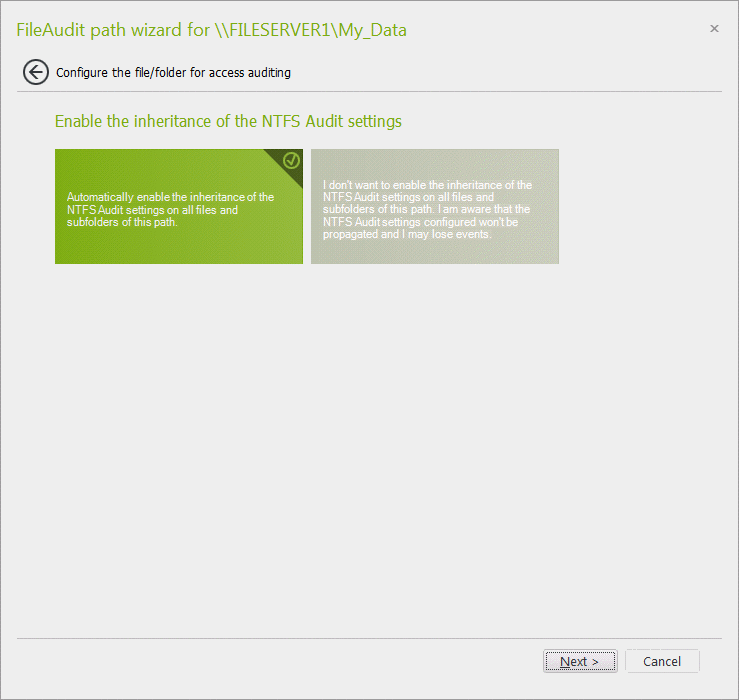
FileAudit checks when the inheritance of the NTFS Audit settings are disabled and can enable it.
-
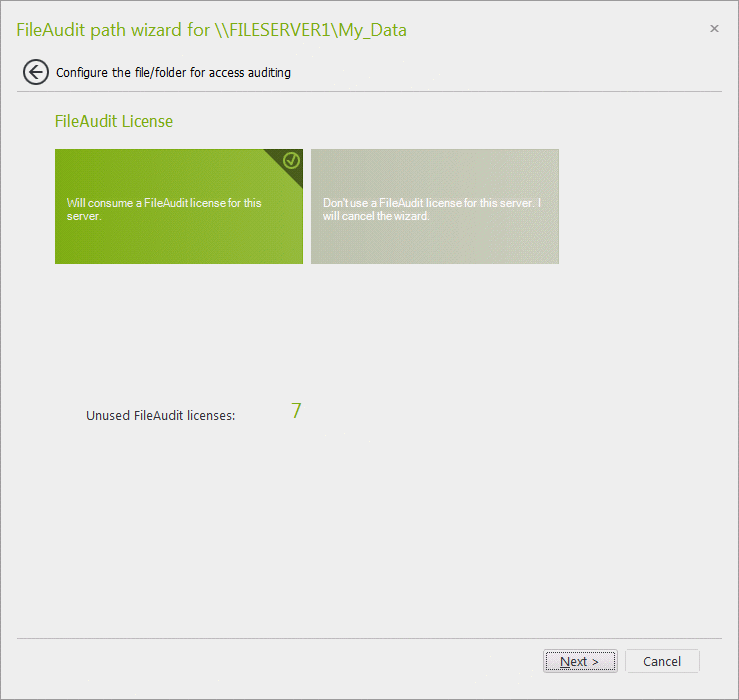
The folder host will be added to the ‘Licensed servers’ list.
-
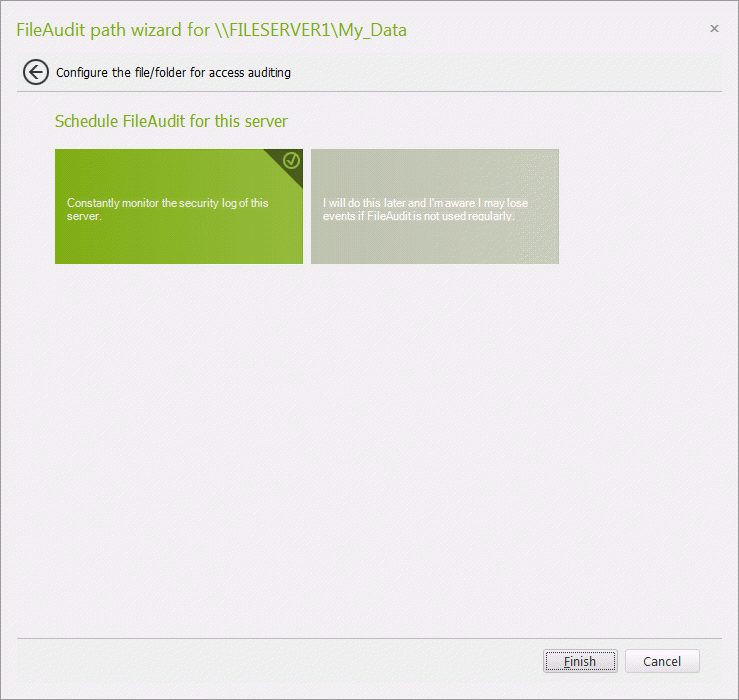
Enable real-time event monitoring.
-
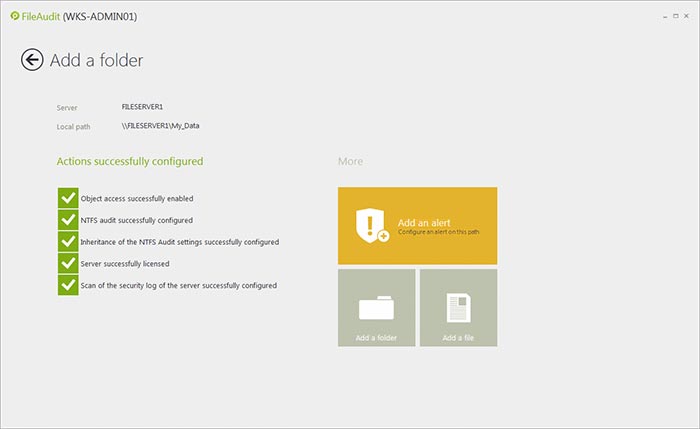
The folder you have selected is now monitored by FileAudit. All access events will be stored in the FileAudit database. We invite you to stay on this view as we will begin the next paragraph from here.
Please note
There are different ways to select a file/folder path to audit. Additionally to the method previously followed, you can:
- Launch the console by right-clicking directly on a file or folder in Windows Explorer and select FileAudit in the ‘Context Menu’. In this case, the previous steps are skipped as the file/folder path is directly imported into the FileAudit Console.
- Display the ‘Access Reporting’ and type the target path directly in the ‘Path(s)’ field. You can also find two buttons in the ‘Access Reporting’ to add a folder or a file.
- Simply use the two tiles ‘Add a folder’ or ‘Add a file’ in the ‘Audit configuration’ section.
Additionally, FileAudit always checks the audit configuration status for every path entered in its different views and settings, for example in:
- The ‘File access viewer’,
- A scheduled report configuration,
- An alert rule definition