Connect to a Cloud storage provider
Once the add-on is activated, you can connect FileAudit to one of these Cloud storage providers
- Dropbox Business Advanced Plan
- Box
- OneDrive for Business (Incl. SharePoint Online)
- Google Workspace Business Advanced Plan
- In the Cloud Audit page, click on the “Connect” button of your provider
- Follow the instructions displayed in the page. You will be redirected to your provider web site in your default browser to continue the subscription process.
- Once logged in, you must allow FileAudit to audit your data. You must be an administrator of the subscription to proceed. FileAudit will only audit the access events of your files stored at this host and transfer them to your local database. We are committed to never sell, share, or disclose your data. For more information on how FileAudit retrieves and stores your data, or about our privacy policy, you can see this page.
- You can now monitor your Cloud files access events in FileAudit.
Notes:
Notifications delay:
Depending on the provider, some events may not be visible immediately in FileAudit. Box and Dropbox event notifications are sent in a few seconds while Google and Microsoft are significantly slower (between 5 and 15 minutes). For instance, according to Microsoft, “Webhook notifications aren't event-driven in the sense that the event triggers the notification. The content blob must still be created, and the creation of the content blob is what triggers the notification delivery”. So, this is not related to FileAudit but to the way these providers notify their partners.
Troubleshooting:
Depending on the security settings of the server you're installing FileAudit on, you may experience some issues when configuring the audit on a cloud provider. This is due to the embedded browser in FileAudit which is affected by the Internet Options which are setup on the system. Some providers’ urls are automatically added to the Trusted Sites section of these settings to facilitate the user experience, but this is not always the case.
For instance, if you try to audit a Box subscription on a server where the Enhanced Security Configuration is Enabled, you'll end up on an error page. You may get a blank page if you simultaneously have activated the Identity Federation (using ADFS for instance) and the Windows Authentication.
Generally, in order to fix these issues, you can first try to disable the SuppressScriptErrors advanced setting (by pressing F7 when the FileAudit console is open). Once this is done, you may receive some of these script errors, but you will be able to add the missing urls manually to the Trusted Sites. If the problem persists, please read the FAQ ou contact technical support if no solution solves your issue.
Google Audit Activation:
Be aware that the new starter plan does not support Drive admin logs.
If you face an issue while enabling the Google Drive audit, that may be because the access to Google API is restricted. In such cases, you will get an error message asking you to enable the API access. To do so, FileAudit needs to be added to the list of Trusted Apps.
Please read the following documentation: https://support.google.com/a/answer/7281227.
To complete the procedure, you will need the FileAudit ClientId:
330456967547-e282tdiqkgsla6vcbot282otcoid4cgd.apps.googleusercontent.com
Auditing SharePoint:
OneDrive is used behind the scenes by SharePoint Online. There is no additional configuration needed to audit SharePoint Online. When you configure the audit for OneDrive, you will also be able to audit all file activity in SharePoint Online and Teams.
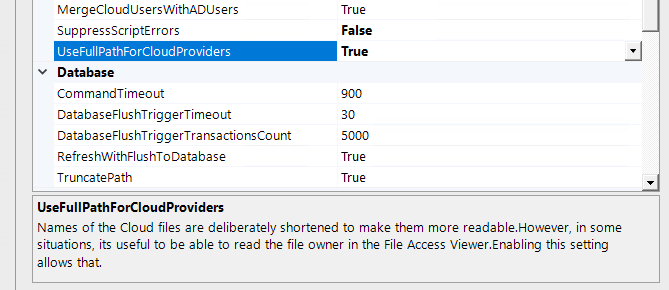
Any file activity on these platforms will show as OneDrive events in all FileAudit reports. However, by changing the advanced setting "UseFullPathForCloudProviders" (accessible by pressing F7 in the console) to True, you will be able to see the name of the SharePoint site in the path to help you to distinguish the two.
Remove an audit
To remove an audit from a provider, click on a tile of a connected provider. Then click on the “Remove audit” button and confirm by clicking “ok”.
All existing access events already generated and stored in the database will still be available.