Manage scheduled reports
Set up FileAudit to generate and send audit reports automatically on a weekly or monthly schedule.
A scheduled report runs automatically on a weekly or monthly schedule, then saves the result and optionally emails it. This guide covers creating, testing, editing, and deleting scheduled reports.
Make sure the following are in place:
Windows auditing is active on the paths you want to report on.
A report only returns events captured by the audit engine; an unaudited path produces no data.
See Manage Windows audit Guide.The email server is configured, if you want reports delivered by email.
Email delivery is optional for scheduled reports, but the mail server must be set up first to use it.
See Configure email settings Guide.
Note
For the report types available (access, permissions, summary) and what each one contains, see Reporting Reference.
You can create a scheduled report in two ways:
From the FileAudit hub, click the Scheduled reports tile, then Add a scheduled report.
From a Report View, configure the filters you want, then click the options menu at the top right of the view and select Schedule this report. FileAudit imports your filter settings into the new report's Main and Paths tabs.
The configuration screen opens on the Main tab. Set up each tab in order, then save.
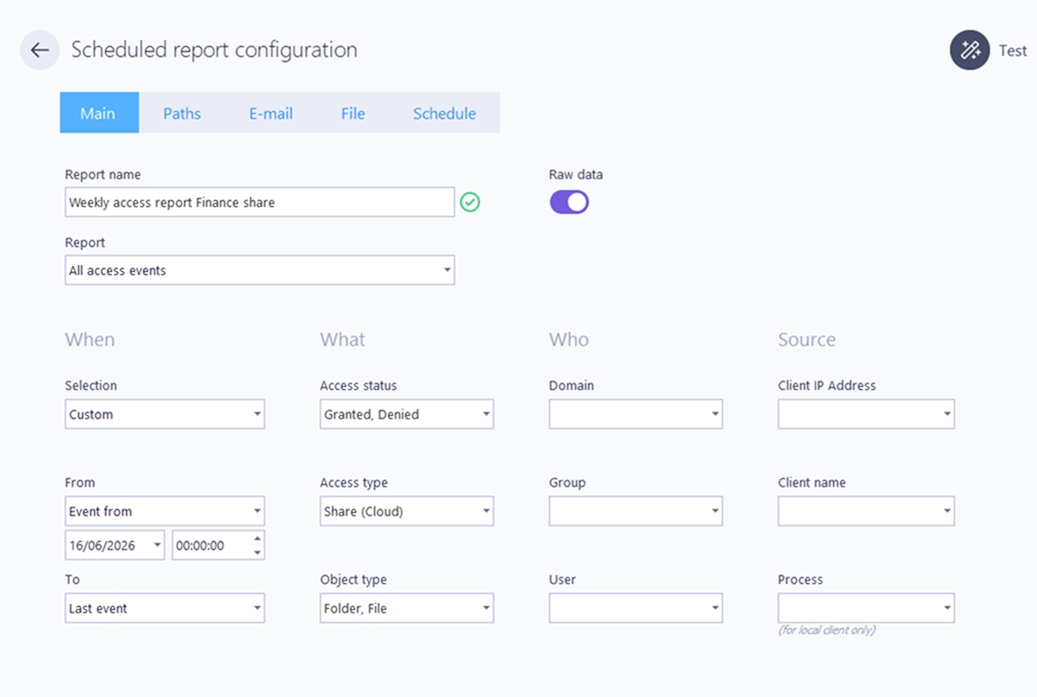
On the Main tab, enter a Report name. This name identifies the report on its tile in the Scheduled reports hub, so make it specific (for example,
Weekly access report – Finance share).Select the Report type from the dropdown. The list groups every available report (access reports, denied access reports, alert reports, permissions and summary reports). The type you choose determines which filters and tabs apply.
(Optional) Turn on Raw data to also generate the report in CSV format.
Set the report's filters under the headings shown for this report type. The available filter groups (When, What, Who, Source) and the fields within them change depending on the report you selected: an access report exposes the full set, while a permissions report shows only the relevant ones.
See Filters Reference for what each field means and its possible values.
To target several accounts, or to exclude some, use the Include or exclude syntax.
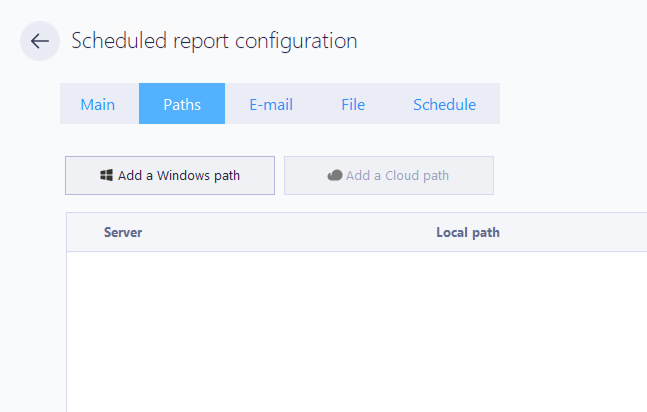
Open the Paths tab and add at least one path. A report with no path returns no data.
Click Add a Windows path or Add a Cloud path, browse to the file or folder, and click Validate. Repeat to add more.
The path field supports the
*(any string) and?(any character) wildcards.If the path isn't audited yet, FileAudit offers to set it up through its wizard.
See Manage Windows audit Guide.
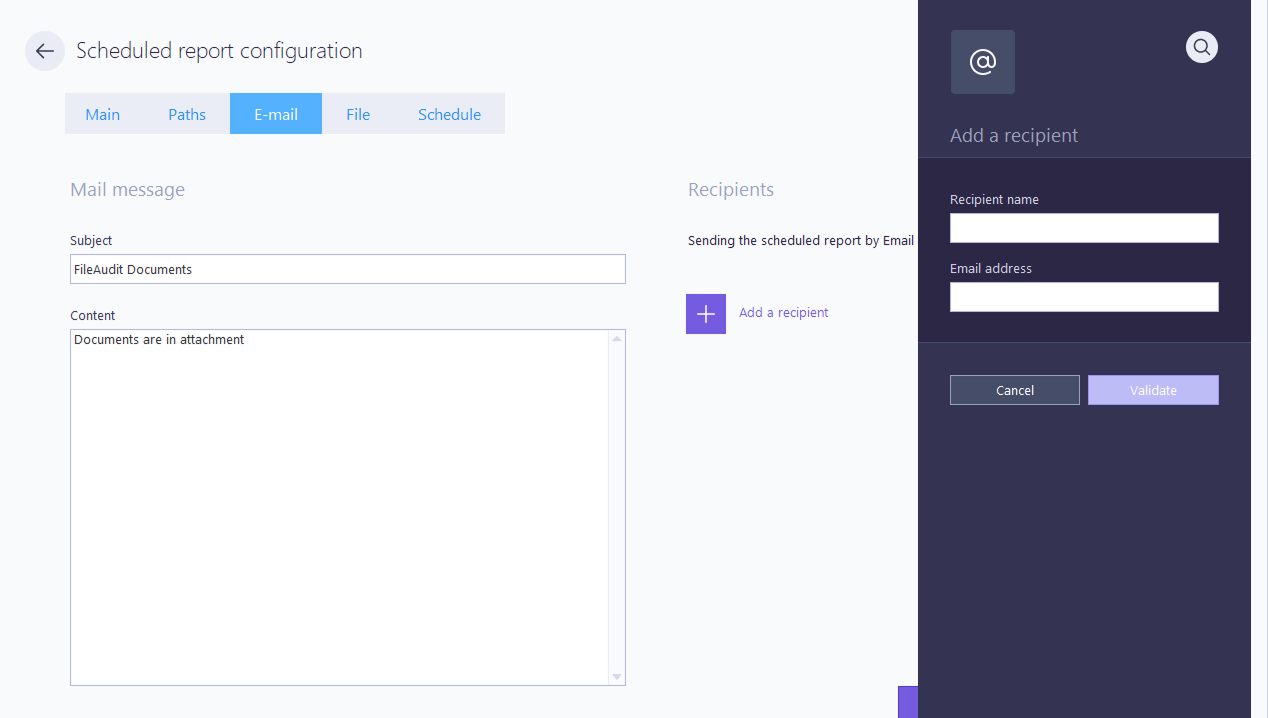
(Optional) Open the E-mail tab to deliver the report by email. Email delivery is optional: a report with no recipient is still generated and saved to disk (see the File tab), but is not sent.
Click Add a recipient to enter a new name and address, or pick an existing stored recipient.
Edit the Subject and Content templates if you want.
The report is attached to the email in PDF format.
To deliver reports to Teams or Slack instead of a mailbox, see Send alert notifications to Teams or Slack Guide.
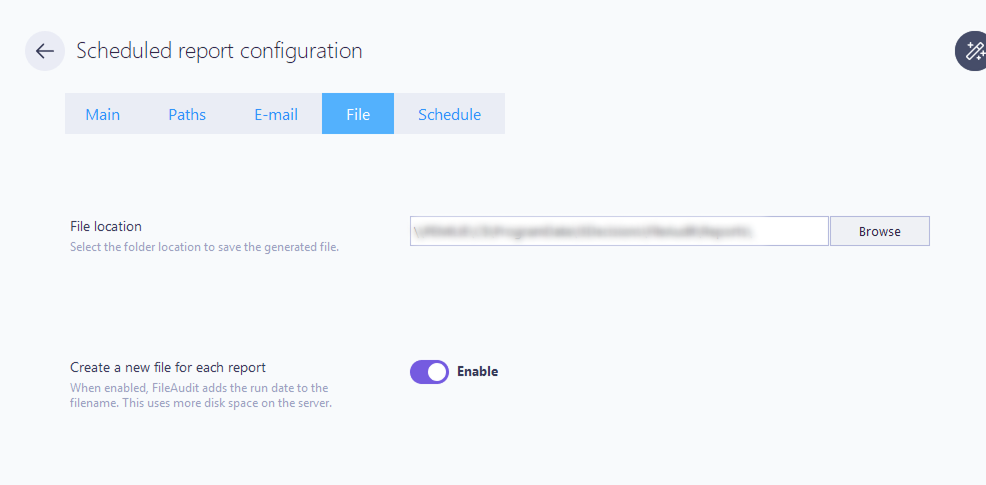
Open the File tab to set where the generated report is saved.
In File location, browse to the destination folder. The default is
C:\ProgramData\ISDecisions\FileAudit\Reports.By default, each run overwrites the previous file to save disk space. Turn on Create a new file for each report to keep every run: FileAudit adds the run date to the filename.
Note
⚠️ Important
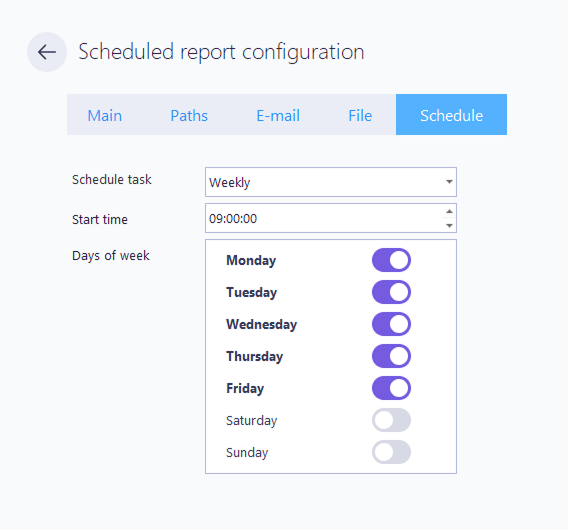
The account running the FileAudit service (Local System by default), or the impersonation account set in Settings Reference, must have write and delete permissions on the destination folder. Keeping historical files uses more disk space and is never cleaned automatically.Open the Schedule tab and set when the report runs. Set Schedule task to Weekly or Monthly, then choose a Start time.
Weekly: toggle the Days of week switches for the days the report should run.
Monthly, Days of month mode: pick one or more specific days of the month.
Monthly, Week of month mode: pick a target week (first, second, third, fourth, or last), then the day of that week.
Click Save (top right). The report is scheduled immediately.
Note
Permissions and summary reports are built from snapshots rather than live access events, so their Schedule tab differs and the Test function is not available for them.
See Manage permissions and properties snapshots Guide.
Testing runs the report once, right away, so you can confirm the definition produces what you expect before relying on the schedule.
In the report configuration, click Test (top right).
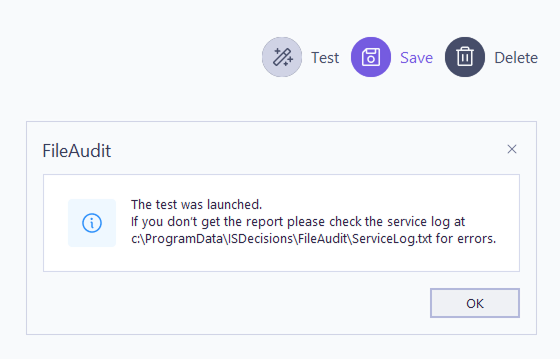
A confirmation popup shows that the test has launched. If the task definition has a problem, the popup points to the service log at
C:\ProgramData\ISDecisions\FileAudit\ServiceLog.txt.If a recipient is set, you receive an email with the report attached. Review it and adjust the settings if needed.
Note
This function is not available for permissions and properties reports.
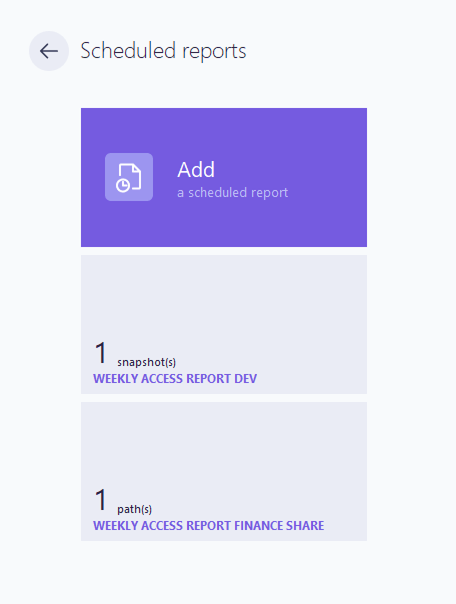
In the FileAudit hub, click the Scheduled reports tile.
Click the tile of the report you want to change.
Change any setting across the tabs, then click Save. Changes take effect at the next scheduled run.
In the FileAudit hub, click the Scheduled reports tile.
Click the tile of the report you want to remove.
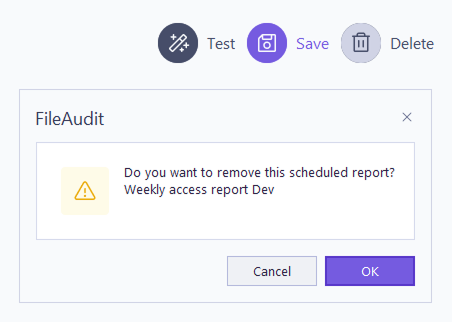
Click Delete (top right).
Confirm by clicking OK.