Connect remotely to a FileAudit service
Connect a FileAudit console to a FileAudit service running on another machine over the network.
The FileAudit service must be installed and running on the target machine.
The FileAudit console must be installed on the machine you want to manage FileAudit from.
You need network connectivity between the two machines, and permission to create a firewall rule on the server.
This is a one-time configuration on the machine hosting the FileAudit service. It enables incoming console connections and lets them through the firewall.
On the machine where the FileAudit service runs, open the FileAudit console.
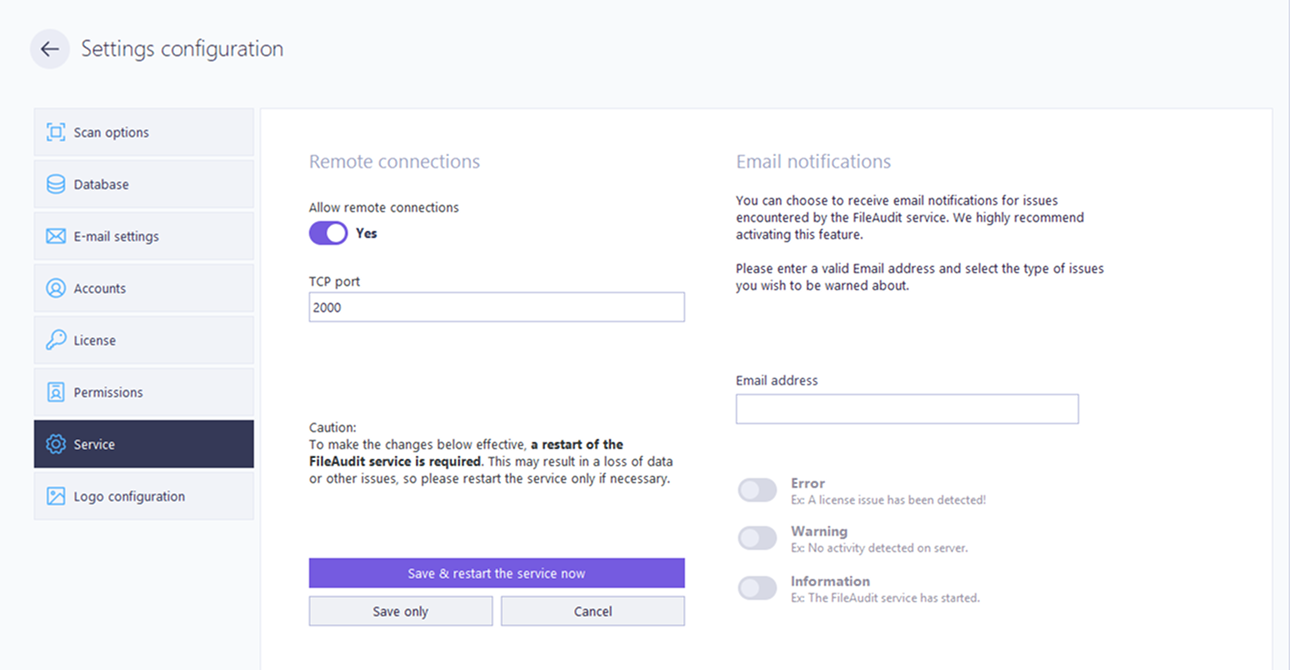
Go to Settings → Service.
Enable Allow remote connections and confirm the port is 2000 (the default).
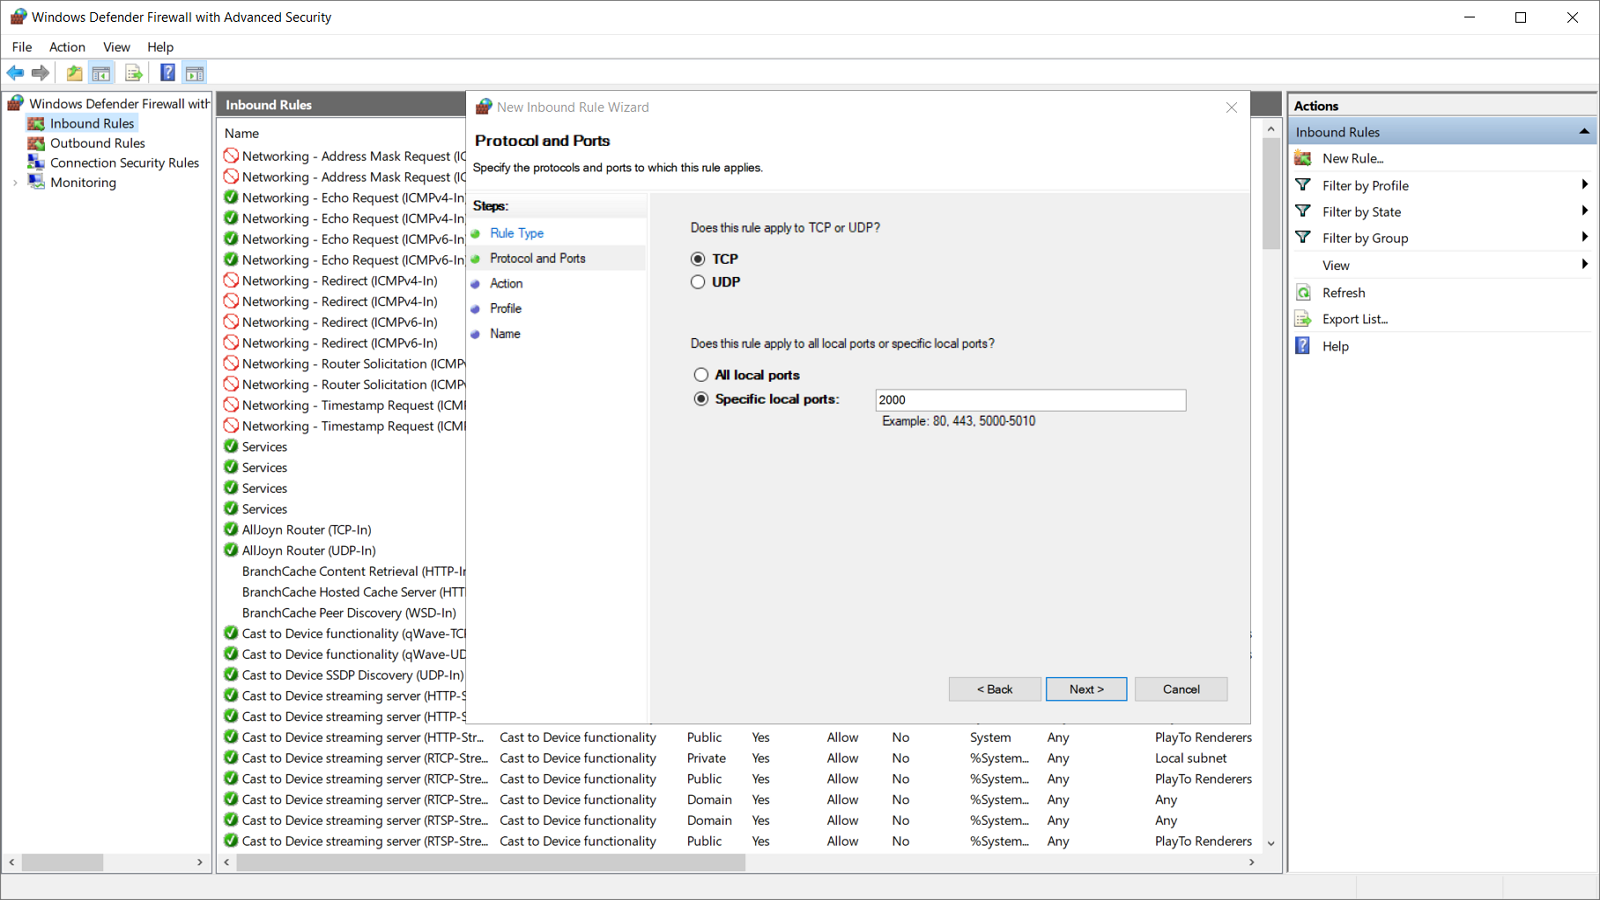
On the FileAudit server, open Windows Defender Firewall with Advanced Security.
Create an Inbound Rule that allows TCP port 2000.
Note
If you changed the port in the previous step, open that port instead of 2000. The console port and the firewall rule must match.
Perform these steps on the machine where the FileAudit console is installed.
Open the FileAudit console.
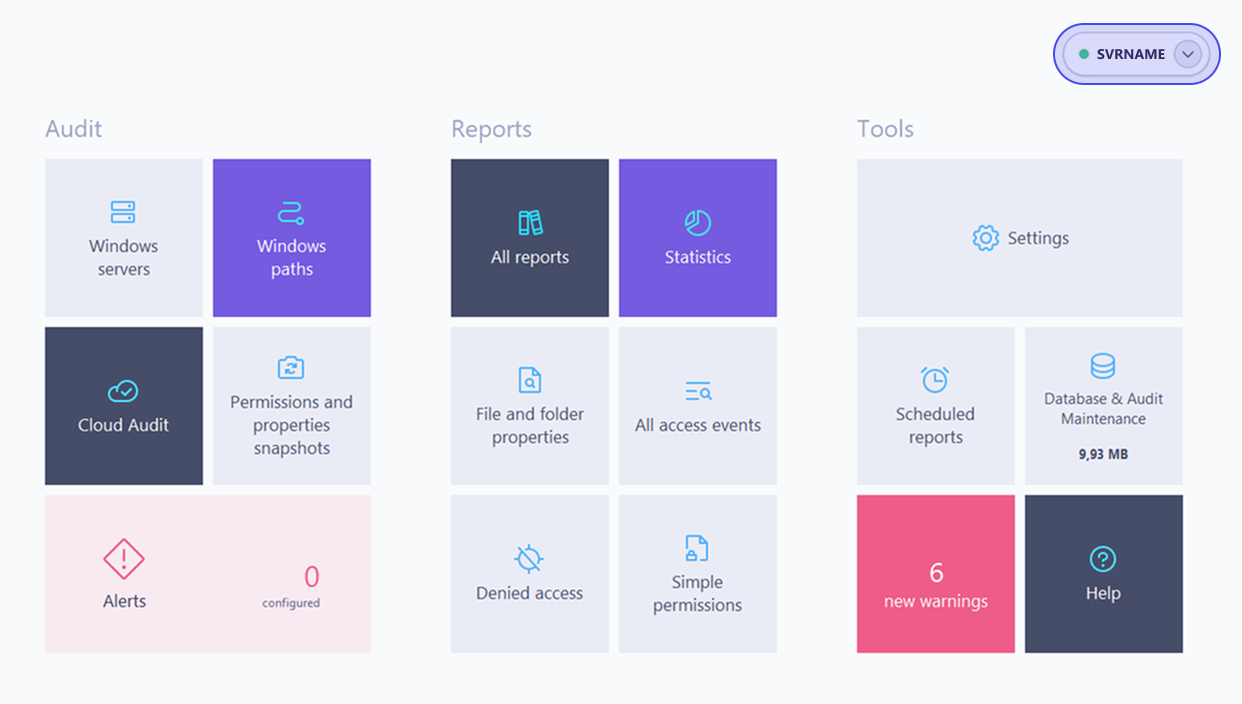
In the FileAudit hub (top-right corner), click Connect.
In the Connect panel, enable Use a remote FileAudit service, then enter:
The server name of the machine hosting the service.
The TCP port (default 2000).
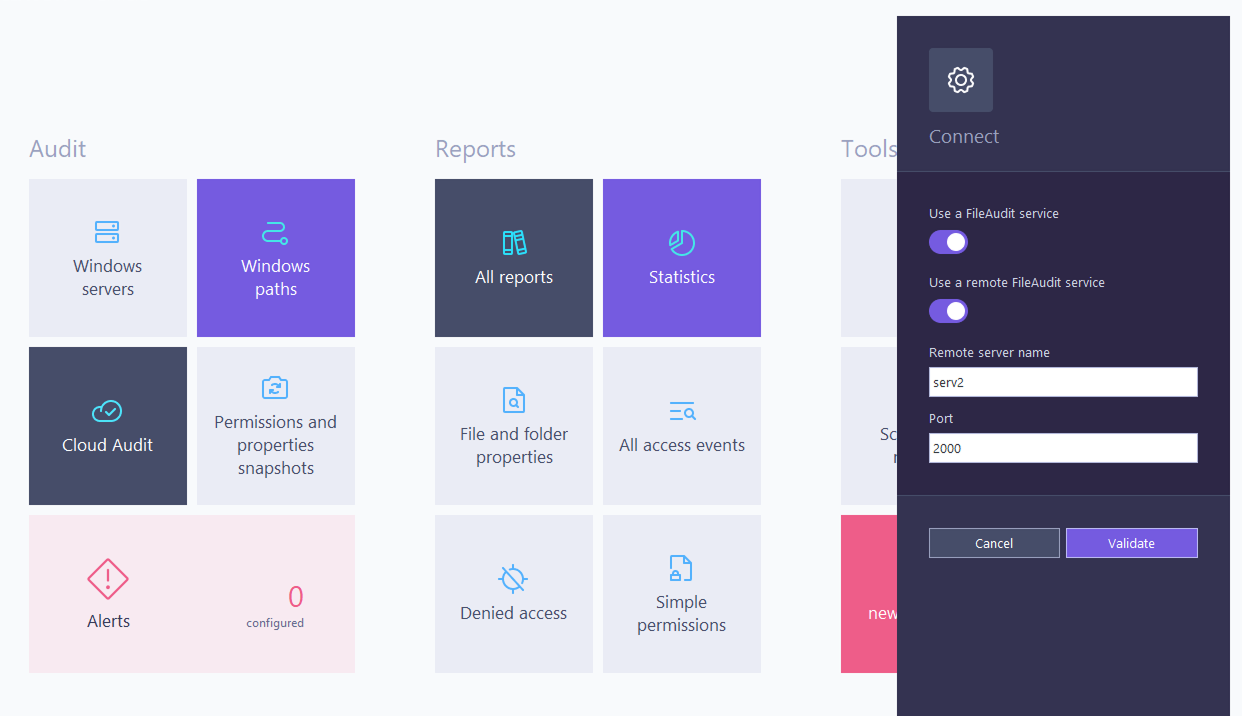
Click Validate.
Once connected, the name of the target server appears in brackets in the top-left corner of the console. From here, you can manage FileAudit and display audit events according to the permissions assigned to your account.