Manage alerts
Create, edit, enable, and delete FileAudit alerts, and configure the filters, notifications, and automated responses that drive them.
FileAudit alerts notify you, and can run an automated response, when access events match conditions you define. This guide covers creating single-access and mass-access alerts, and editing, enabling, disabling, and deleting them.
Make sure the following are in place:
Windows auditing is active on the paths you want to watch.
An alert only fires on access events captured by the audit engine; a path that isn't audited produces no events.
See Manage Windows audit Guide.The email server is configured.
Alerts require at least one recipient and are delivered by email, so the mail server must be set up first.
See Configure email settings Guide.
Note
For how alerts work and what each setting does, see Alerts Reference.
A single-access alert triggers on the first access event that matches its filters, and raises one alert per matching event. Use it to watch a specific sensitive file or folder, or to catch individual suspicious actions.
For the difference between single and mass alerts, see Alerts → Single alerts and mass alerts Reference.
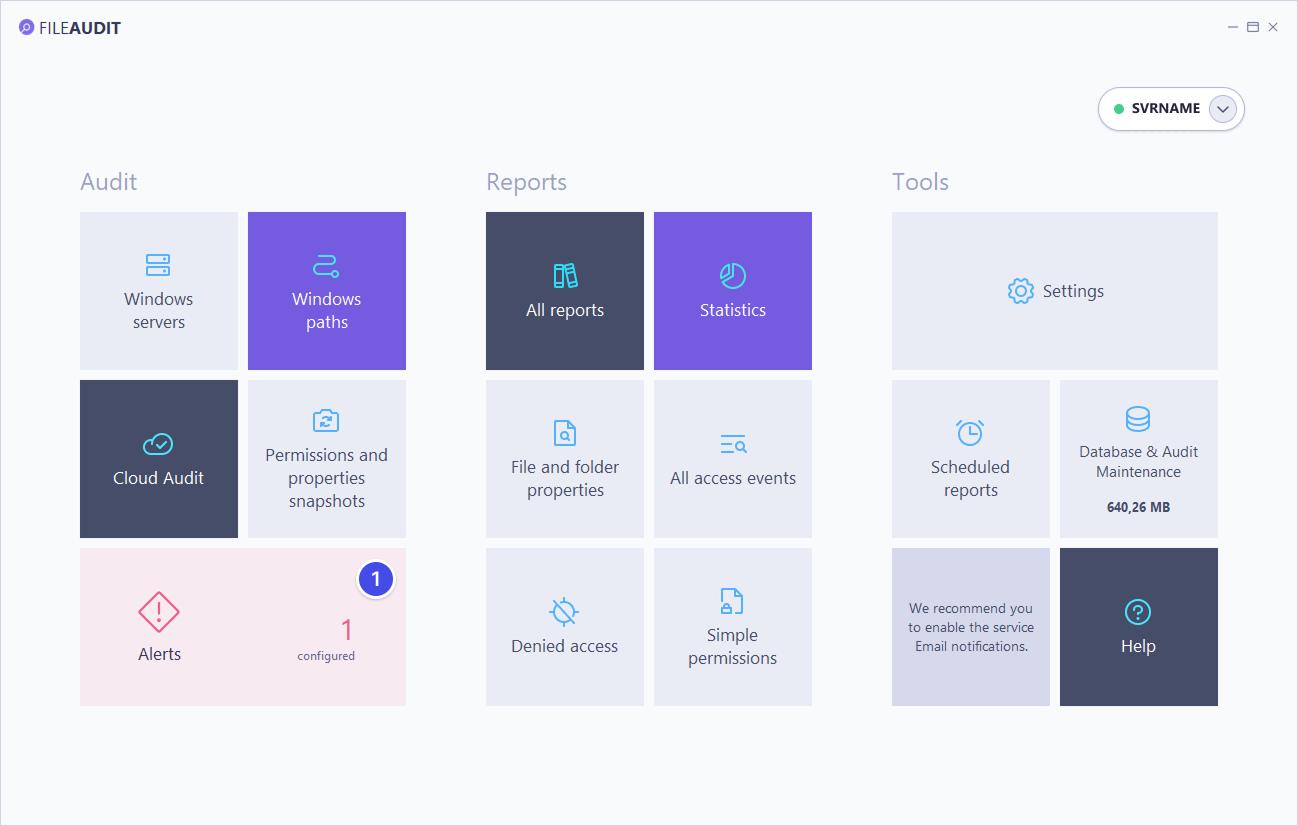
In the FileAudit hub, click the Alerts tile.
Under Single access, click the purple Add tile.
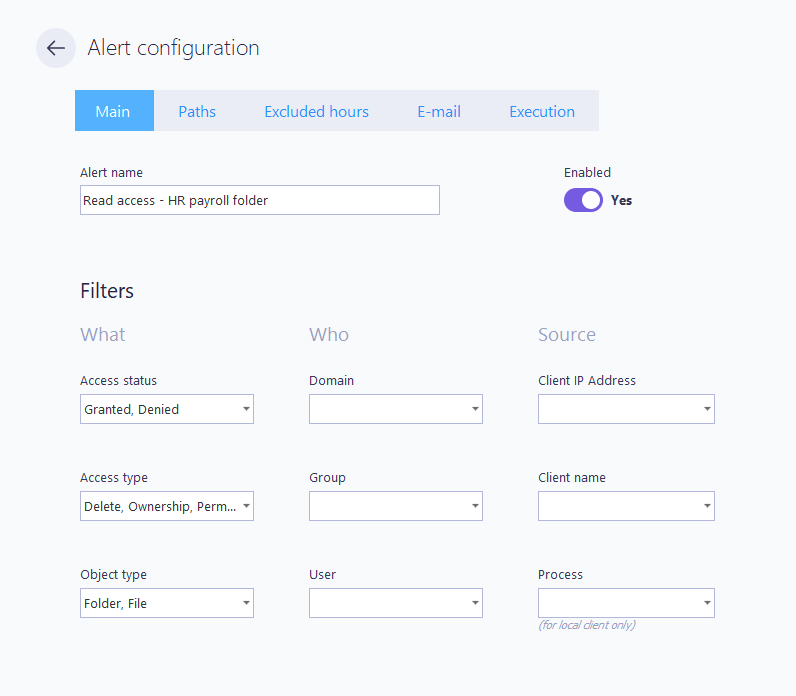
The Alert configuration screen opens on the Main tab.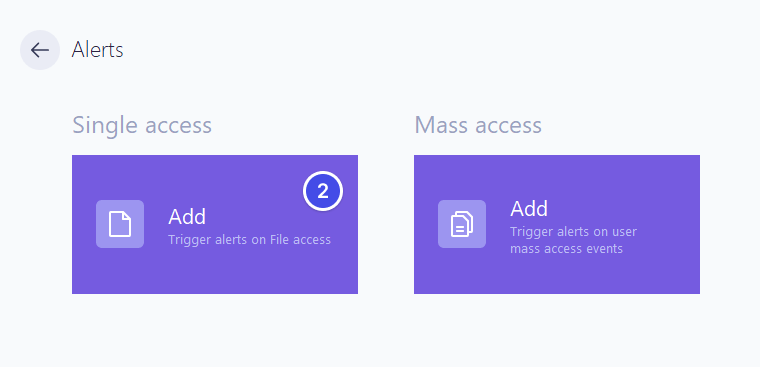
On the Main tab, enter an Alert name. This name identifies the alert on its tile, so make it specific (for example,
Read access - HR payroll folder).Leave Enabled set to Yes to activate the alert as soon as you save, or set it to No if you want to configure it now but keep it inactive for later.
Set the triggering filters under What, Who, and Source. Each filter you set is a condition the event must match; an empty field is not used.
See Filters Reference for what each field means and its possible values.
To target several accounts, or to exclude some, use the include/exclude syntax. See Include or exclude users Reference.
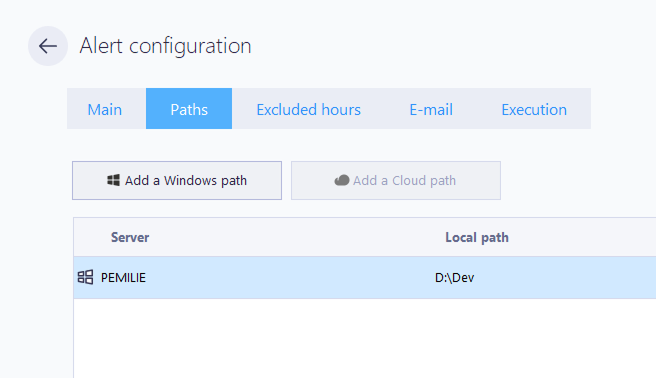
Open the Paths tab and add at least one path. An alert with no path never fires.
Click Add a Windows path or Add a Cloud path, browse to the file or folder, and click Validate. Repeat to add more.
Tip
The Paths field of the alert supports * (any string) and ? (any character) wild characters.
If the path isn't audited yet, FileAudit offers to set it up through its wizard. See Manage Windows audit Guide.
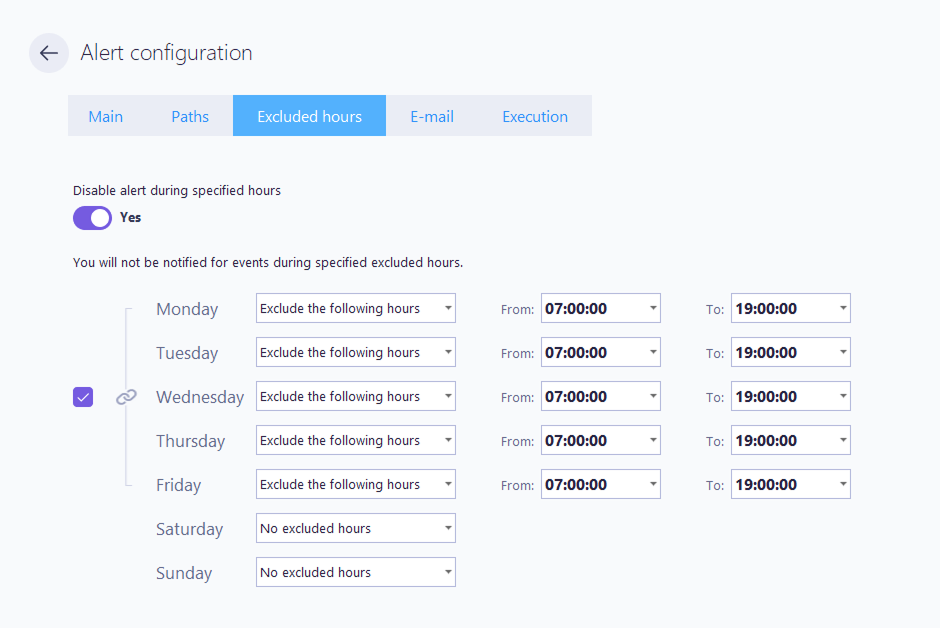
(Optional) Open the Excluded hours tab to silence the alert during chosen periods, such as business hours. Turn on Disable alert during specified hours and set a time range per day. The access is still audited; only the notification is suppressed.
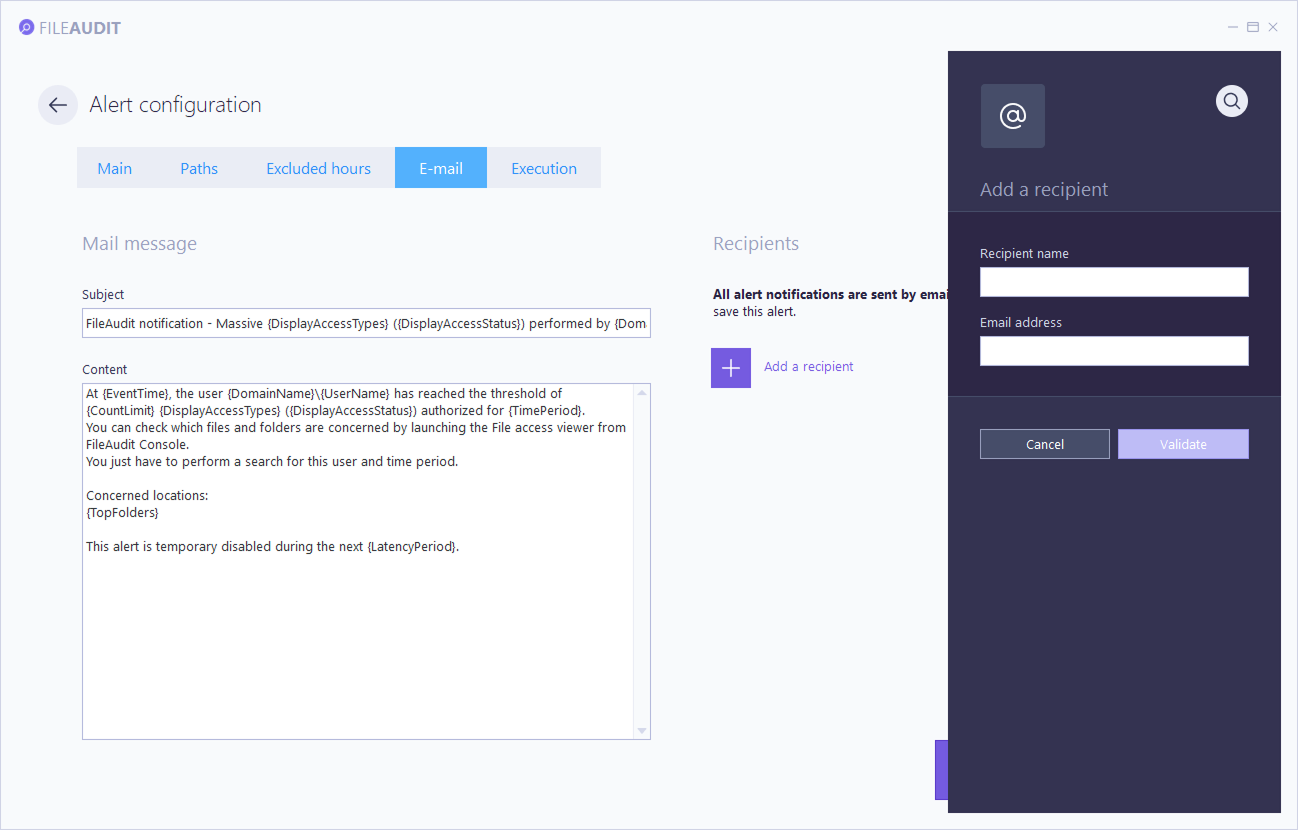
Open the E-mail tab and add at least one recipient. The alert will not save without one.
Click Add a recipient to enter a new name and address, or pick an existing stored recipient.
Edit the Subject and Content templates if you want. They support dynamic variables such as
{UserName}(see Alerts → Notifications Reference).To deliver alerts to Teams or Slack instead of a mailbox, see Send alert notifications to Teams or Slack Guide.
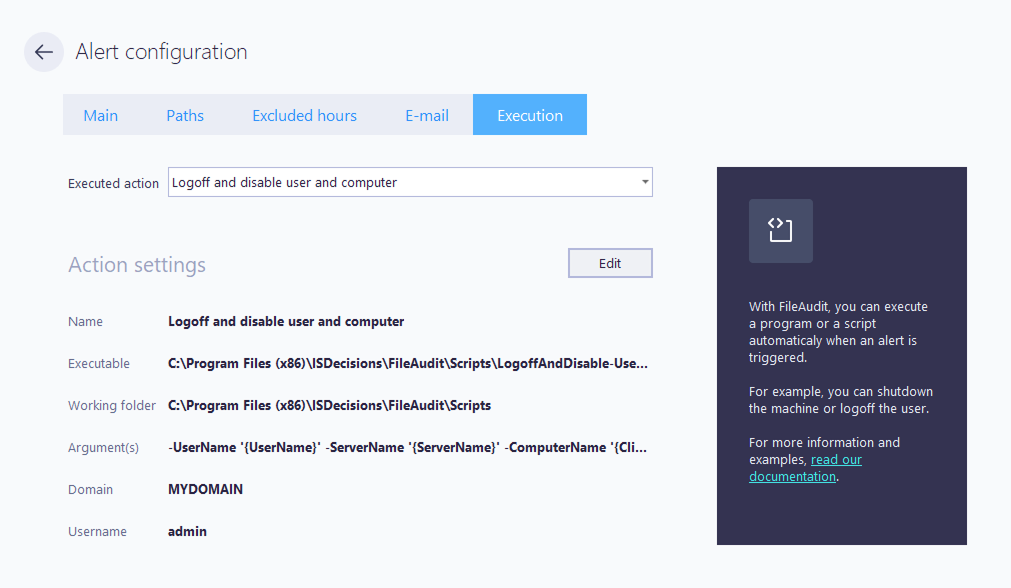
(Optional) Open the Execution tab to run an automated response when the alert triggers.
In the Add new action form, point to any executable you provide (.bat, .exe, or .ps1) with its own arguments and credentials. See Configure a custom script to run when an alert triggers Guide
Or click View scripts to use a predefined script for a common response such as logging off or disabling an account, so you don't have to write your own.
Select a script from the Executed action list to attach it.
Note
⚠️ Important: Execution scripts can disable accounts and shut down machines. Test a script against a non-critical account before attaching it to a live alert.
Click Save (top right). The alert is active immediately.
A mass-access alert triggers when a single user produces a volume of matching events over a time window, raising one alert that aggregates the activity. Use it to catch ransomware-like bursts, abnormal modification spikes, or bulk deletions.
For the difference between single and mass alerts, see Alerts → Single alerts and mass alerts Reference.
In the FileAudit hub, click the Alerts tile, then under Mass access click the purple Add tile.
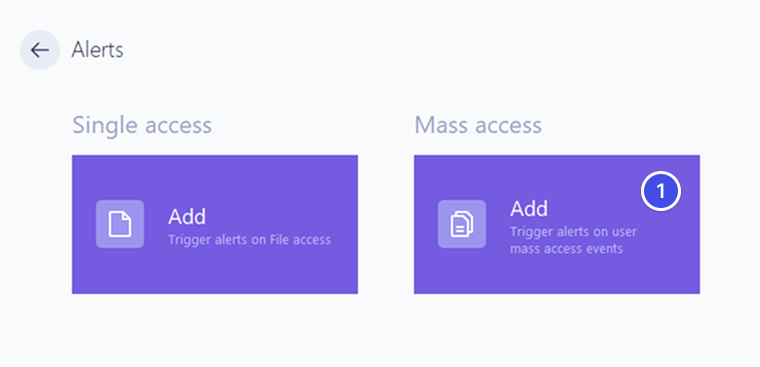
Configure the alert exactly as you would a single-access alert (see Create a single-access alert). A mass-access alert uses the same tabs and the same mandatory items.
On the Main tab, set the Frequency filters that define the burst to detect:
Threshold: the number of matching events required to trigger the alert.
Time period: the rolling window over which the threshold is counted.
Latency period: how long the alert stays disabled after firing, to avoid repeated alerts on the same burst. Set it to
0to trigger on every event past the threshold.
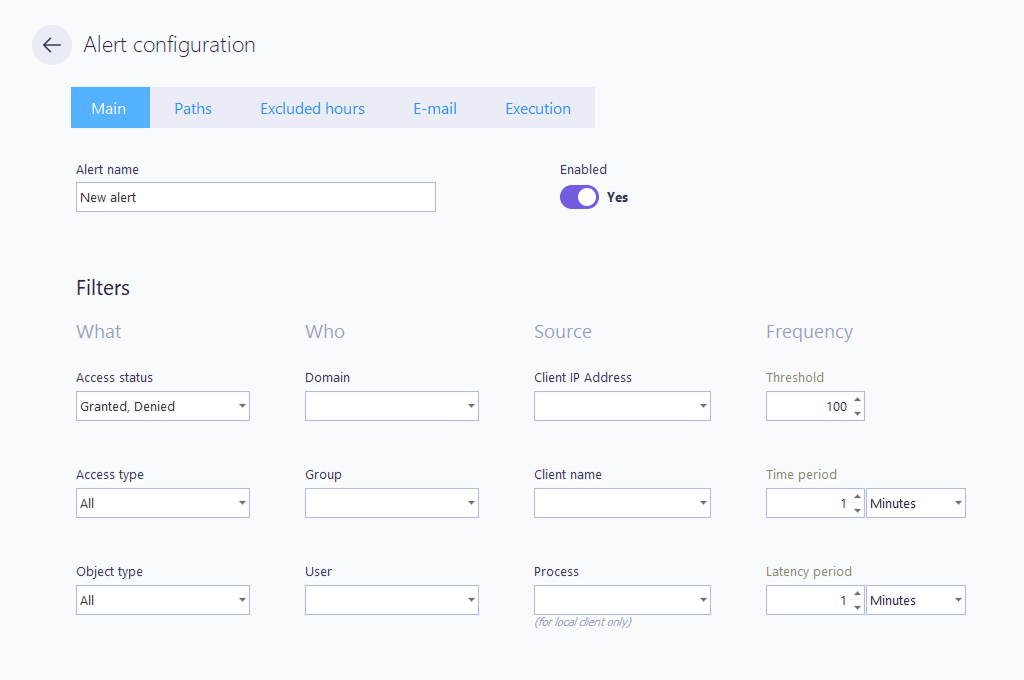
Click Save (top right). The alert is active immediately.
Tip
To contain a spreading attack automatically, pair a mass-access alert with a ransomware script on the Execution tab. See How to Detect Ransomware Guide.
In the FileAudit hub, click the Alerts tile.
Click the tile of the alert you want to change.
Change any setting across the tabs, then click Save.
Note
Changes take effect as soon as you save.
Disabling an alert stops it from firing without deleting its configuration, so you can turn it back on later. Disabling an alert does not stop the underlying audit: matching access is still recorded.
In the FileAudit hub, click the Alerts tile.
Click the tile of the alert you want to enable or disable.
On the Main tab, set the Enabled switch to Yes or No.
Click Save.
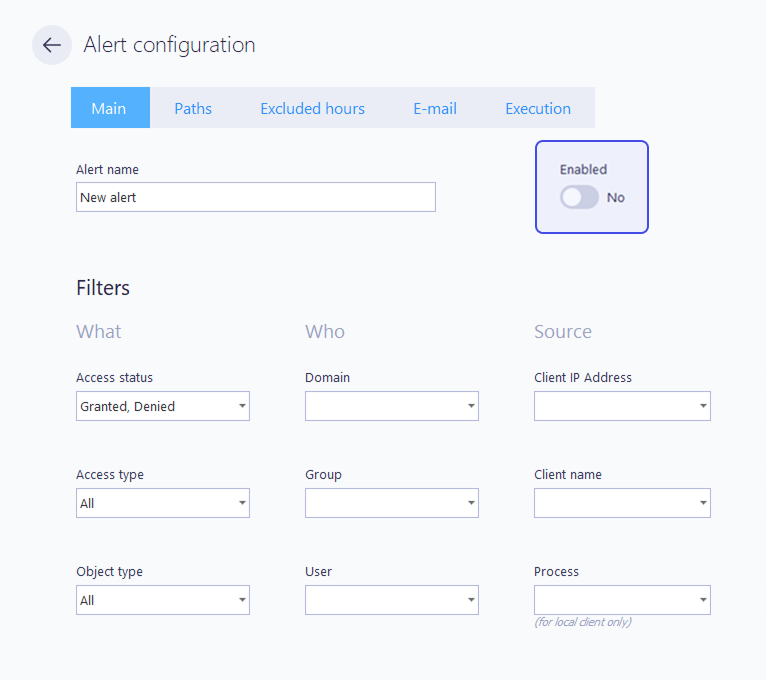
Deleting an alert removes its configuration permanently. This does not affect the audit on the monitored paths.
In the FileAudit hub, click the Alerts tile.
Click the tile of the alert you want to remove.
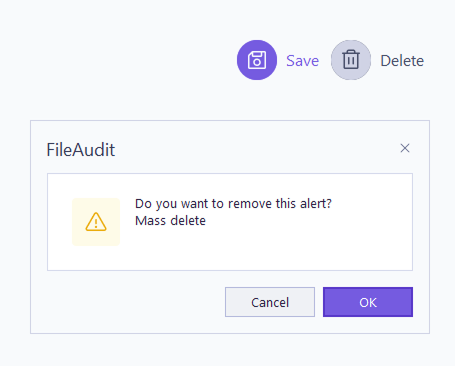
Click Delete (top right).
Confirm by clicking OK.