Set up FileAudit permissions
Grant or deny FileAudit console features to specific users and groups so non-admins get exactly the access they need.
FileAudit permissions let you give specific users or groups access to console features without granting them full administrative rights. You decide, per account, which features are allowed or denied.
Note
These permissions control the FileAudit console only: they do not change file system permissions on your audited resources.
Before you start, make sure you have:
The Configure permissions right in FileAudit.
An existing Windows user or group to delegate access to.
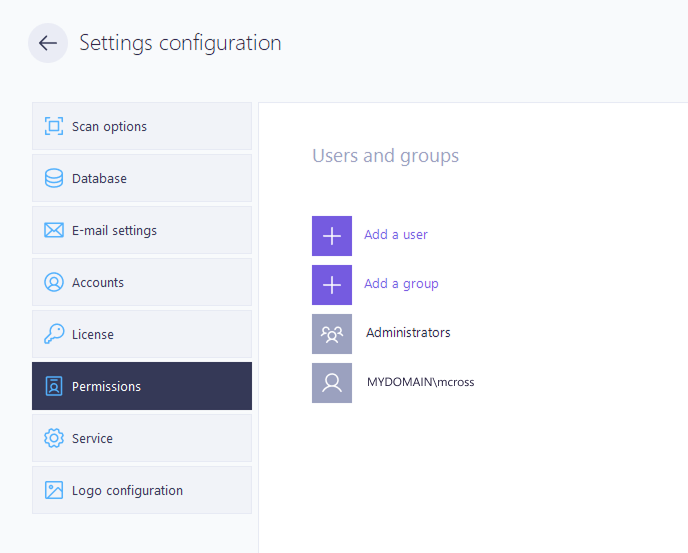
In the Settings > Permissions view, click Add a user or Add a group.
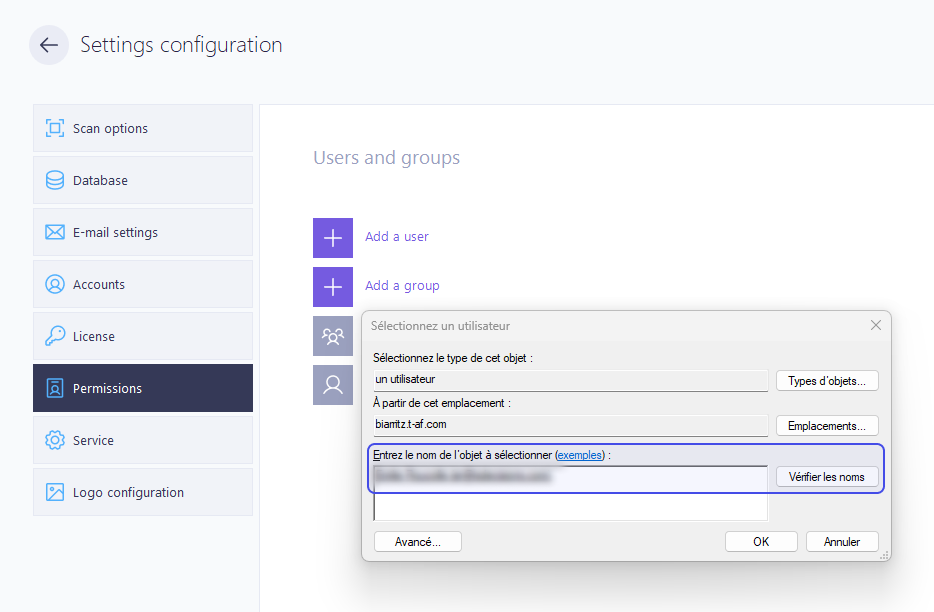
In the Microsoft account selector, type the account name and click Check Names. Once the name is validated, click OK.
A panel opens on the right of the Permissions view. Set each feature to Allow or Deny for this user or group.
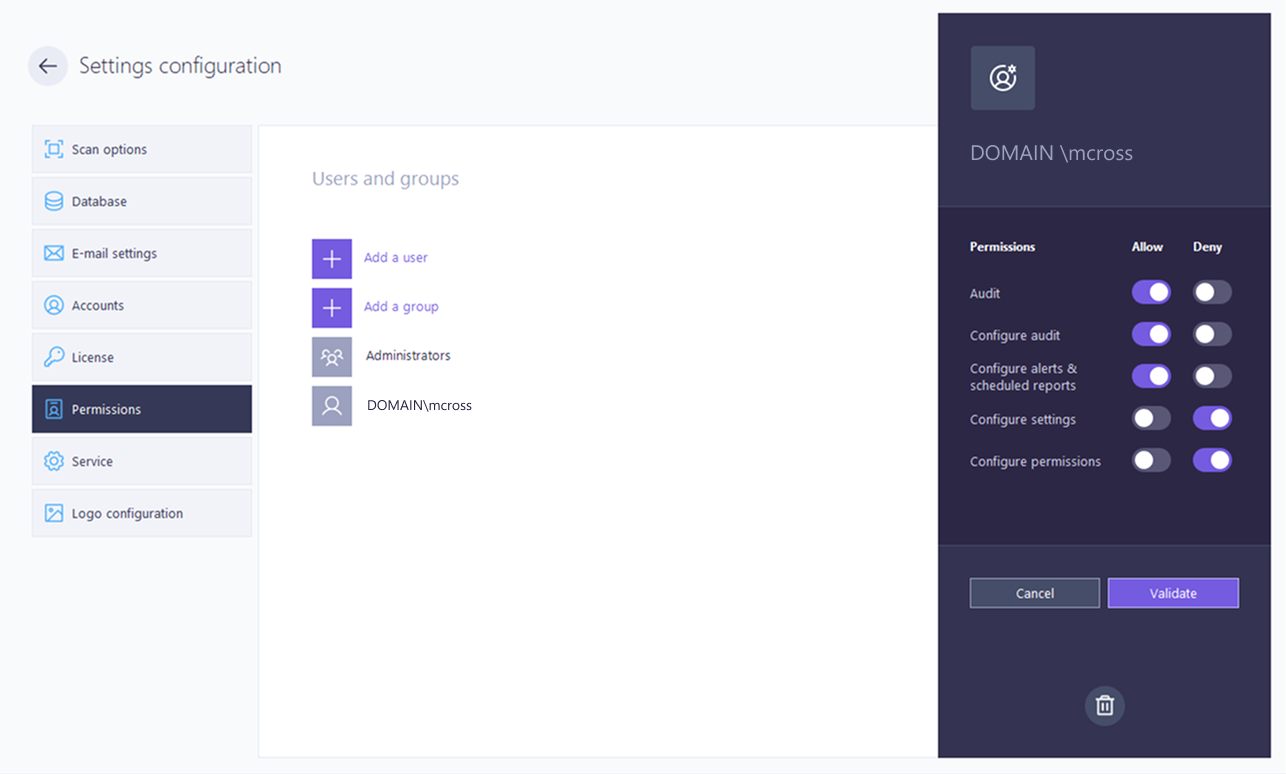
Save your changes. Denied features are immediately greyed out in the FileAudit hub for that account.
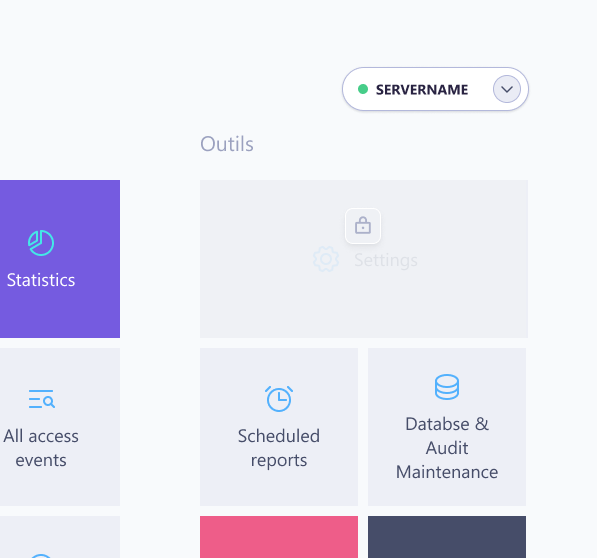
To confirm the result, sign in as the delegated user, or ask them to, and open the FileAudit hub. The tiles for any denied feature must appear disabled, and allowed features must be accessible.
For what each feature controls, see Permissions Reference.
Note
⚠️ Important
Never delete the default administrators rule. Doing so can lock everyone out of the Permissions section, with no way back through the console.
If a user is unexpectedly denied a feature, check every account they belong to. FileAudit follows the same rule as Windows: a single Deny on any group overrides an Allow elsewhere. Full resolution logic is documented in Permissions Reference.