Set up a mass alert for bulk file activity
How to set up a mass alert in FileAudit to detect and respond to large-scale file reads (copies), moves, or deletes.
The mass alert feature in FileAudit allows administrators to be notified when an action is taken on a large number of files within a certain period of time. By setting up mass alerts for events such as reads, moves, and deletes, an administrator can immediately investigate the cause of the alert, and even execute a script to act quickly.
When a user selects a large number of files and copies them, FileAudit will log several simultaneous read events. When the administrator configures a mass alert, FileAudit will notify the administrator if there is a large number of reads within a short period of time.
So before you begin, make sure you have:
Windows auditing is active on the paths you want to watch.
An alert only fires on access events captured by the audit engine; a path that isn't audited produces no events.
See Manage Windows audit Guide.The email server is configured.
Alerts require at least one recipient and are delivered by email, so the mail server must be set up first.
See Configure email settings Guide.An account allowed to execute the script or executable, with enough rights to perform the action implemented in the script or executable.
In the FileAudit hub, click the Alerts tile.
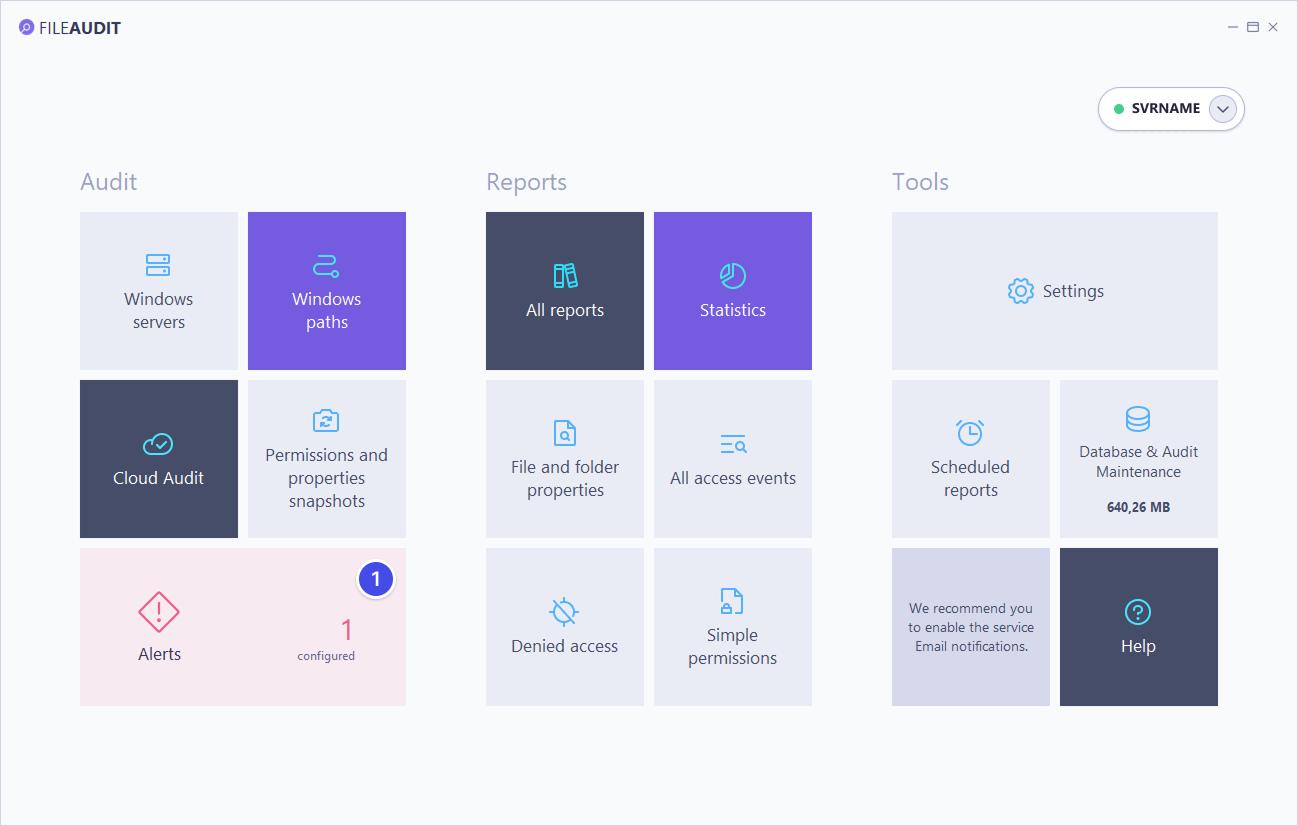
Under Mass access, click the purple Add tile.
The Alert configuration screen opens on the Main tab.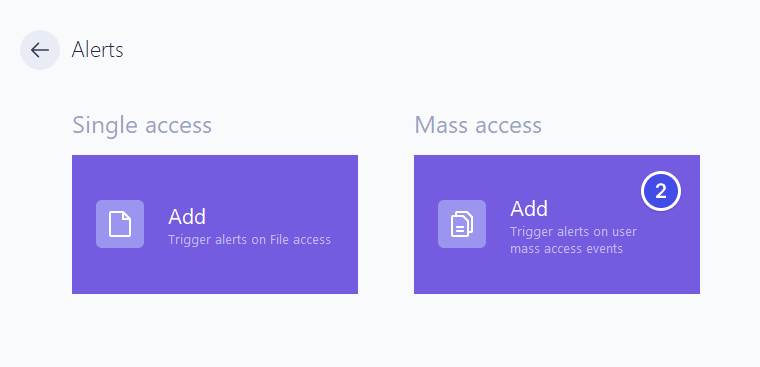
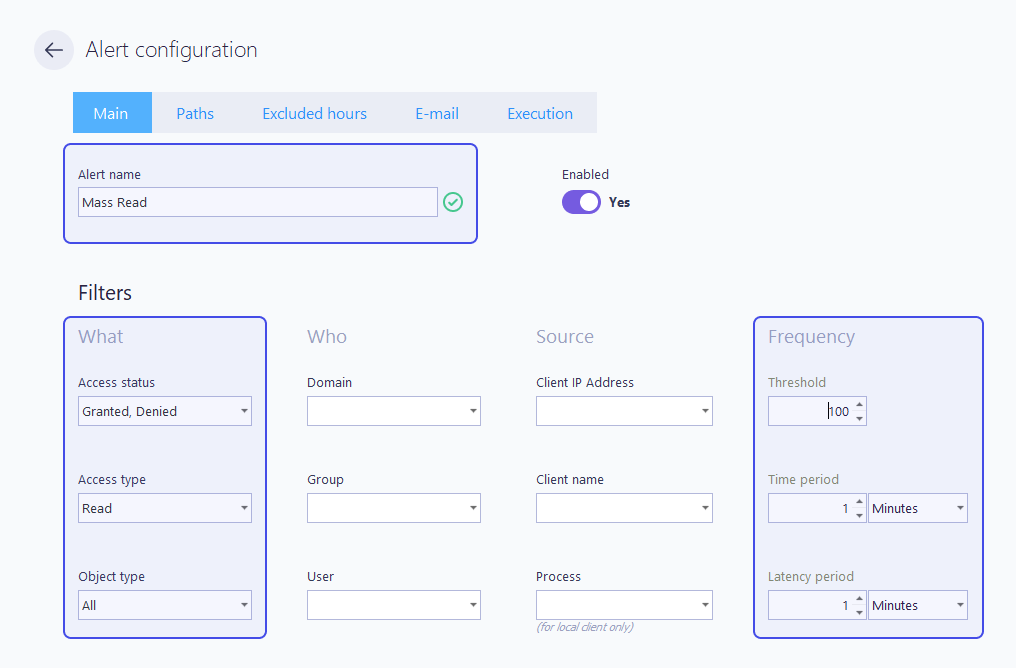
On the Main tab, enter an Alert name. This name identifies the alert on its tile, so make it specific (for example,
Mass Read).Leave Enabled set to Yes to activate the alert as soon as you save, or set it to No if you want to configure it now but keep it inactive for later.
Select Granted under Access Status to see all successful bulk actions, or Granted and Denied to also be alerted on any access attempts.
Select Read under Access Type, and Copy if you have activated the cloud audit.
Select the number of events within a time period that will trigger an alert.
If a user selects a large number of files to copy, several events will be logged simultaneously. It is therefore good practice to set a high event threshold combined with a short time period, as shown in the example below. The latency period is the time during which the alert will be temporarily disabled once triggered. This is to avoid receiving a new alert for each additional access beyond the threshold. We recommend leaving it at the default setting of one minute.
Note
To set up a mass alert for moves and deletes, simply check the corresponding boxes under Access Type, or create new alerts following the same procedure if there are other parameters you want to customize, such as script execution.
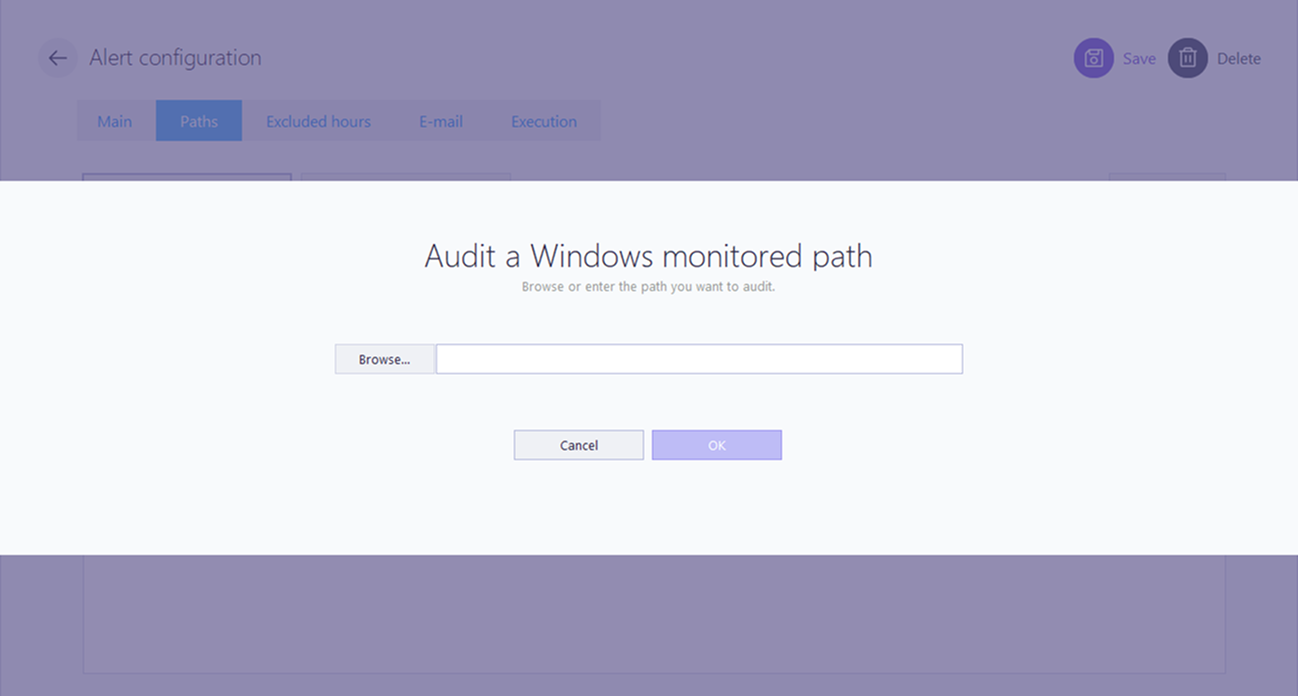
Open the Paths tab and enter the audited files and folders you want included in this alert. Click Add a Windows path or Add a Cloud path to browse to the file or folder, and click Validate. Or enter * to include all monitored paths.
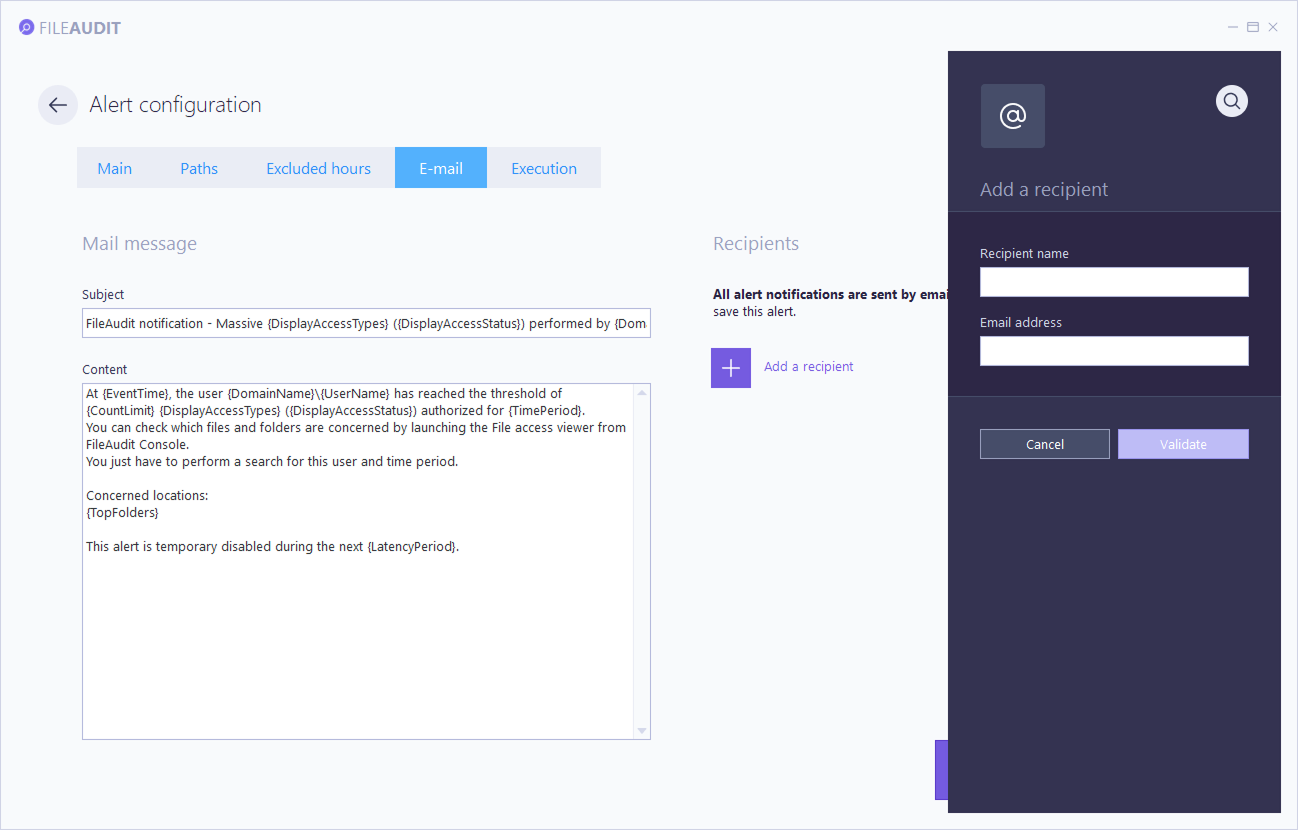
Open the E-mail tab and add at least one recipient. The alert will not save without one.
Click Add a recipient to enter a new name and address, or pick an existing stored recipient.
Edit the Subject and Content templates if you want. They support dynamic variables such as
{UserName}(see Alerts → Notifications Reference).To deliver alerts to Teams or Slack instead of a mailbox, see Send alert notifications to Teams or Slack Guide.
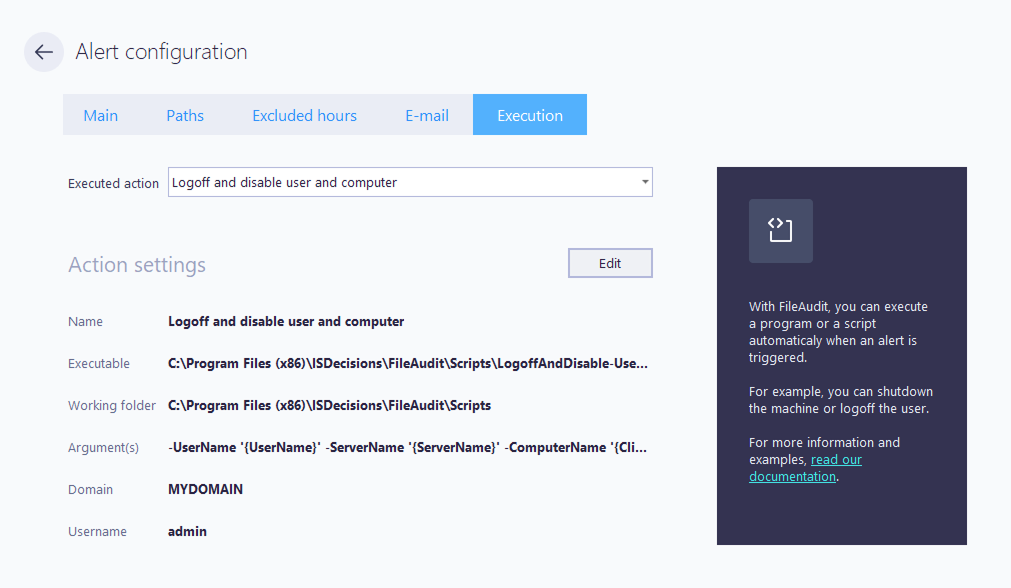
(Optional) Open the Execution tab to run an automated response when the alert triggers.
This method allows you to react to an abnormal or suspicious event. For example, you could execute a script to shut down the machine or log off the user.
In the Add new action form, point to any executable you provide (.bat, .exe, or .ps1) with its own arguments and credentials. See Configure a custom script to run when an alert triggers Guide
Or click View scripts to use a predefined script for a common response such as logging off or disabling an account, so you don't have to write your own.
Enter the account that FileAudit will use to run the executable. And click Save.
Select the script from the Executed action list to attach it.
Note
⚠️ Important: Execution scripts can disable accounts and shut down machines. Test a script against a non-critical account before attaching it to a live alert.
Click Save (top right). The alert is active immediately.