UserLock Push App
End User Guide
UserLock push notifications are a subscription-only feature.
To use push notifications, the UserLock server must have an Internet connection and outbounding HTTP/HTTPS protocols must be granted (80/443 ports).
For machines protected by the UserLock agent, if they are outside the corporate network, they must also have an Internet connection and UserLock Anywhere configured server side. For more information about UserLock Anywhere click here.
About the App
The UserLock Push app allows users to receive push notifications and TOTP codes as an MFA authentication method for Windows logins protected by UserLock.
Protecting third-party applications
The UserLock Push app can be used to protect any third-party application that supports Time-based One Time Passwords (TOTP). However, when configuring third-party accounts (Gmail, Facebook, etc.) make sure to back up recovery codes or keys provided during the MFA setup of the third-party application in a secure place. IS Decisions does not have access to the third-party application accounts and cannot help recover an account lockout resulting from a data loss in UserLock Push, or loss of a device.
You can restore your third party OTP accounts on a new device from the backup of your phone’s OS. For iOS, the backup is activated by default. For Android, you need to make sure that Google Backup is activated.
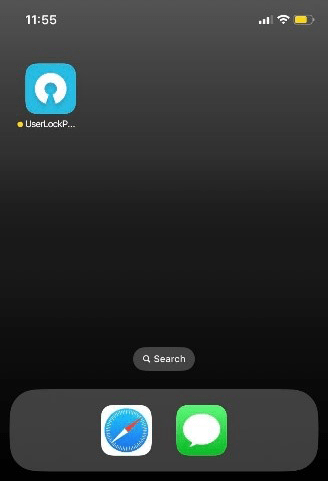
Installation from a smartphone:
Version supported for UserLock Push:
- iPhone: iOS 13.0 or higher
- Android: Android 5.0 or higher
-
Search for “UserLock” in the App Store or Google Play, or use these links:


- Install UserLock Push
How it works:
After entering your Active Directory login credentials, UserLock Push gives you two easy options for two-factor authentication:
- One-Tap Push: Simply respond to the application’s push notification for easy, one-tap two-factor authentication, or
- Verified Push: Enter the one-time password (OTP) generated by the app.
The app shows the location, device, and time of the login attempt to help ensure you approve the correct request. If you receive a request when you are not actively logging in: refuse the request, change your password, and contact your organization’s Help Desk.
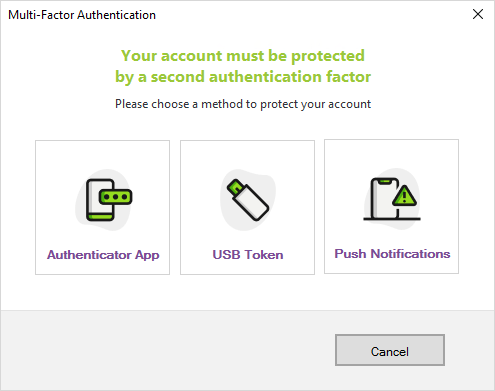
Self-enrollment with UserLock Push
Before enrolling with UserLock Push, your organization needs to enable MFA with push notifications through UserLock (see details here) and activate MFA for your account. Once this is done, you will be prompted to enroll at your next login. Depending the options for MFA that your administrator has authorized, you will see one or several choices. Click on Push notifications:
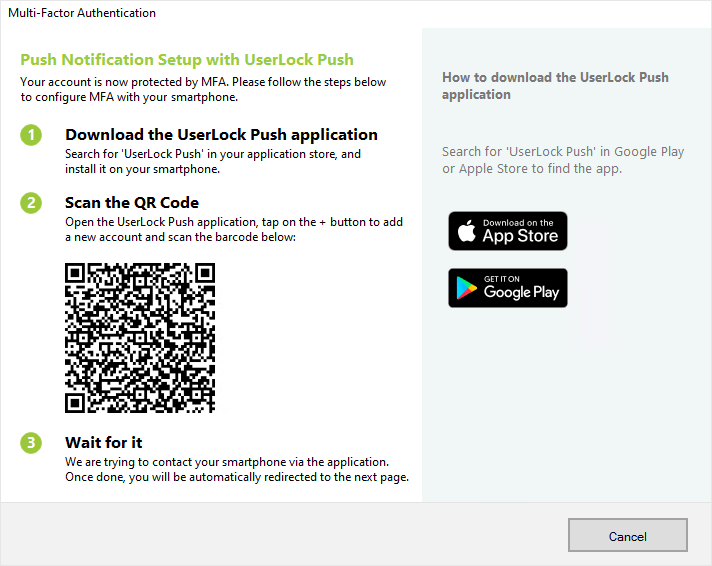
- Install UserLock Push on your smartphone. The app can be found on App Store or Google Play by searching for “UserLock.” You can also click on the store icons to display a QR code that you can scan to take you directly to the app.
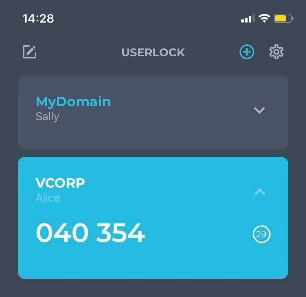
- Follow the instructions on the app to add your first account. To add an additional account, use the “+” icon in the upper right corner.
- Scan the QR code displayed at login.
-
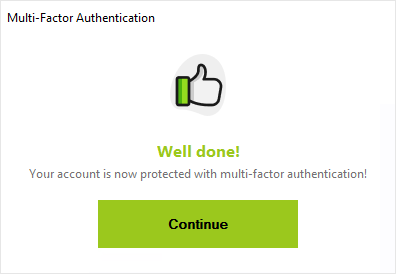
UserLock Push is now configured as the primary authentication method on your Active Directory account. If push notifications are ever temporarily unavailable, the app also provides a TOTP code that allows you to authenticate.
-
Click on “continue” to open your Windows session:
If your administrator has enabled or forced enrollment in another MFA method, you will be prompted to enroll in that method now. If you do not have another device to enroll, you will need to cancel the configuration and contact your administrator. This is important: If you want to enroll another MFA method later, you will have to start the whole MFA enrollment process over again.
To add third-party accounts, open the app and select the icon ![]() to add a new account. Follow the instructions to add MFA to this application. Read carefully the backup methods available for each third party application, and check that backup is activated for your Apple or Android account.
to add a new account. Follow the instructions to add MFA to this application. Read carefully the backup methods available for each third party application, and check that backup is activated for your Apple or Android account.
Edit accounts
The UserLock app allows users to edit the name of the account as shown in the application.
- Tap the user account to access the menu and tap “Modify account”.
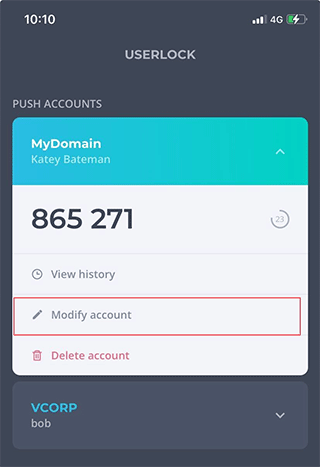
- Modify the fields and tap “Save”.

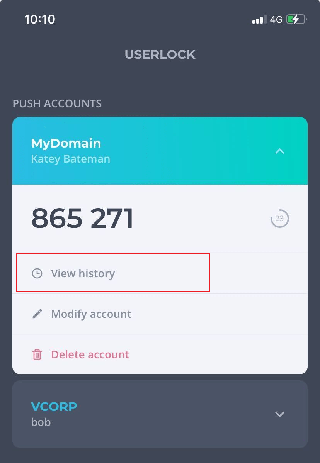
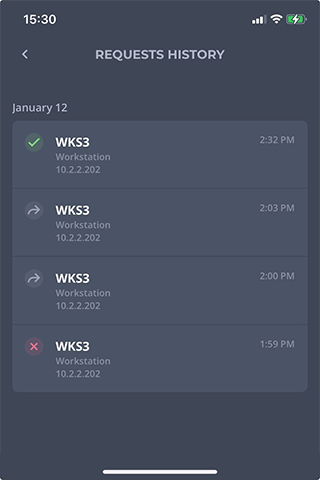
Notifications history
By taping "View history", you can see all history of push notifications for this account, and if they were validated, refused or ignored.
-
 Push accepted
-
 Push refused
-
 Push ignored
Settings
You can access the app’s settings by selecting the icon. ![]()
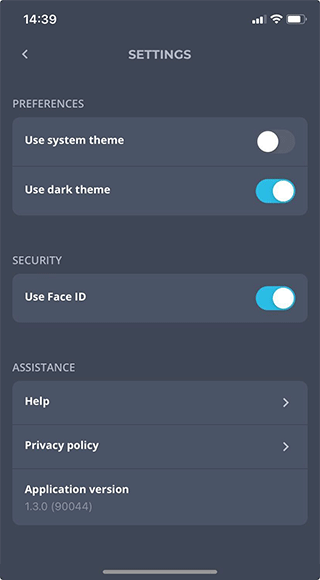
Use system theme: The light theme is activated by default. Deactivate this setting to activate the dark theme.
Open the app with Face ID (for iOS) or biometric authentication (for Android): Activate this setting to use your smartphone’s Face ID or biometric settings to open the application. This does not allow you to approve push requests with biometrics. You still need to approve or refuse the login request.
Help: Link to our Help Page
Application version: current installed version