Installation and configuration
Check requirements
A comprehensive description of UserLock requirements is available here.
Choose the server hosting UserLock
The installation can be done on a server member of the domain. There is no requirement to use a Domain Controller server. Any virtual or physical Windows Server from W2003 onwards can be the host.
Please note that no modifications will be made to your Active Directory or its schema.
Installation
Download the installation package 'UserLock-Setup.exe' here.
The package is the same for both the English and French languages and is compatible with 32-bit and 64-bit platforms.
-
Execute the downloaded package on the host server to launch the installation process.
-
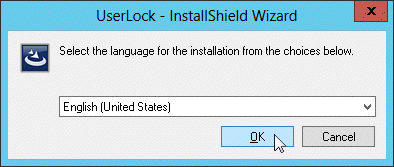
Choose 'English' as the preferred language and click on 'OK'.
-
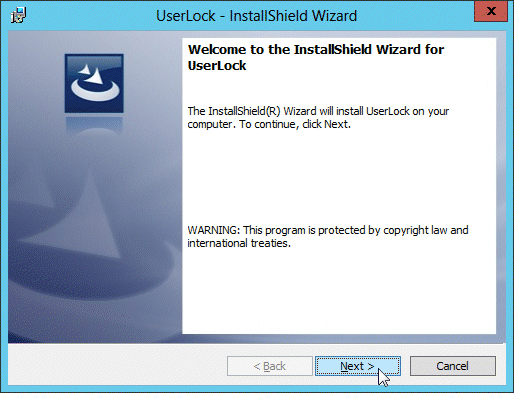
Click on 'Next' on the 'Welcome' page.
-
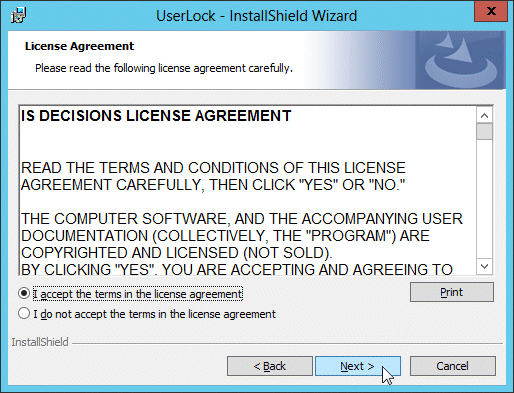
Read and accept the License Agreement and click on 'Next'.
-
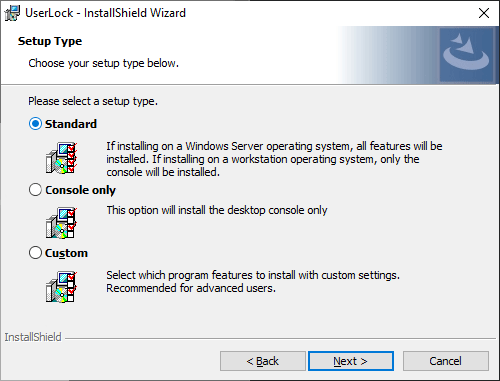
Leave 'Standard' selected for the installation type and click on 'Next'.
-
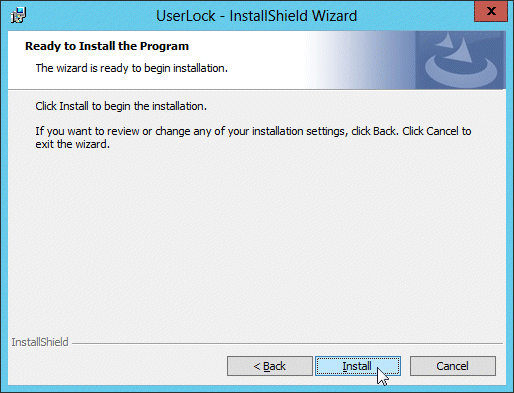
Click on 'Install' to launch the process.
-
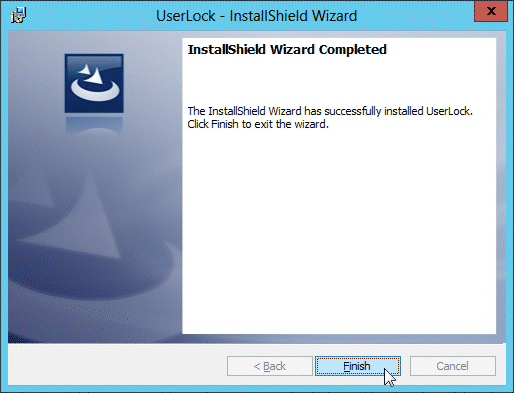
Once UserLock has completed installing, click on 'Finish'.
Configuration Wizard
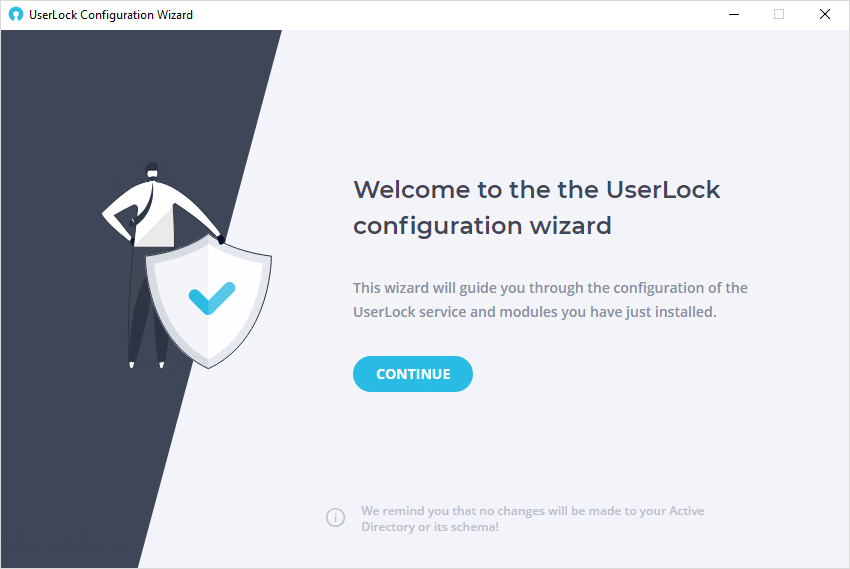
After you click on finish of the Install sheild, you will be prompted with the configuration wizard to configure the server type, protected zone, and additional UserLock features that you might have installed inlcuding the Web App, MFA for IIS, and UserLock Anywhere.
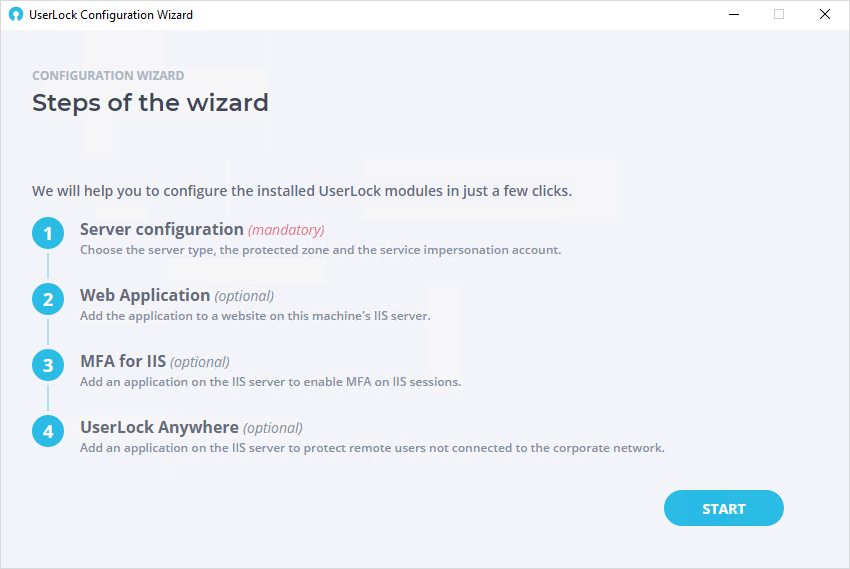
The wizard will take you through the following steps. Only the server configuration is mandatory.
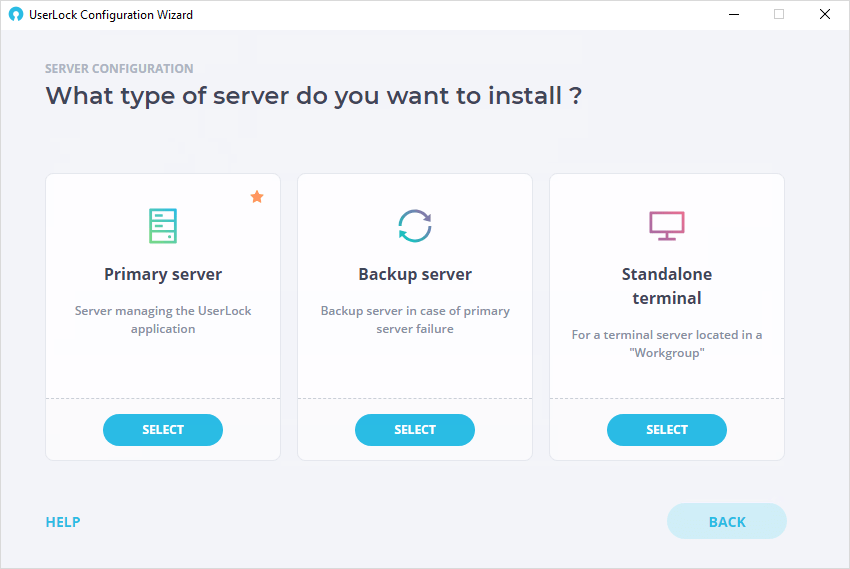
Choose server type
The first step is to choose the type of server for this installation. Here we will configure a primary server. Follow these guides on how to installl a backup server or a Standalone terminal.
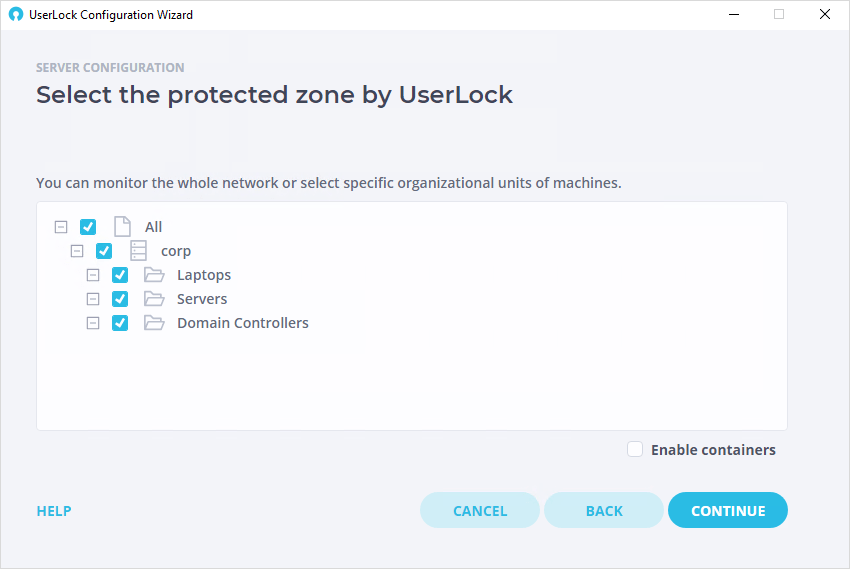
Select Protected zone
All the machines in this zone will be listed in the agent deployment engine view ('Agent distribution view') of the UserLock console.
The wizard allows you to select this protected zone by browsing all visible Active Directory domain trees with trust relationship, and their organizational units. Please note, only Organizational Units containing computer accounts are displayed.
Select either 'All', the desired domain(s) or the organizational unit(s) and click on 'Next'.
This network zone can be modified later by relaunching the 'Configuration wizard' from the Windows Start menu .
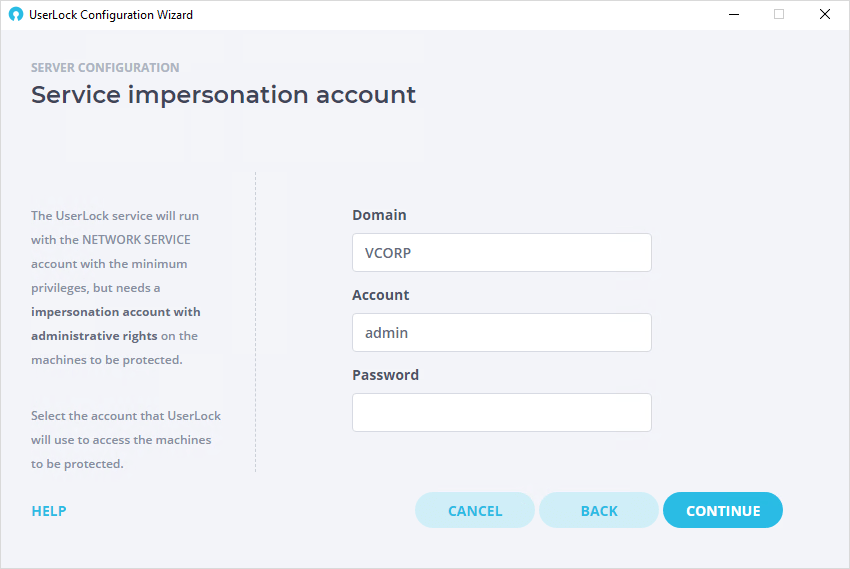
Service impersonation account
The UserLock service is designed to login as the 'NETWORK SERVICE' account in order to limit its default privileges on the network to the least required.
However, some specific tasks the UserLock service will have to perform, such as the agent deployment or all remote system actions, will require some administrative privileges on target machines.
This step allows you to define an account with the administrative privileges on all machines of the zone monitored by this UserLock server, allowing the service to impersonate when performing these tasks.
Please note: When defining and configuring a UserLock Backup server role, the account specified here also requires administrative privileges on the UserLock Primary server for the synchronization process.
If you click on "Continue with the configuration" you will be led through the steps of installing the following modules:
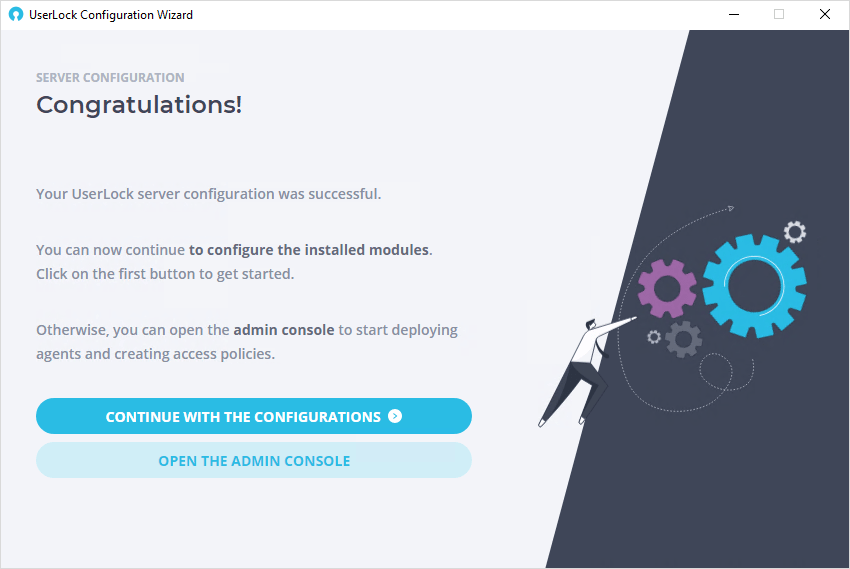
You can choose to configure or skip these modules now or launch the configuration wizard later to modify, delete or add these modules.
When you've completed the assistant, you can see which modules you've configured.
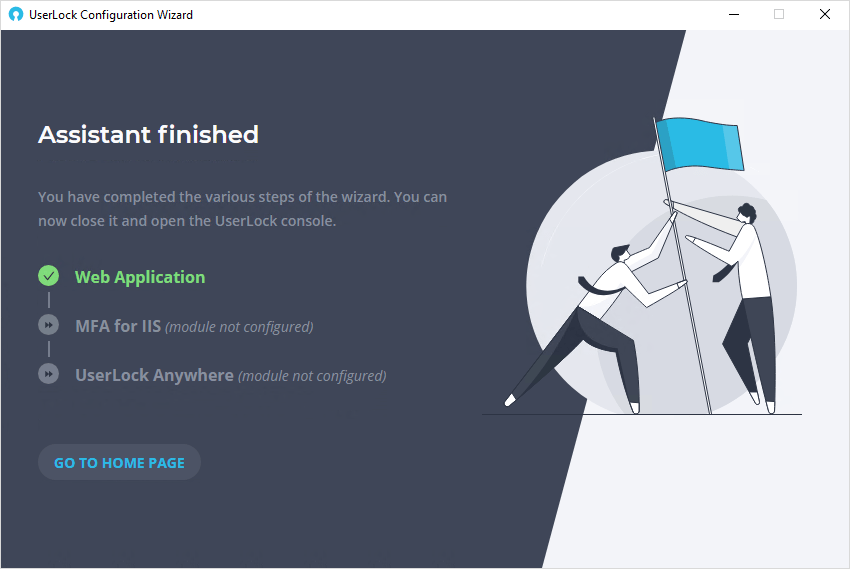
On the Home Page you can configure, repair or delete modules.
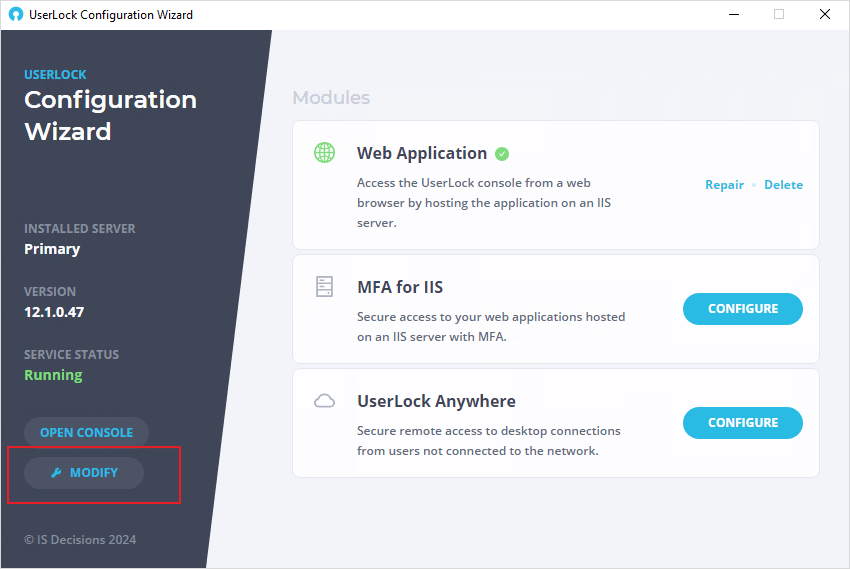
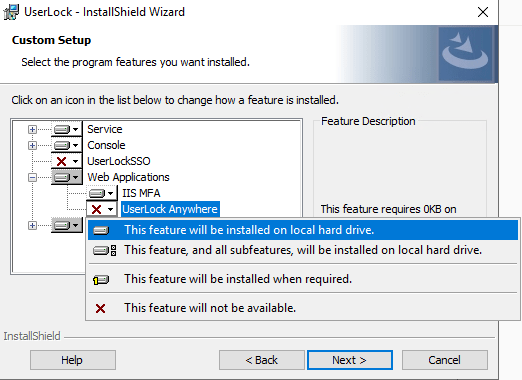
If a module has not been installed, you will not be able to configure it with the configuration wizard. You can install a missing module by modifying the UserLock program which will launch the install sheild. Here you can select the feature you want to install:
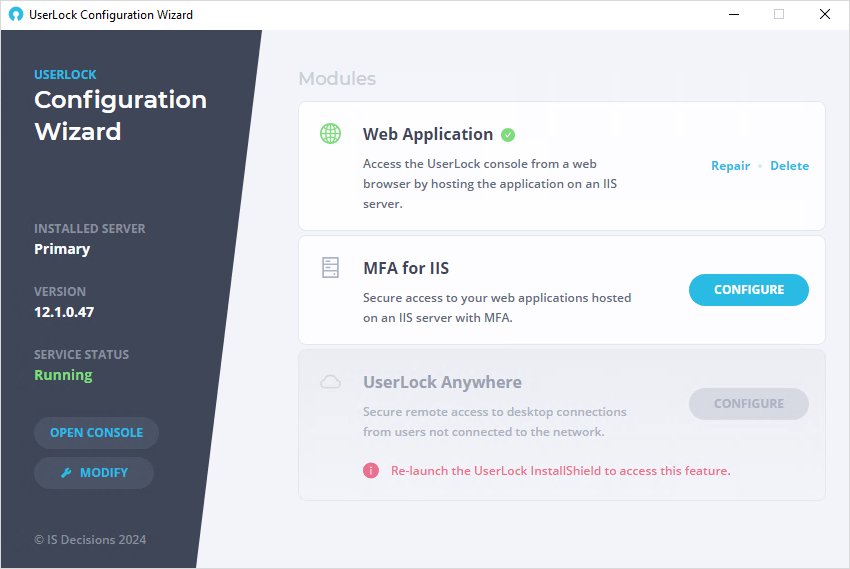
Once you've installed the feature, you can relaunch the configuration wizard to configure the module.
Next step
The next step is to deploy the UserLock agent on the machines you want to protect access to on the network.