Configure Microsoft 365 for UserLock Single-Sign On
Please note! Maintain an administrator account in the *.onmicrosoft.com domain, protected by Azure AD's (now Microsoft Entra ID) native multi-factor authentication. This account is essential in the event of federation problems with Azure AD.
Procedure
- Enable Microsoft 365 in UserLock SSO
- Configure Microsoft 365 for Single Sign-On
- Install and configure Azure AD Connect
Enable Microsoft 365 in UserLock SSO
In the UserLock console, Navigate to Single Sign-On → Configuration.
- Select Add configuration, then select Microsoft 365 as the provider to be configured.
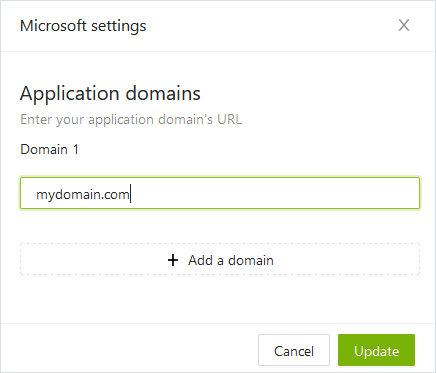
- Add your domains, whether they belong to the same tenant or not, for sub-domains see special cases below.
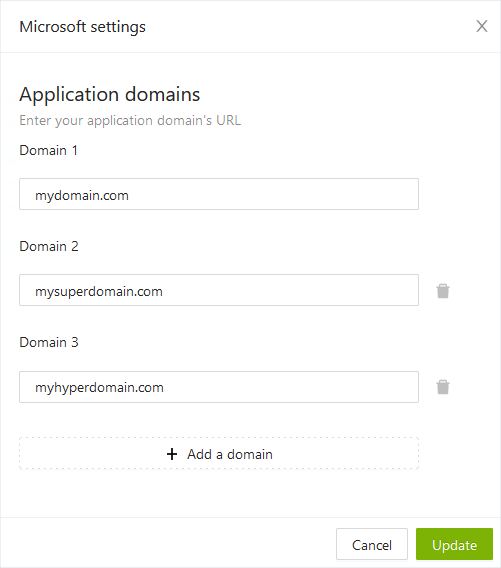
NOTE: The SSO service needs to be restarted in order to use this profile
Configuring Microsoft 365 sub-domains
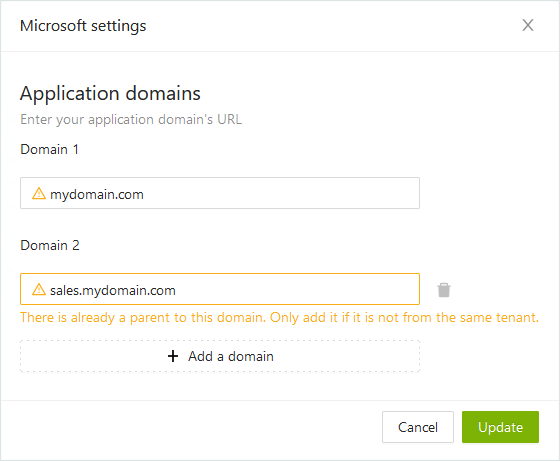
If you have several domains to federate, you will see a message appear if you add a subdomain of a domain already entered. The federation of sub-domains is generally automatic and you should not add them at this point otherwise you will fail to configure the SSO correctly. However, it is sometimes necessary to add them.
In the case of sub-domains, please observe the following rules:
- Rule #1 - If you only have one Microsoft 365 tenant, never add the subdomains.
- Rule #2 - If you have multiple tenants, only add a subdomain if it belongs to a different tenant than the main domain
Example 1 - Sub-domains in the same tenant
Company XYZ uses the Microsoft 365 tenant mydomain.onmicrosoft.com and the domain mydomain.com as the email address domain for most of its Active Directory accounts. Two teams have different domains:
- the sales team uses the domain sales.mydomain.com
- the team based in France uses the domain mydomain.fr
When configuring the SSO, only the domains mydomain.com and mydomain.fr should be added to the list. The subdomain sales.mydomain.com will be automatically federated, along with the main domain.
Example 2 - Sub-domains in different tenants
Company XYZ uses the Microsoft 365 tenants mydomain.onmicrosoft.com and myotherdomain.onmicrosoft.com. The mydomain.com domain is the email address domain for most of its Active Directory accounts. Two teams have different domains:
- the sales team uses the domain sales.mydomain.com
- the team based in France uses the domain myotherdomain.com
- the domain sales.mydomain.com belongs to the tenant myotherdomain.onmicrosoft.com.
When configuring SSO, all three domains must be added to the list. The subdomain sales.mydomain.com cannot be automatically federated with the main domain because it does not belong to the same tenant, so you need to add to the list and ignore the warning.
Configure Microsoft 365 for Single Sign-On
You can configure Microsoft 365 using a tool provided by IS Decisions (see below depending on your version), or via PowerShell.
- Configure SSO with IS Decisions Microsoft 365 tool (automated method) with UserLock 11.2
- Configure with UserLock SSO Assistant by Is Decisions with UserLock 12.0
- Configure SSO with Powershell (manual method)
Note: Once the configuration is done, it is possible to bypass the login page where the user has to enter his email by creating a shortcut including the domain_hint parameter to specify the email domain e.g., https://www.office.com/login?es=Click&domain_hint=mydomain.com
Configure SSO with IS Decisions Microsoft 365 tool
-
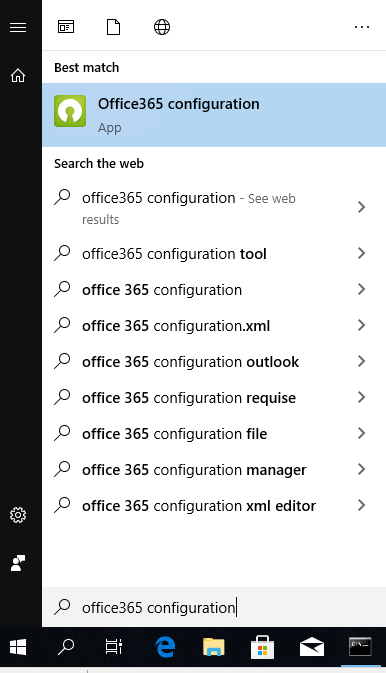
Launch the tool
Search for ‘Microsoft 365 configuration’ in the Start menu and launch the application.
-
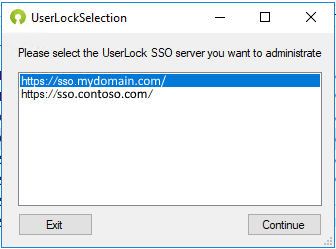
Select the UserLock SSO Server
From the IS Decisions Microsoft 365 tool, select the UserLock SSO server that will be used to connect to Microsoft 365.
-
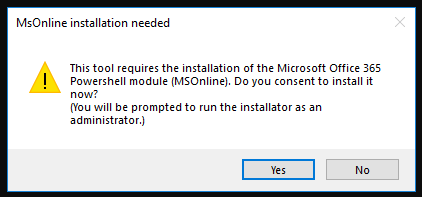
Connect to Microsoft Online
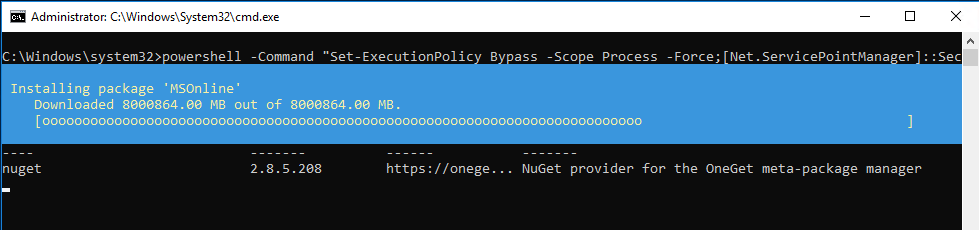
The tool requires the MSOnline Powershell module. If it is not installed, the tool will attempt installation. When prompted, Please consent and install to continue configuring Microsoft 365 SSO.
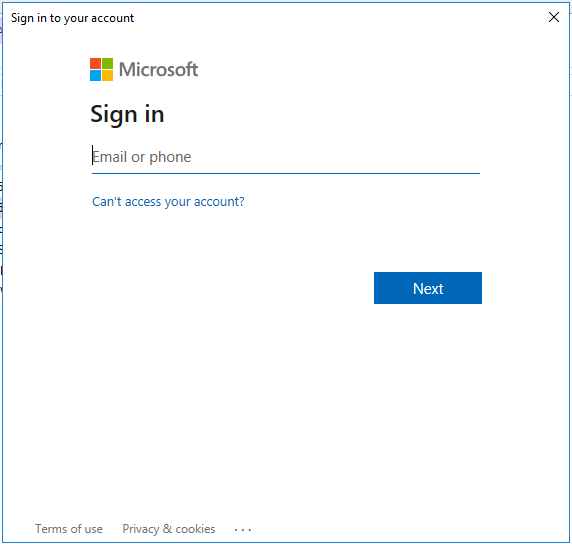
Sign in with Azure AD global administrator credentials.
-
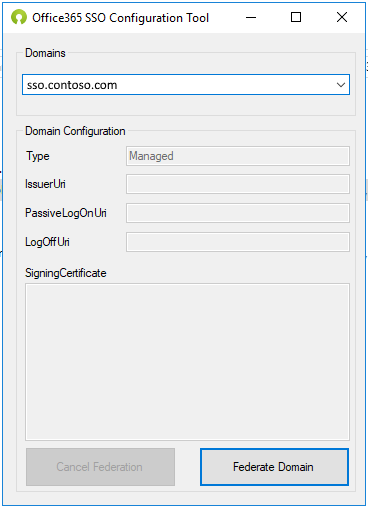
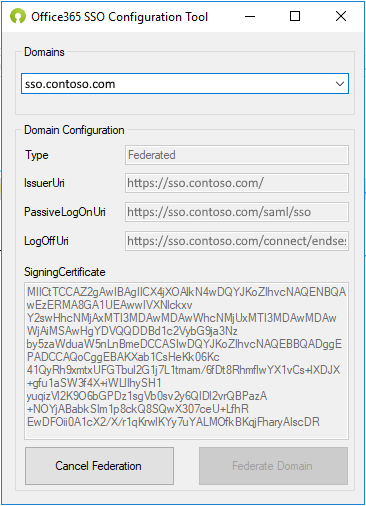
Set the federation
Select the domain to federate in the top drop-down list and click the ‘Federate Domain’ button to complete the process:
Synchronize your users
Synchronizing users is necessary for Microsoft 365 to recognize user identities in the Active Directory. Two methods are available:
- Azure AD Connect - recommended method because it is automatic once configured
- UserLock SSO wizard - this manual method is easier and faster to get started but can be tedious with a large number of users
Install and configure Azure AD Connect
Perform a custom installation of Azure AD Connect.
- Download Azure AD Connect
- Launch Azure AD Connect
- On the Express Settings page, select Customize
- In the User Sign-In page, select Do not configure
- In the Connect Directories section, select your AD domain (contoso.com) and your Azure AD domain
Once setup has completed, Azure AD Connect will synchronize the local users with Azure AD.
NOTE: In Connect to Azure AD, if your Azure AD is already federated, you may need to restart Azure AD Connect with /InteractiveAuth flag
Configure SSO with Powershell
Run Powershell as an administrator.
-
Connect to Microsoft Online
Execute the following command and connect with a domain admin Microsoft Online account:
Connect-MsolService -
Ensure Microsoft Online domain is Managed
Run the following code to find whether Office your domain is set as Federated or Managed:
Get-MsolDomain -DomainName protected.azure-ad.domain | Select-Object "Authentication"If it is set as Federated, you will need to disable federation!
Set-MsolDomainAuthentication -DomainName protected.azure-ad.domain -Authentication Managed -
Obtain the certificate data
- Navigate to the C:\ProgramData\ISDecisions\UserLock\SSO folder
- Open the ulsso.signing.cer file with Notepad
- Copy only the data between the first and last lines. Do not include these lines.
-
In the Powershell window, assign the certificate data to the $certData variable
$certData = ‘MIICtTCCAZ2gAw……IBAgIIJ5vEidR23KwwDQYJ==’
-
Set the federation
Execute the following command to set the authentication for UserLock SSO. Please note that the $certData is used for -SigningCertificate data:
Set-MsolDomainAuthentication -DomainName protected.azure-ad.domain`-Authentication Federated `-PassiveLogOnUri https://my.sso.domain.com/saml/sso `-SigningCertificate $certData `-IssuerUri https://my.sso.domain.com/protected.azure-ad.domain `-PreferredAuthenticationProtocol Samlp `-LogOffUri https://my.sso.domain.com/connect/endsessionSSO is now the defined Authentication source of the federated domain.
How to cancel SSO
To cancel SSO, you can either use the IS Decisions tool or Powershell:
- Using ISDecisions tool, cancel the federation on a federated domain.
-
Using Powershell, executing the following commands:
					Connect-MsolService

					Set-MsolDomainAuthentication -DomainName protected.azure-ad.domain -Authentication Managed
Troubleshooting
On a Windows Server, Enhanced Security Configuration is enabled by default. That may prevent the Microsoft 365 configuration tool to correctly display the Microsoft authentication window. In this case, a script error popup will appear and the window will remain blank.
To fix this, please follow these instructions:
- Open the Internet Options, either by entering inetcpl.cpl with Run... window (Windows + R shortcut) or by entering inetcpl.cpl in the Windows menu (Windows key)
- In the Security tab, select Trusted Sites and click the Sites button
- Add https://login.microsoftonline.com, https://aadcdn.msauth.net and https://aadcdn.msftauth.net to the Websites list
- Click Close then OK
- Restart the Microsoft 365 Configuration tool