UserLock Push App Onboarding
UserLock Push notifications are a subscription-only feature.
Push notifications are available using our own UserLock Push app available on Google Play or App Store. 

End users can configure the app to receive a push notification on their phone when authenticating with MFA. Push notifications are available for all sessions that can be protected with UserLock MFA:
- Local and RDP
- RD Gateway
- RDWeb
- RemoteApp
- VPN
- IIS
- SaaS
Before activating push notifications, ensure that you have installed all the agents, and configured the components necessary to protect each connection type with MFA.
See our use cases for more on how to set up MFA for each type of session.
Pre-requisites
UserLock Push is available from version 12. You can find all pre-requisites for servers compatible with this version here. In addition, your primary and backup UserLock servers must have internet access.
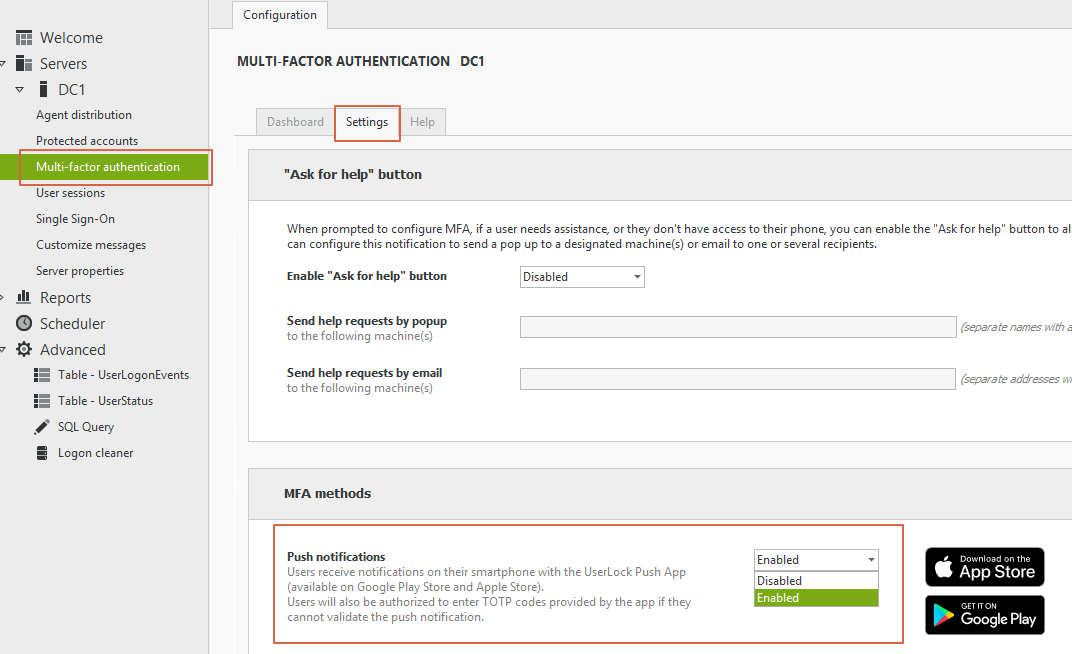
To allow users to enroll in MFA push notifications with the UserLock Push app, you will need to establish the connection from your UserLock server to the Push service. To enable this, open the UserLock console, and go to Multi-factor authentication -> Settings. Under MFA methods, select “Enable” from the drop-down menu next to Push notifications.
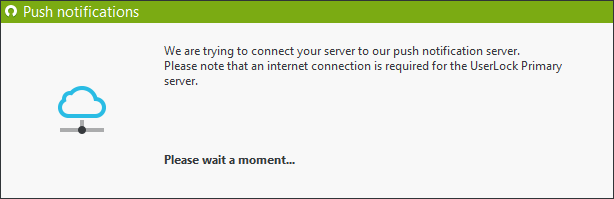
If you receive an error message, check that your server has a stable internet connection. If the problem persists, contact our technical support.
If all goes well, you will be notified that the connection is established.
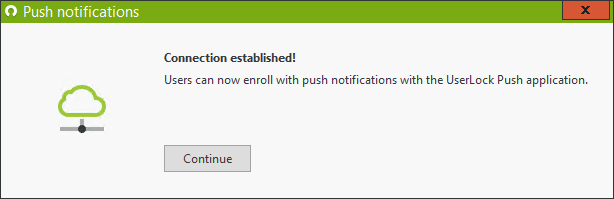
Once this is done, users can now select push notifications as an MFA method at the time of enrollment.
Note: If users are already enrolled in MFA but want to use push notifications as a main or additional MFA method, IT admins will need to reset their MFA key. The users will then have to go through the MFA enrollment process again.
See our use cases for polices based on connection type.
Enrolling users
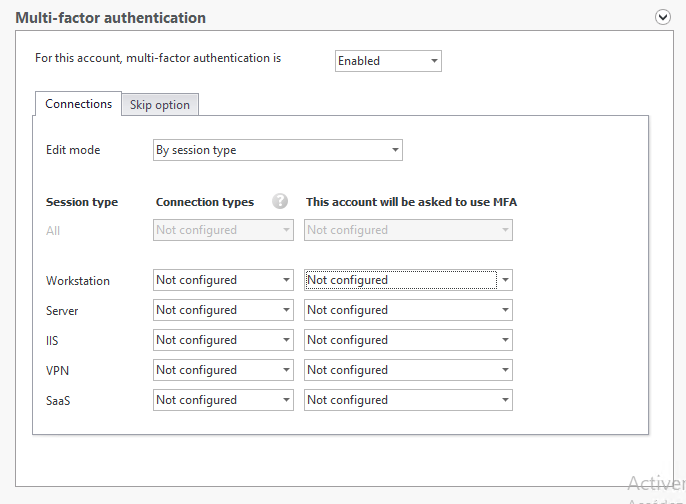
After enabling push notifications, you will need to enable MFA for users or groups so that they can self-enroll. To do this, you must create a protected account and enable MFA. Then, you’ll want to select on which connection types to enable MFA, along with MFA prompt frequency.
For more info on activating MFA policies, see our documentation for Implementing Multi-Factor Authentication.
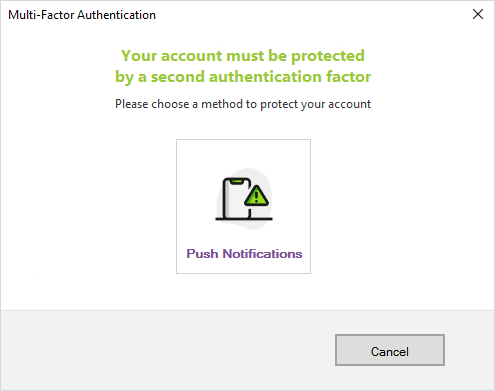
At the next connection on which the user is required to authenticate with MFA, they will be prompted to enroll. The user will have the choice to enroll in each of the methods you have enabled in MFA methods settings.
In this example, we will show how the user enrolls when only push notifications are enabled.
After the Windows logon screen, the user will be prompted to enroll:
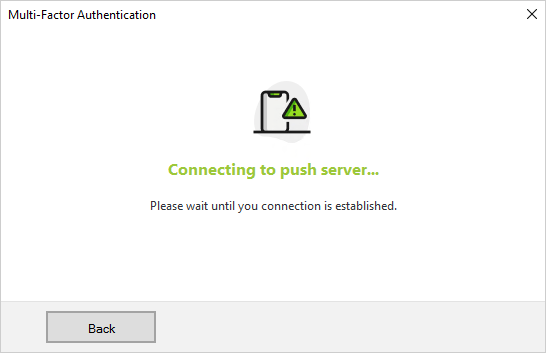
The machine will connect to the UserLock server to enroll the user.
In the next popup, the user will be guided through the setup process using the UserLock Push app. They will need to install the app from the App Store or Google Play. The links available from the enrollement screen allow them to download via a QR code.

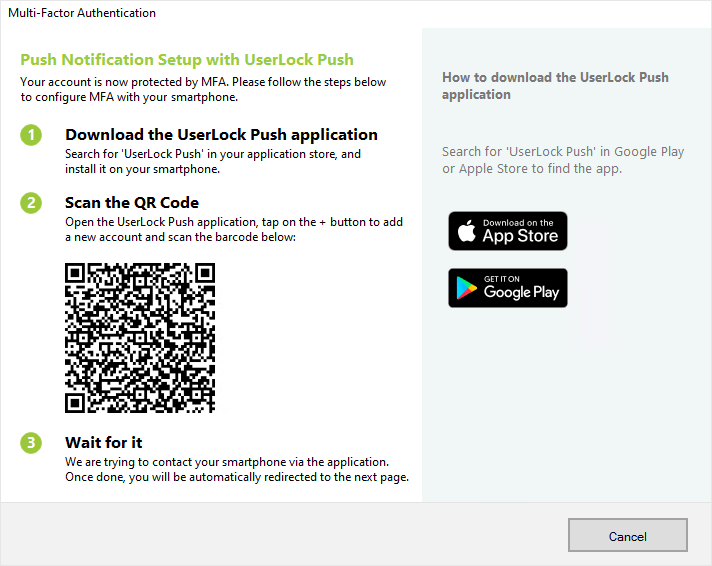
Once the application is installed, the user will need to open it and scan the QR code in step 2.
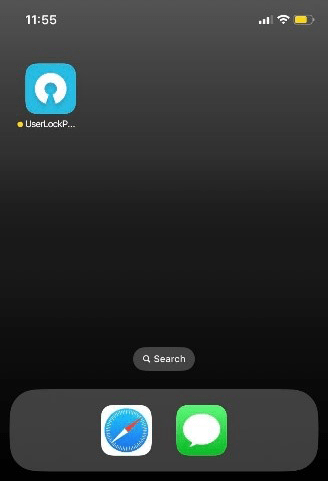
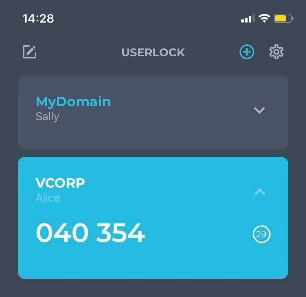
The user will see the new account configured in the app.
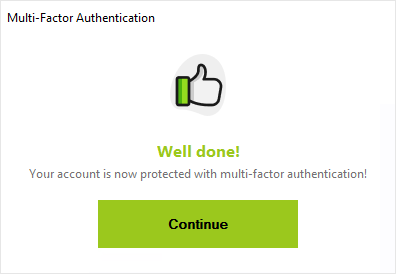
At this point, a popup will appear to confirm enrollment. By clicking continue, the session will be opened.
If the admin has enabled or forced an alternative MFA method, the users will need to complete enrollment of the MFA additional methods as well. It’s not possible to add another method later without redoing the entire enrollment process. Be sure that users have access to all necessary devices (phones, USB or programmable tokens) at the time of enrollment.
For more information on the features of the UserLock Push app, go here.