Configure AWS for UserLock SSO
As a prerequisite, you need to create an AWS Organization account.
- Open the AWS console
- Enable AWS SSO
- In the Settings, change the Identity Source to External Identity Provider.
- Under Identity Provider metadata, upload the UserLock SSO metadata XML file (https://<your_ul_sso_url>/metadata).
- In AWS accounts node, check the AWS account and click Assign Users. Add the user account you want to test with.
- Launch the User portal URL (located in AWS SSO Settings).
Configure AWS in UserLock console
In the UserLock console, Navigate to Single Sign-On → Configuration.
- Select Add configuration, then select AWS as the provider to be configured.
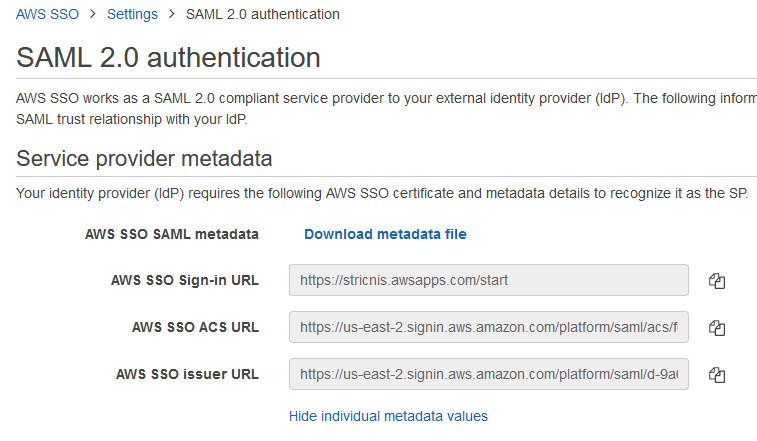
- AWS SSO issuer URL and AWS SSO ACS URL are available in AWS SSO console.
- For the Email domain, enter the domain of the email users will use to connect.
Change the SAML certificate
To update the SAML certificate in AWS SSO, you need to upload the new SAML metadata to AWS.
To do this, go in AWS SSO Settings. In Identity Source click on the Change button. Finally, put the UserLock SSO metadata url in Idp SAML metadata (https://<your_ul_sso_url>/metadata)
Amazon AWS Portal
For more information about the Amazon AWS Portal, please consult this page.