File and folder access monitoring
Monitor live access to and usage of sensitive files and folders stored on Windows servers and in cloud storage.
Windows file server monitoring
Manually tracking file access (or access attempts) across Windows Servers and cloud storage is painful and takes time. FileAudit makes it easy to see what’s happening to your sensitive data, live.
Audited access events
See a comprehensive, centralized, and sortable list of access events (or access attempts) to paths you have selected.
Read, write, delete, rename accesses
Permission modifications
File ownership changes
File attributes changes
Record details
View key info about a file, selection of files, folder and subfolder or selection of folders and subfolders.
File path
Object type (file, folder)
Status (granted or denied)
Date and time of access
User
Domain
Source IP address
Machine name
Exact file access tracking by IP address and machine name
Monitor exactly where in the network the user has accessed (or attempted to access) a file or folder from. For each access event, FileAudit displays both the specific machine (client) name and IP address to pinpoint the placement.
If an access is performed directly on the machine hosting the file/folder, the name of the process generating the access attempt is displayed.
Any specific IP address or machine name can also be filtered on, used as a reporting criteria, or chosen to trigger an alert.
Granular detail helps strengthen user identification and hold users accountable. Potentially risky file access events, like a user accessing a sensitive file from a different computer, are now easy to spot.
Quickly get key insights into file activity
When monitoring file activity, simply click on any user, file, or folder to view all events from the past 4 weeks. See usage stats, deletions, and access denials.
Save time with powerful filtering capabilities
Filter file access events by specific criteria to focus on the insights that matter. FileAudit helps you quickly find the answers you need, with minimal effort.
You can also print or export filtered views, and save filter configurations as XML files for easy reuse in future audits.
Server
Select a Windows or cloud server
Path
Choose events on files and/or folders
Access status
Granted and/or denied access event
Access type
Select one or many access events
Object type
Limit by file and/or folder
Domain
Filter by a specific domain name
User/Group
Limit by a specific user or Active Directory group
Source
Select IP address, machine name or executable file name

Cloud data storage monitoring
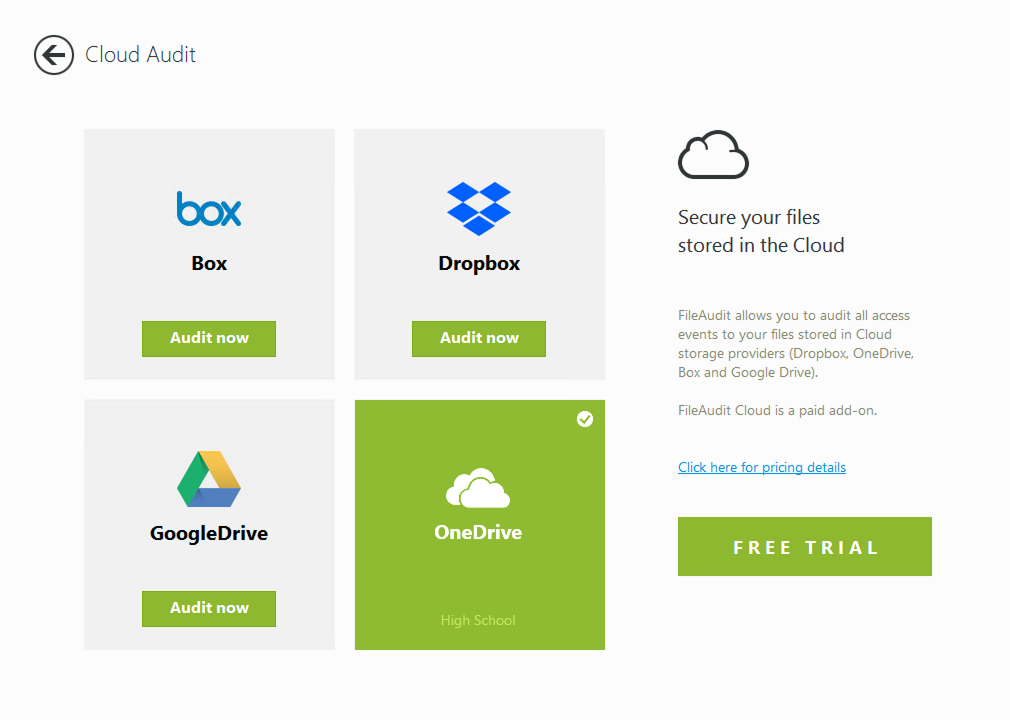
With FileAudit, extend file monitoring to track access to major cloud-based file storage providers.
Get visibility into access to and usage of files stored on
Microsoft OneDrive for Business
Microsoft Teams
SharePoint Online
Google Drive
Dropbox Business
Box

Improve the security of your hybrid IT environment
FileAudit offers a single view of all file activity to tie on-premises and cloud-based actions together. One tool and one consolidated dashboard to get the complete picture.
Work smarter with real time monitoring
Real-time monitoring doesn't place unnecessary overhead on the server.
Native Windows auditing and other agent-less tools consume significant resources on the file servers. FileAudit's live monitoring doesn't impose additional storage requirements on the file server, helping avoid potential performance problems.
Once a path is set to audit, all access events are detected, displayed, and saved into a database in real-time.
Read the case studyFileAudit simply does the job.
It’s a solution that works and it’s so easy to use, a drunk person could use it at 2:00am and not get confused by it. (IS Decisions editor: we don't recommend trying this) ”
Richard Marnau
Compfair CEO
)
)
)
)