File and folder access auditing
Audit, report on, and archive file access history across your Windows servers and in the cloud.
Windows audit file access
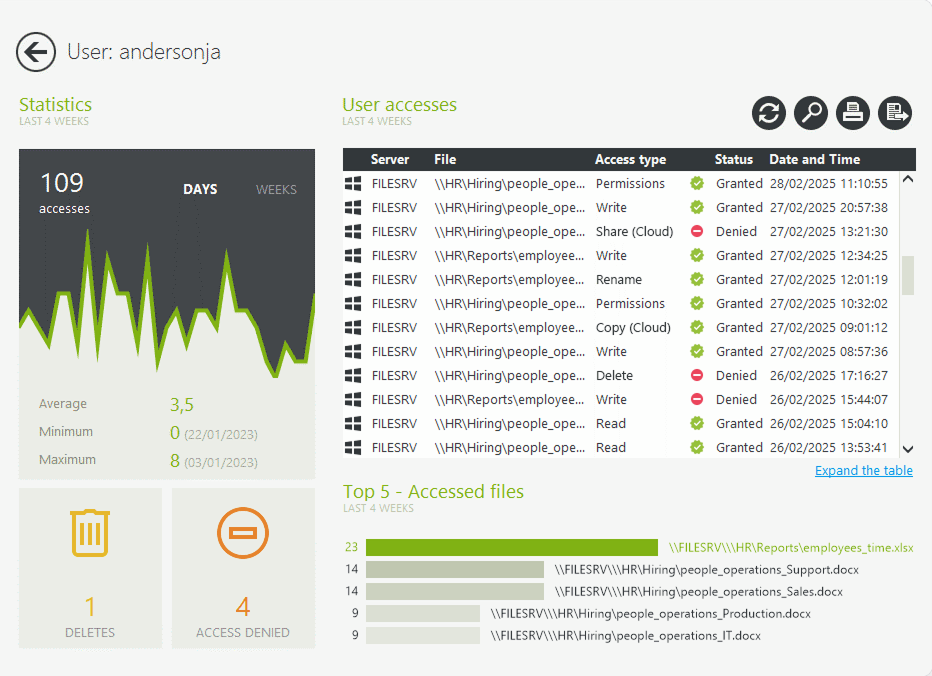
Get accurate, organization-wide clarity on who did what, when, and from where. FileAudit's centralized audit logs go beyond a single server.
With one click on a user or file/folder, view all access events and attempts from the past 4 weeks — including usage stats, deletions, and denied access.
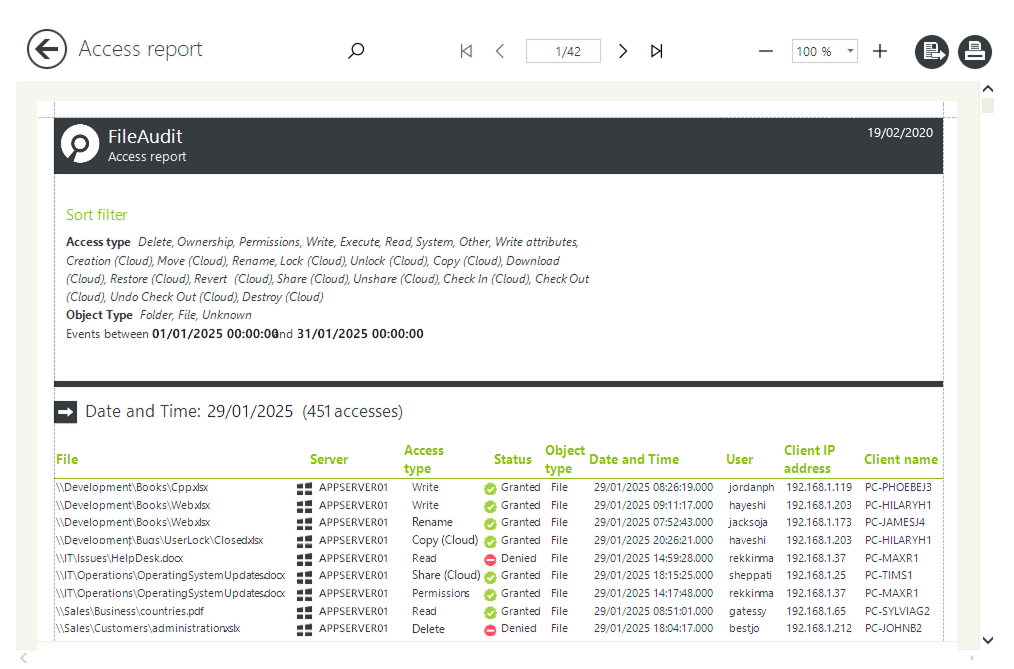
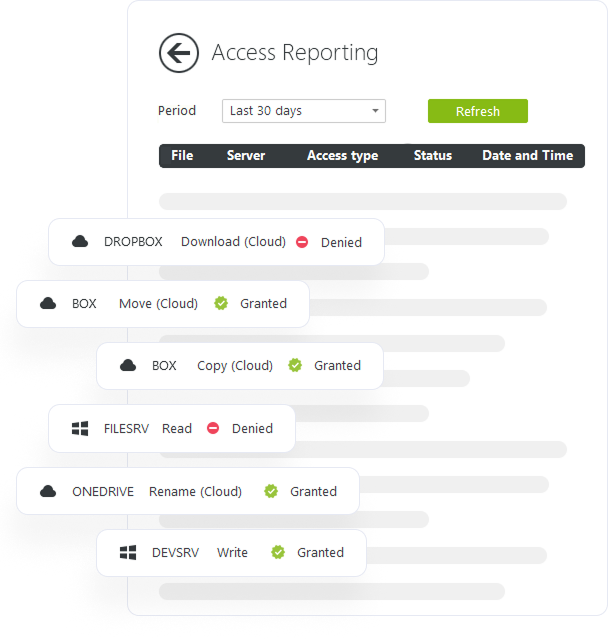
Full access history
Customize and schedule reports according to multiple criteria.
Filter by access type, IP address, or specific Active Directory groups to focus your search.
Get detailed reports on who accessed (or attempted to access) a file, what actions they took, when, and from where.
Customize reports with powerful filters
Object type
File and/or folder
Date/time range
From/to the first/last event available or a specific date
Access type
Select one or many access events
User/group
Filter by a specific user or Active Directory Group
Source
IP address, machine name or executable file name
Domains
Filter by a specific domain name
Status
Granted and/or denied access event
Documentation
Full documentation on all the different filters
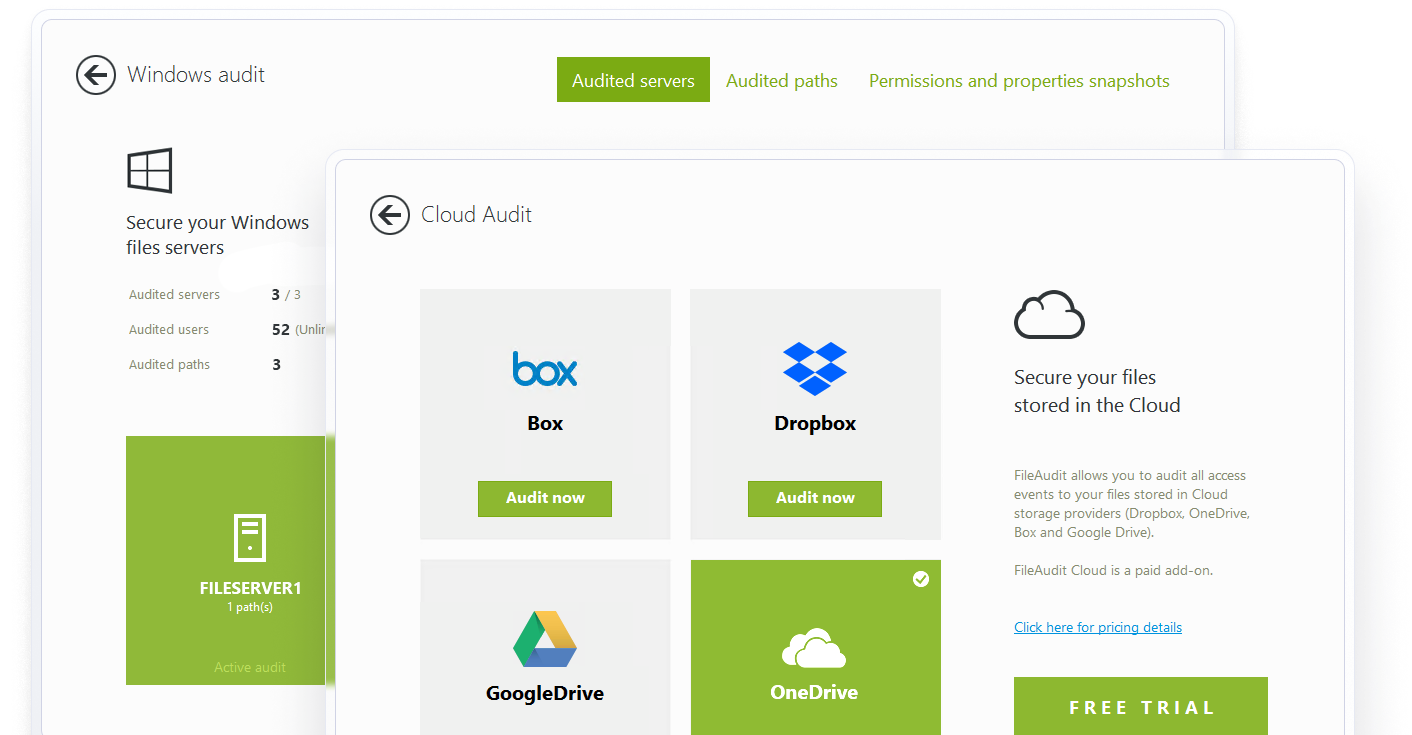
File auditing for cloud based storage
Extend auditing to report on major cloud-based file storage providers.
Get visibility into the access to and usage of files stored on
Microsoft OneDrive for Business
Microsoft Teams
SharePoint Online
Google Drive
Dropbox Business
Box
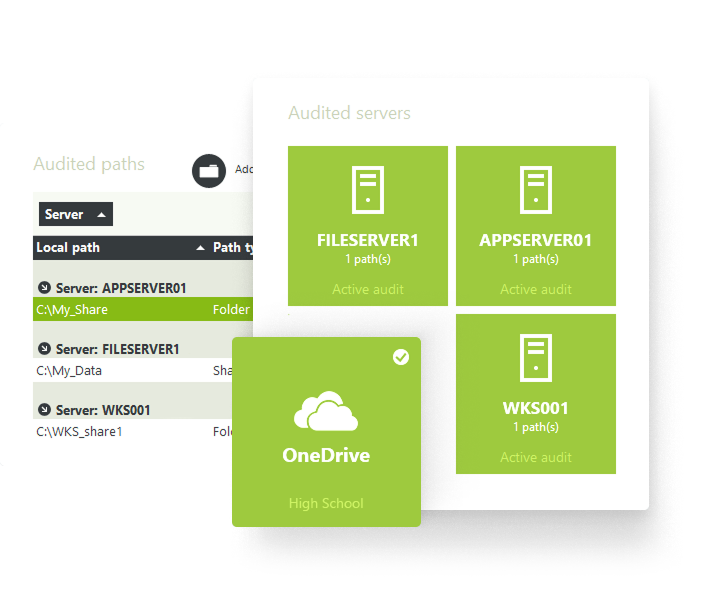
Unified visibility into files and folders across on-premises and cloud storage
Linking on-premises and cloud-based actions gives your organization a complete view of activity across the entire environment.
A long term archive of all file access events
Archive years of data without impacting performance, providing a secure, always-available audit trail.
Consolidate access events from multiple Windows File Servers and cloud storage providers, and automatically record them in a fully documented, searchable SQL Server, SQLite, or Microsoft Access database for future reference.
Simplify audit maintenance by scheduling regular checks to ensure audit settings haven’t been changed or overwritten by a GPO, and reapply them if needed.
Get insights faster with predefined reports
Ready-made reports help you quickly find the information you need, identify security risks like inappropriate access, and take action fast.
)
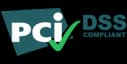
Comprehensive file access auditing for compliance
At the heart of any compliance mandate is ensuring that sensitive data is only accessed for legitimate business reasons. FileAudit helps you prove it. Centralize, record, and archive all file access events for regulatory compliance.